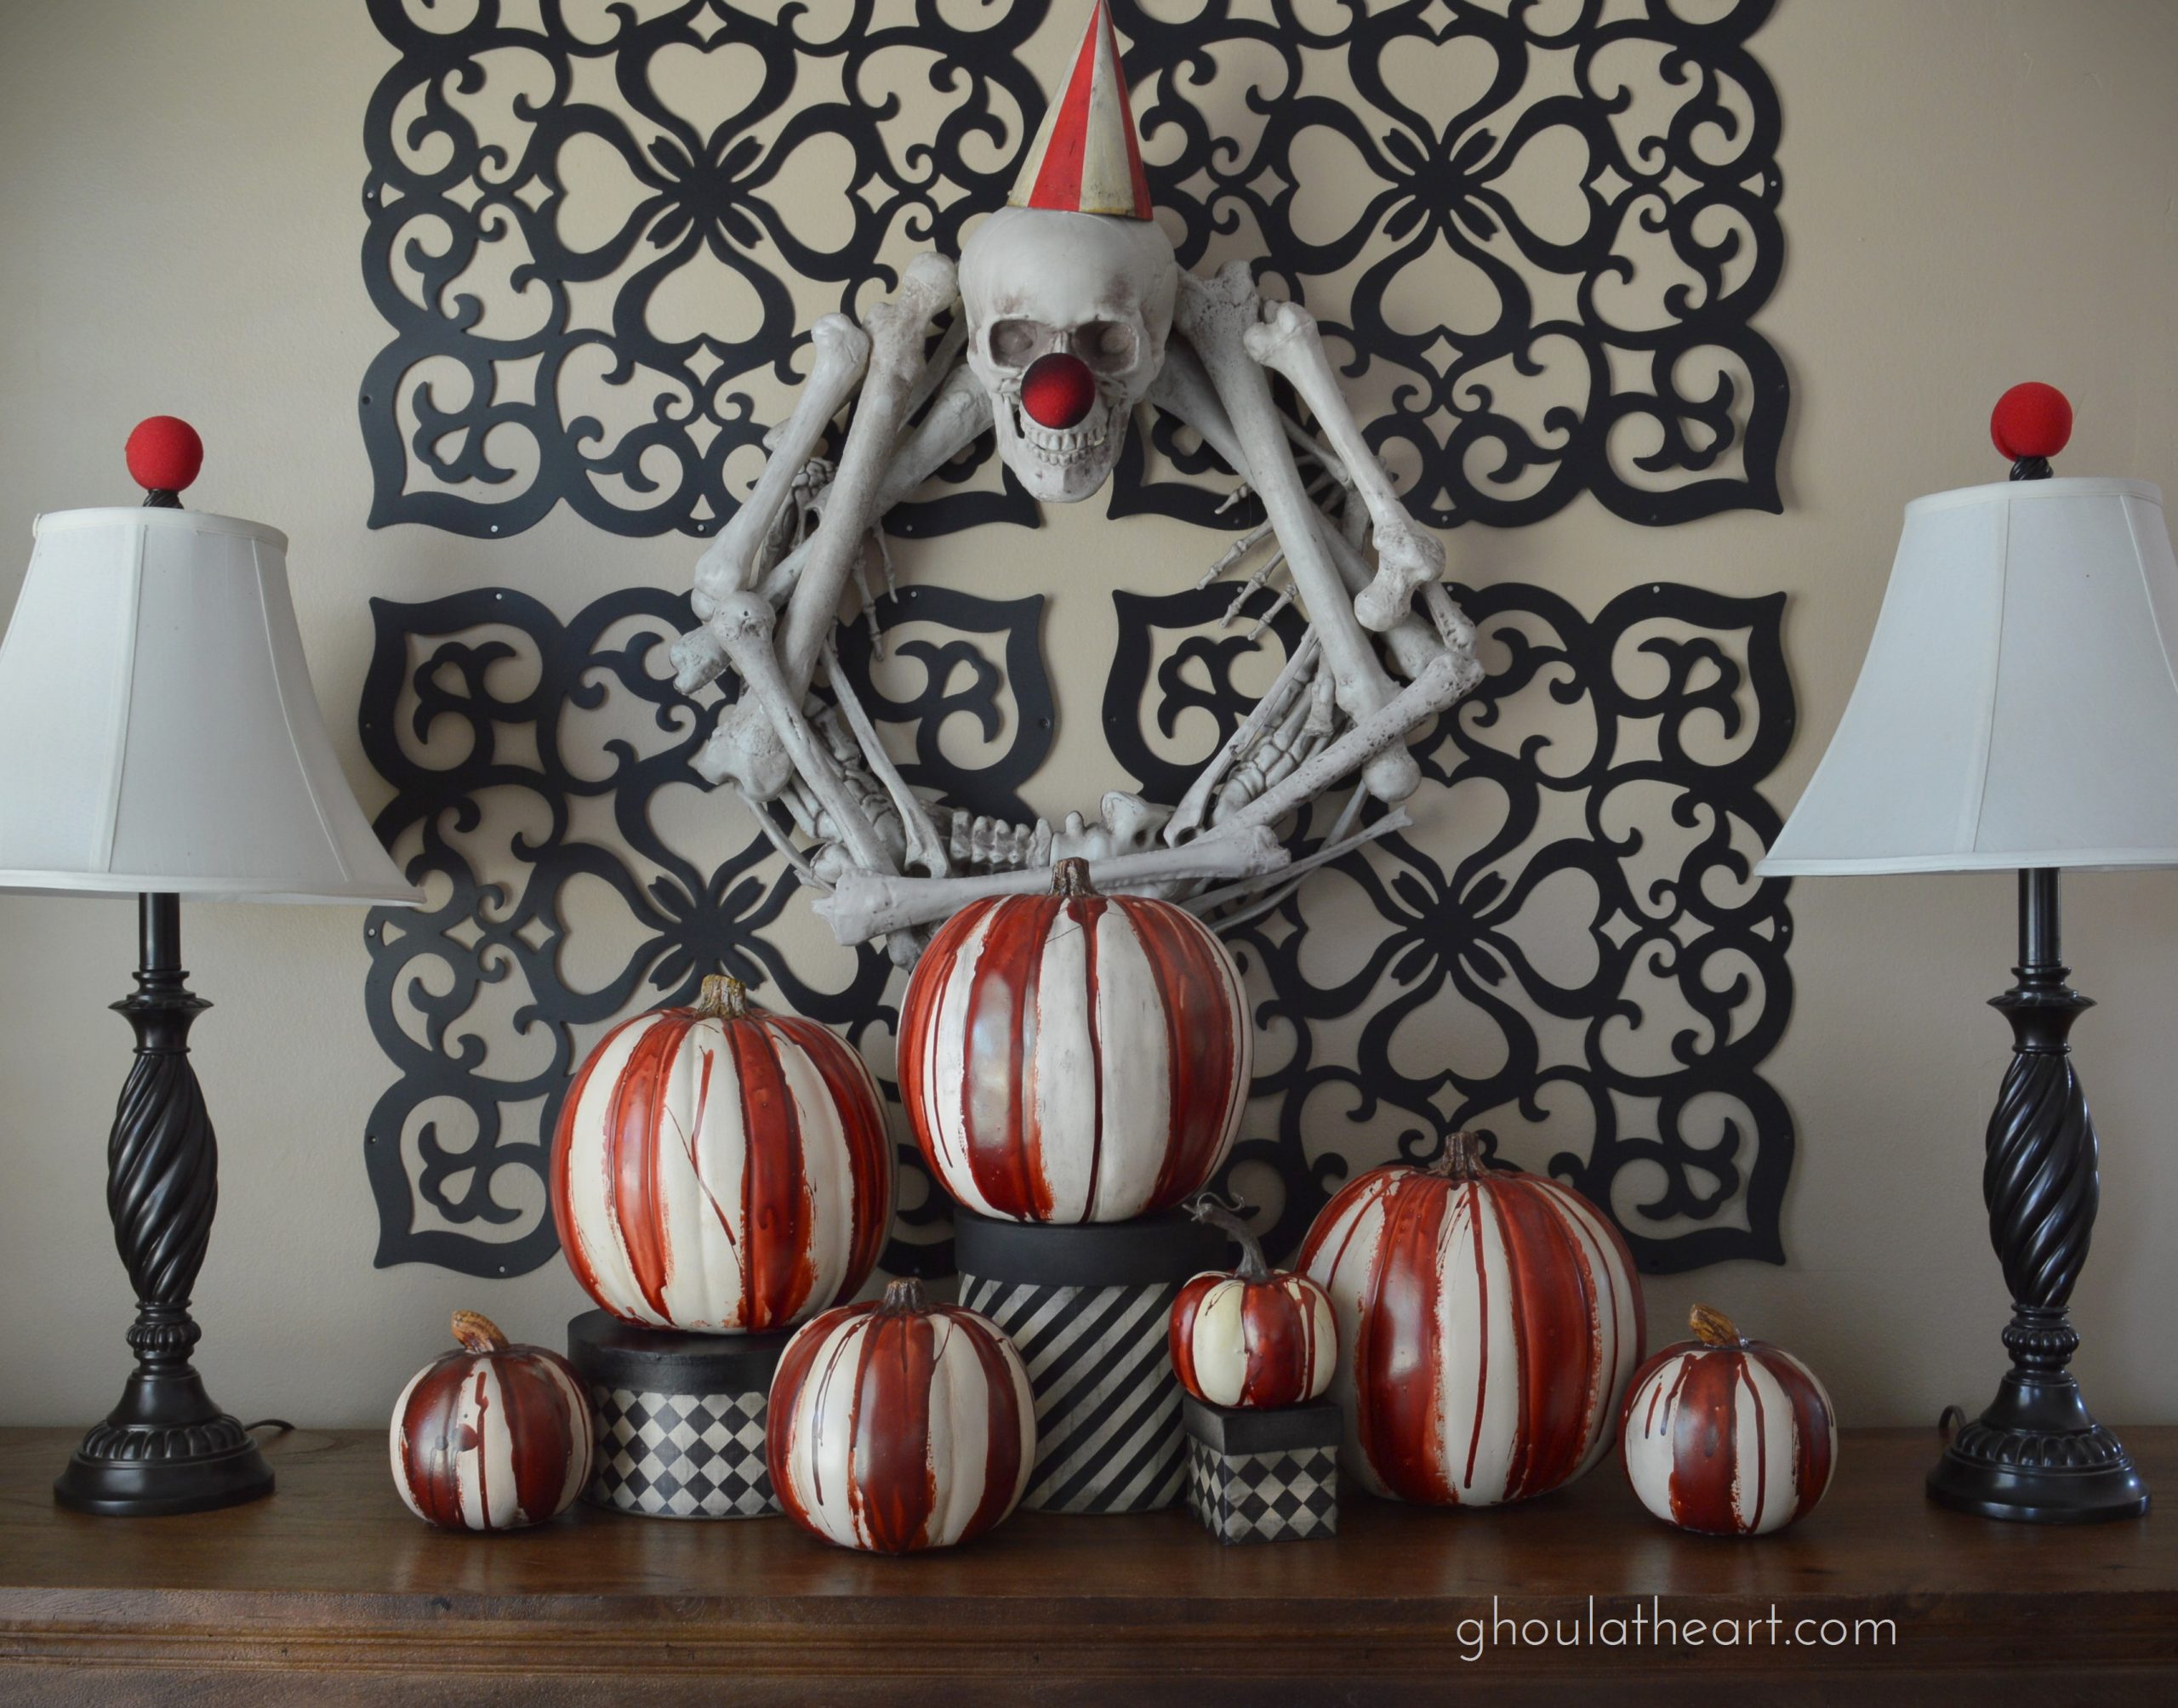
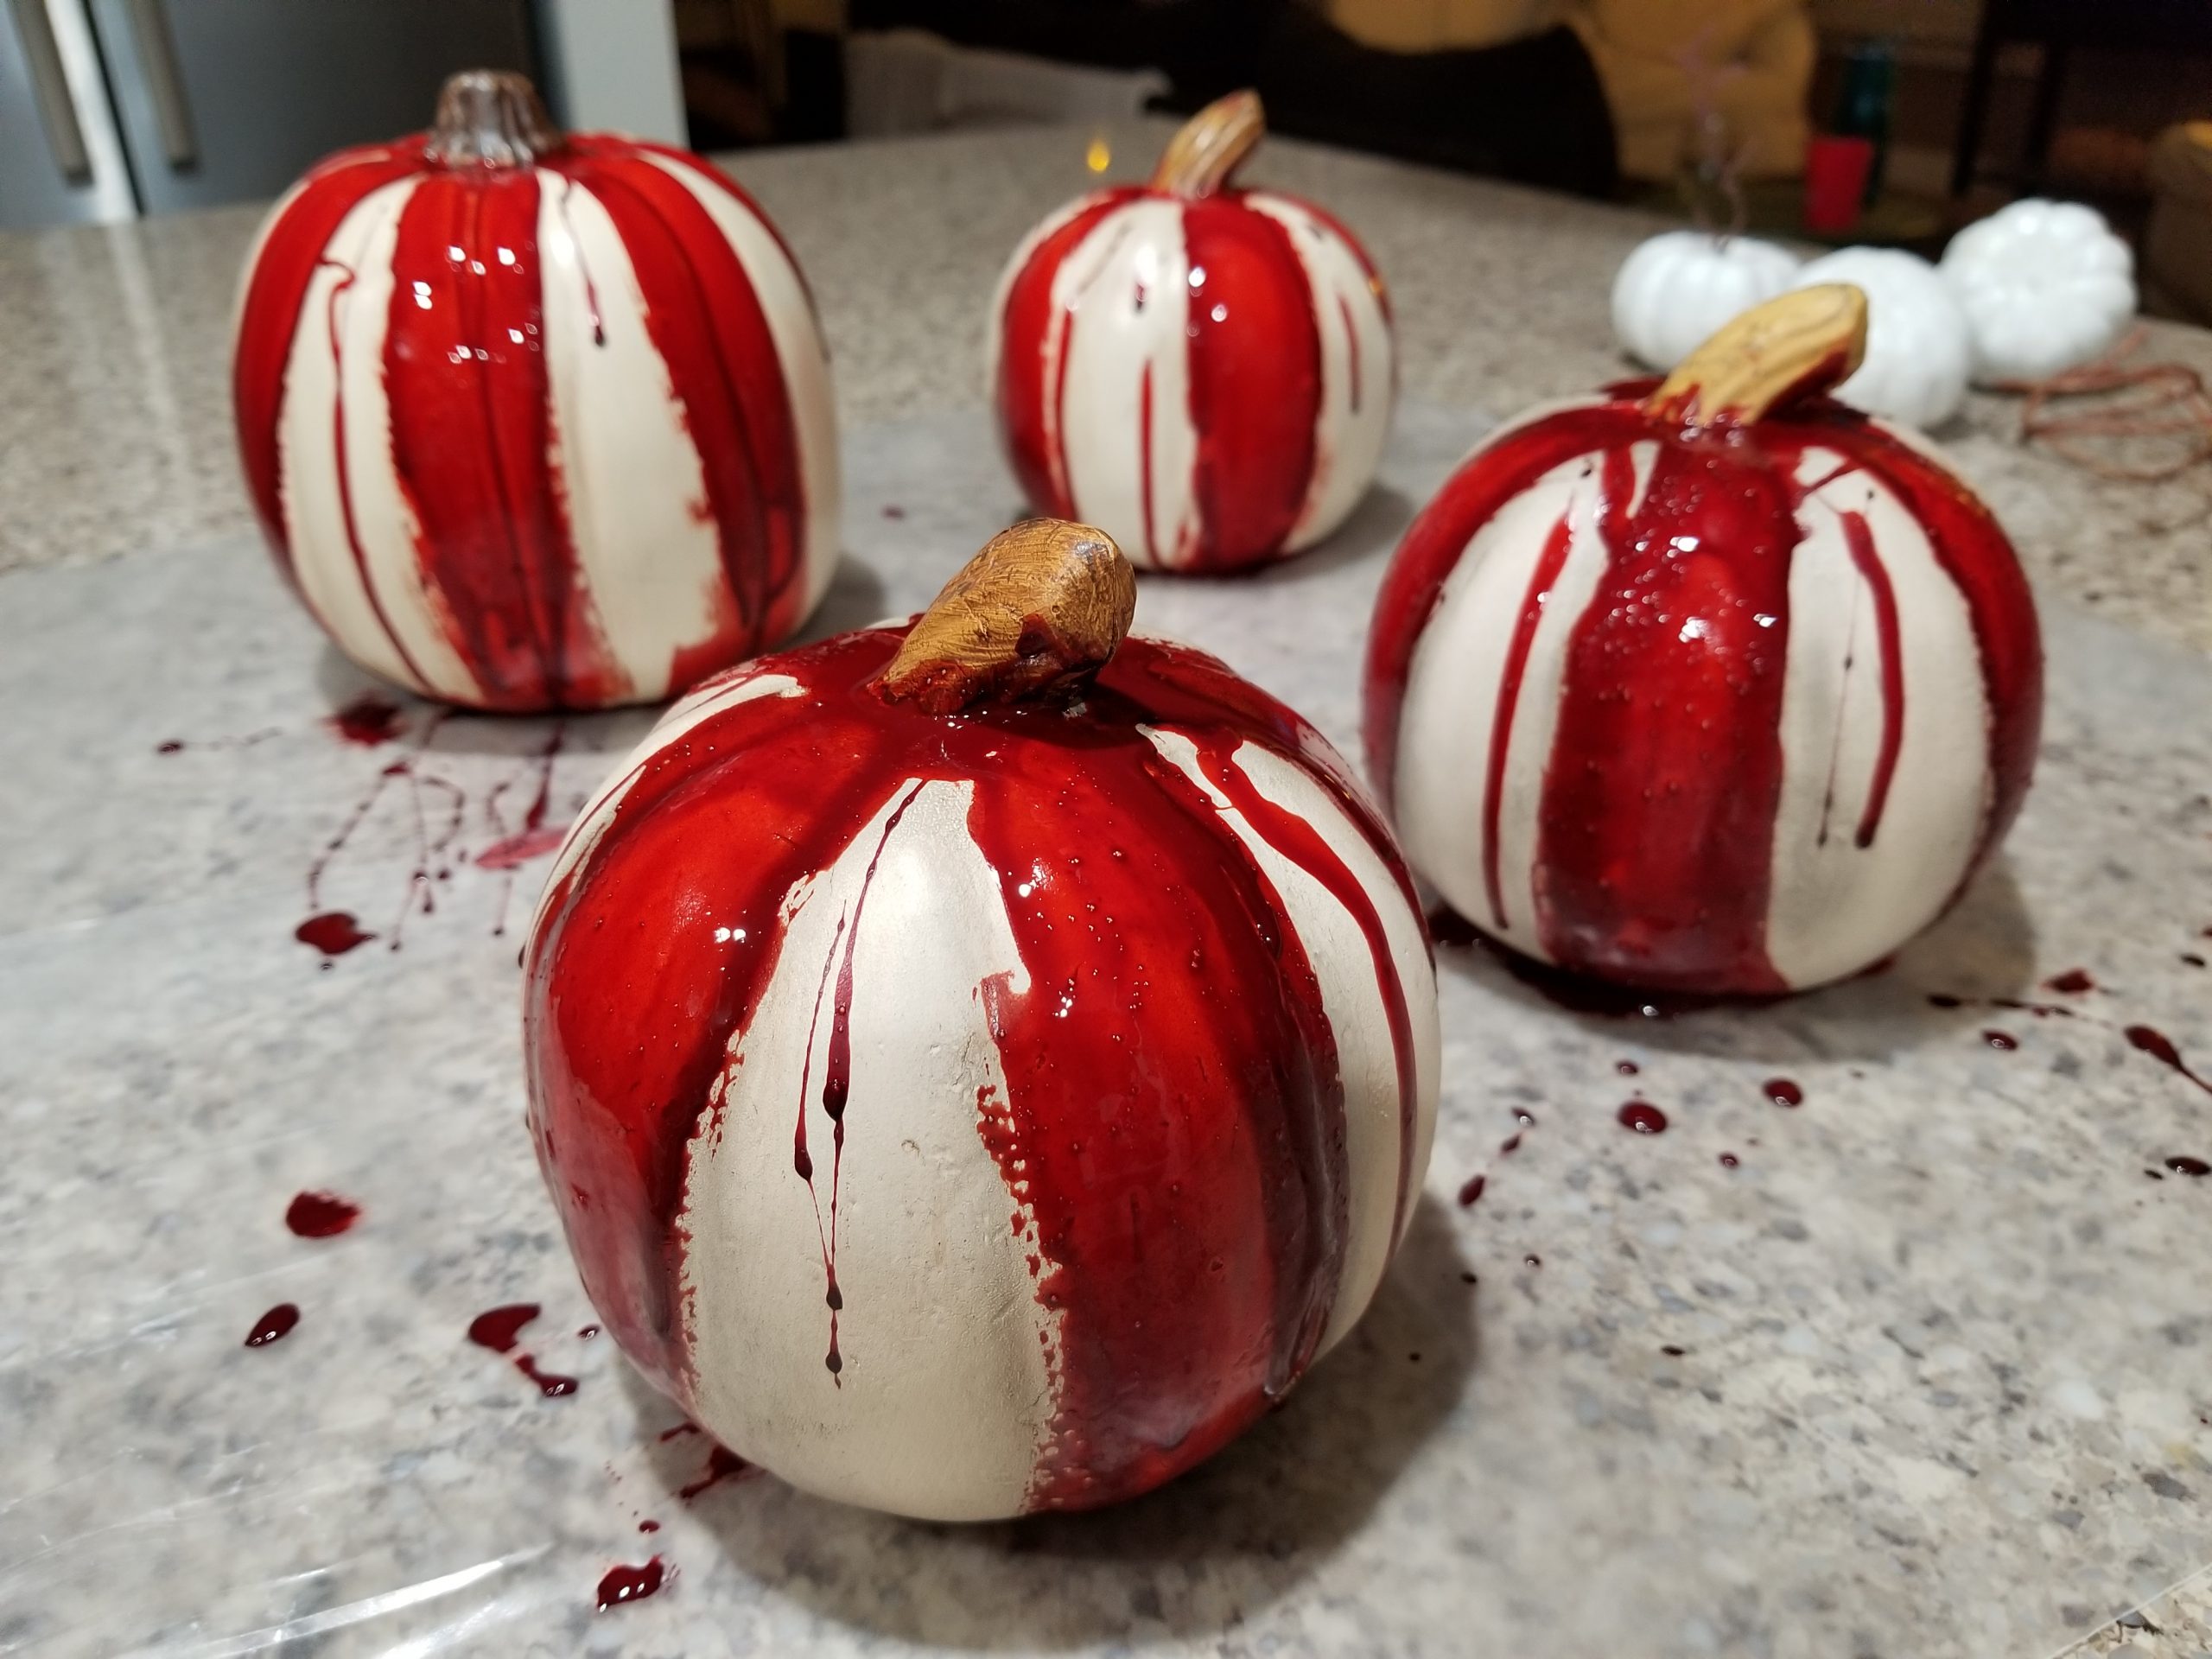
This is probably the easiest of Halloween projects to do that will give plain white foam pumpkins a gory look that’s perfect for Halloween. It’s simple because you probably already have all the ingredients on hand. If not, they are easy to get, especially with all the back to school sales going on, clear school glue is everywhere for cheap. The only thing you will need is white foam pumpkins. Luckily for me, I use white pumpkins to decorate for Thanksgiving each year so I have a bag full. After Halloween and buy them up on clearance. You can never have too many foam pumpkins, as a general rule. In fact, a few years ago, Michael’s only had the wonky fluorescent colors left so ended up buying a green one…Not exactly what I was hoping to get but I bought it anyway thinking I might be able to do something with it later. Which I did. I covered it up with a can of cream spray paint and no one could tell it was once neon green…so don’t be afraid to buy up the wonky colors, if it’s on sale, get it!
Fast forward to making these way cool bloody pumpkins, I pulled my big bag of Thanksgiving pumpkins down from the attic and got painting with this simple mixture of school glue and food coloring. But note that I added Modge Podge to my bloody paint to give the paint a little more sticking power since the clear glue is water based and I didn’t want it to peel off the pumpkins too easily. It’s not required to add it so don’t worry if you don’t have any one hand, but if you plan to put these pumpkins outside then you will need to seal it with a sealer.
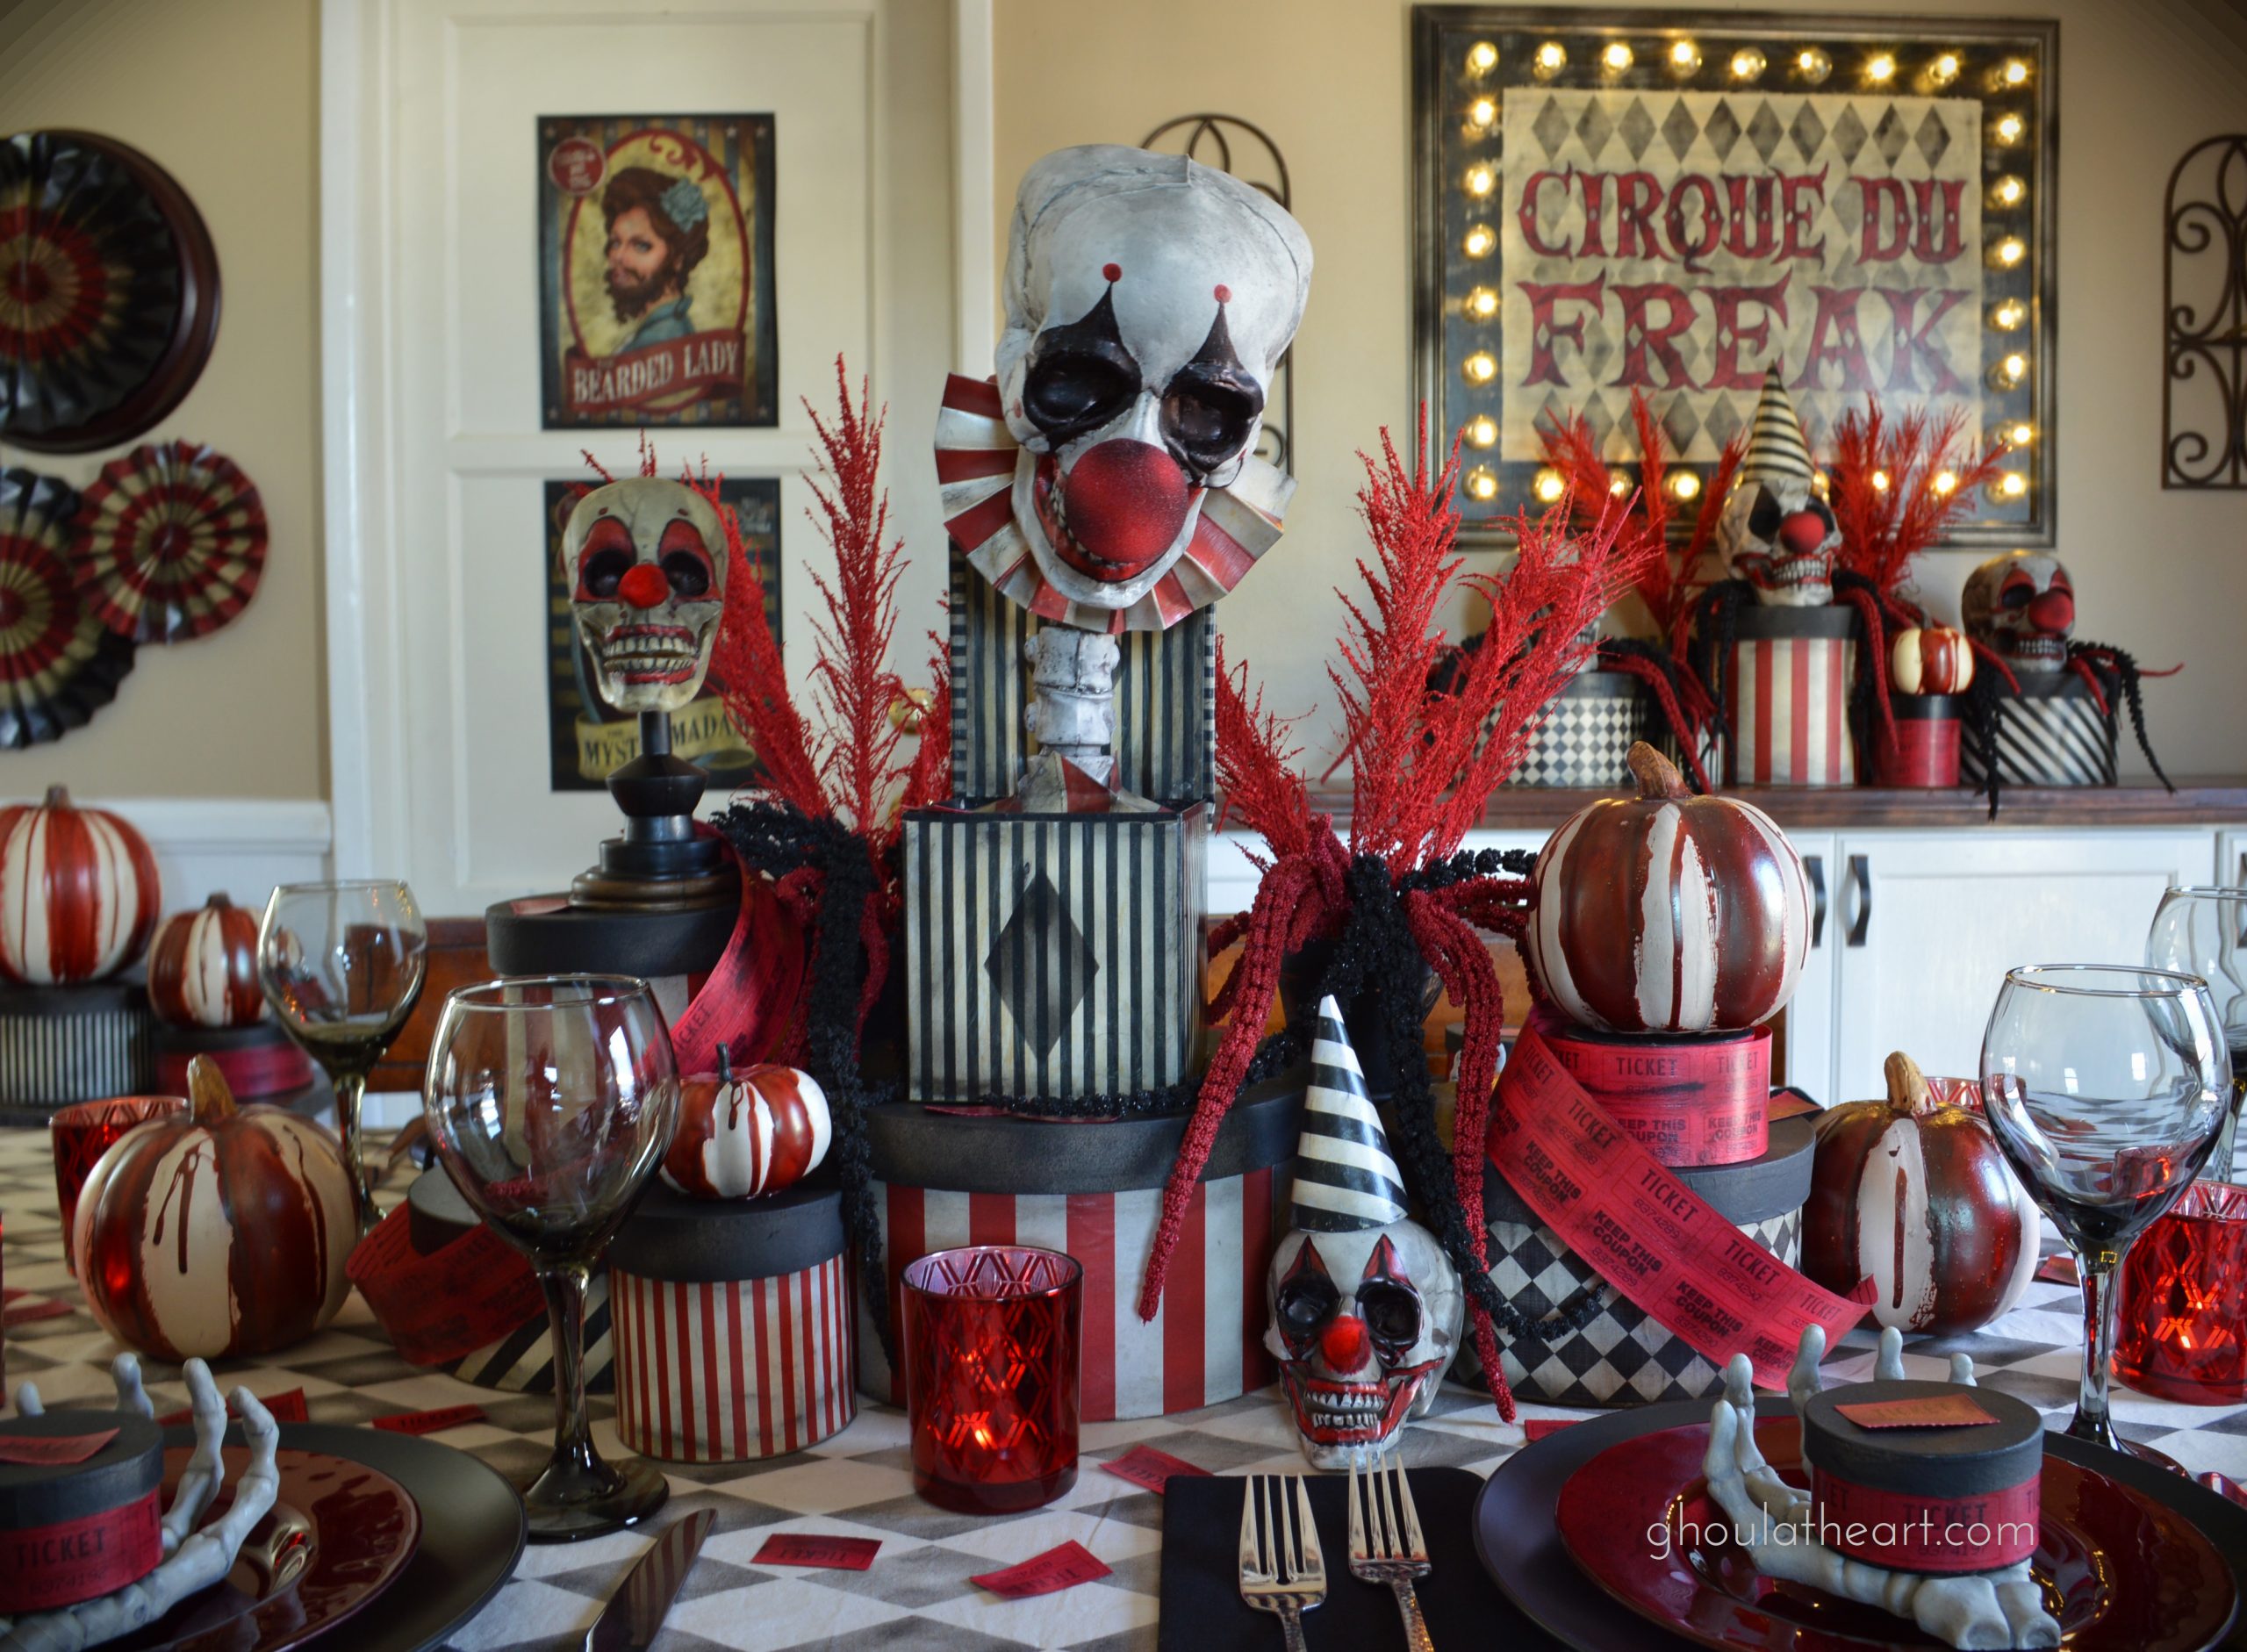
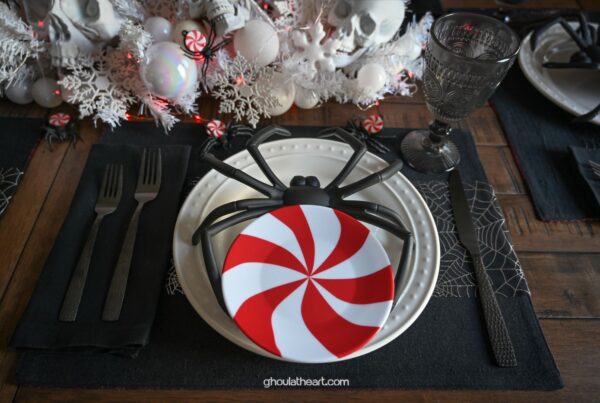
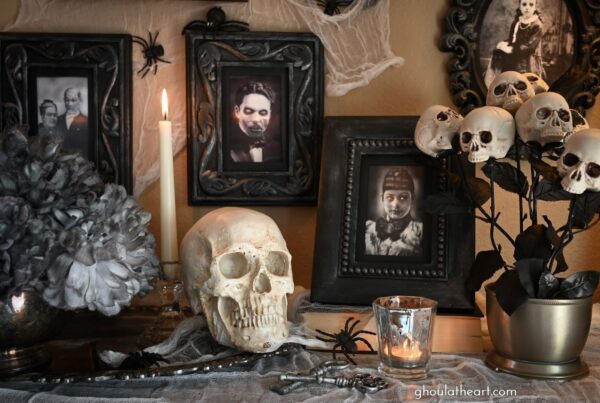
Check out a few pictures of my Carn’evil’ decorating ideas below and watch for more upcoming posts. Happy Halloween!
How to Make Blood Paint for Pumpkins
Ingredients:
1/2 cup clear glue
2 Tbsp Modge Podge (gloss finish)
1 tsp. red food coloring
3-4 drops of green food coloring
Mix glue, Modge Podge, and red food coloring together in a plastic cup or bowl and then add one drop at a time of the green food coloring until you get the right depth of color for blood. Place pumpkins on parchment paper or wax paper before painting. Or you can elevate them on a small bowl so that the drips don’t pool underneath the pumpkin. Use a paint brush to paint stripes onto foam pumpkins. No need to be careful, allow drips and splats of paint to add a gory touch to your pumpkins. Allow to dry overnight. Spray with sealer if desired.
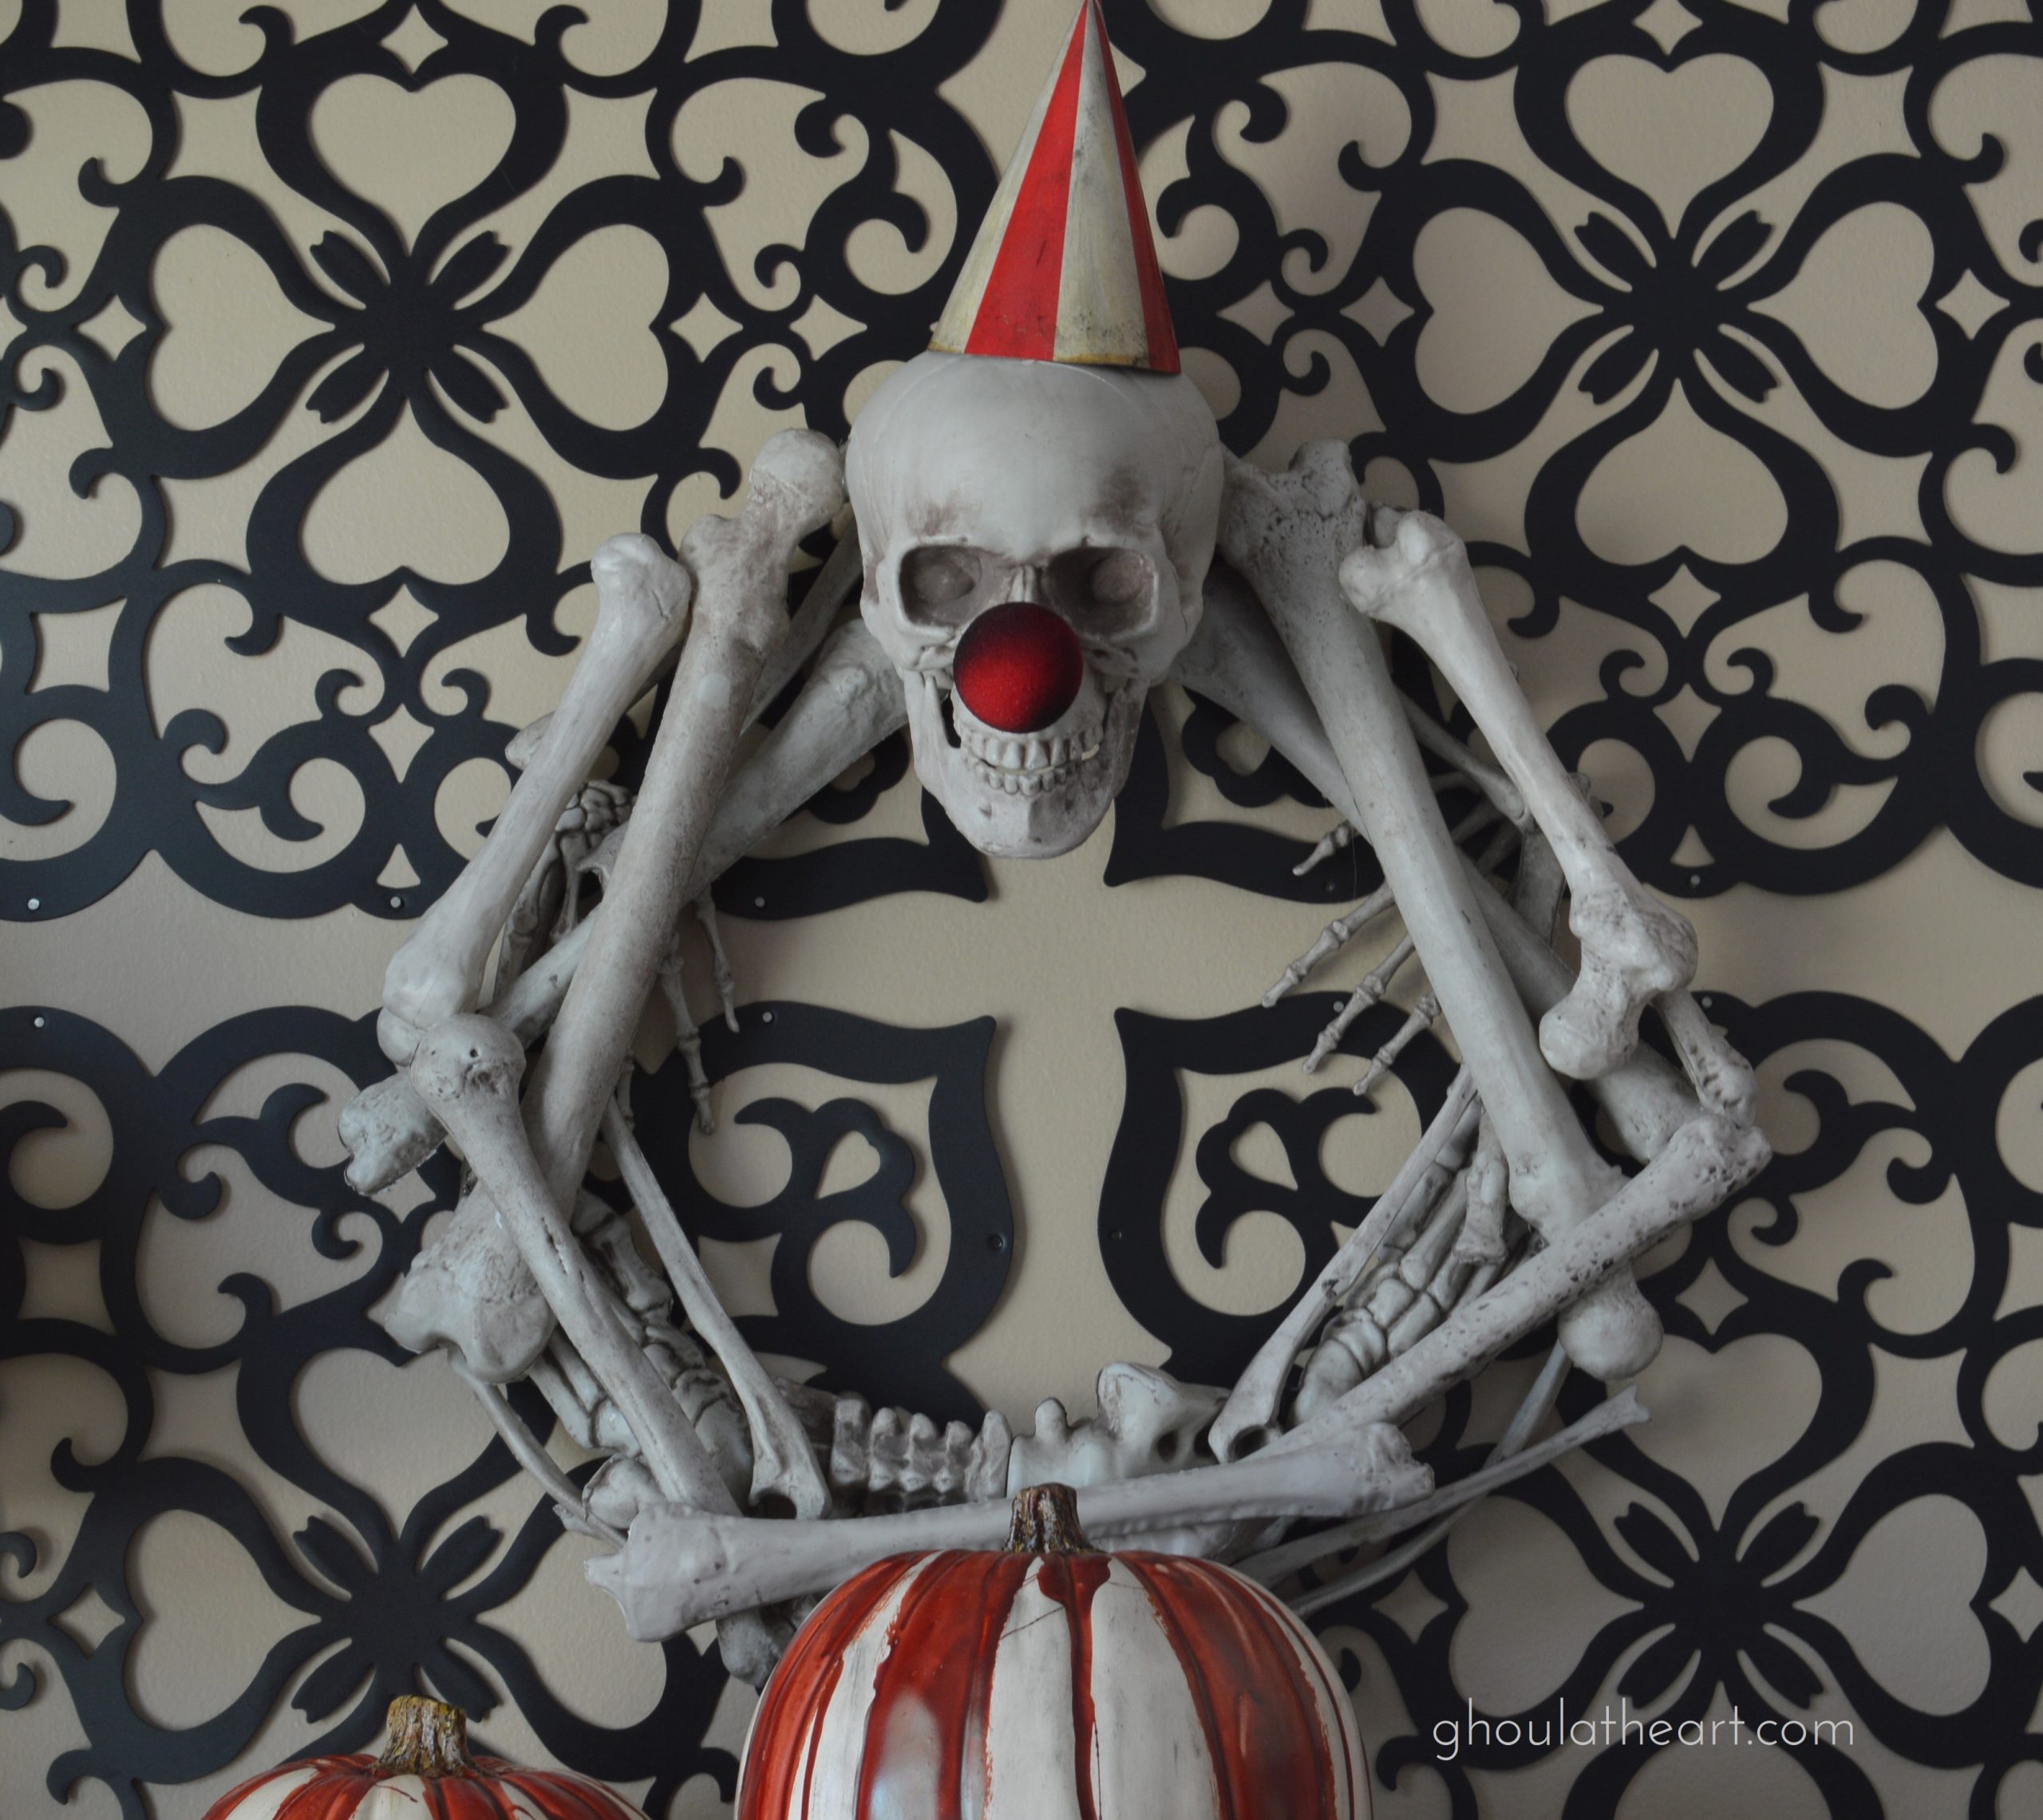
I had to share a close up picture of my skull and bones wreath I made nearly 10 years ago. He’s my favorite wreath I’ve ever made and I’ve made a lot over the years, so I couldn’t miss an opportunity to clown him up by adding a vintage party hat and a clown nose.
