This post may contain affiliate links. As an Amazon affiliate, I earn from qualifying purchases.
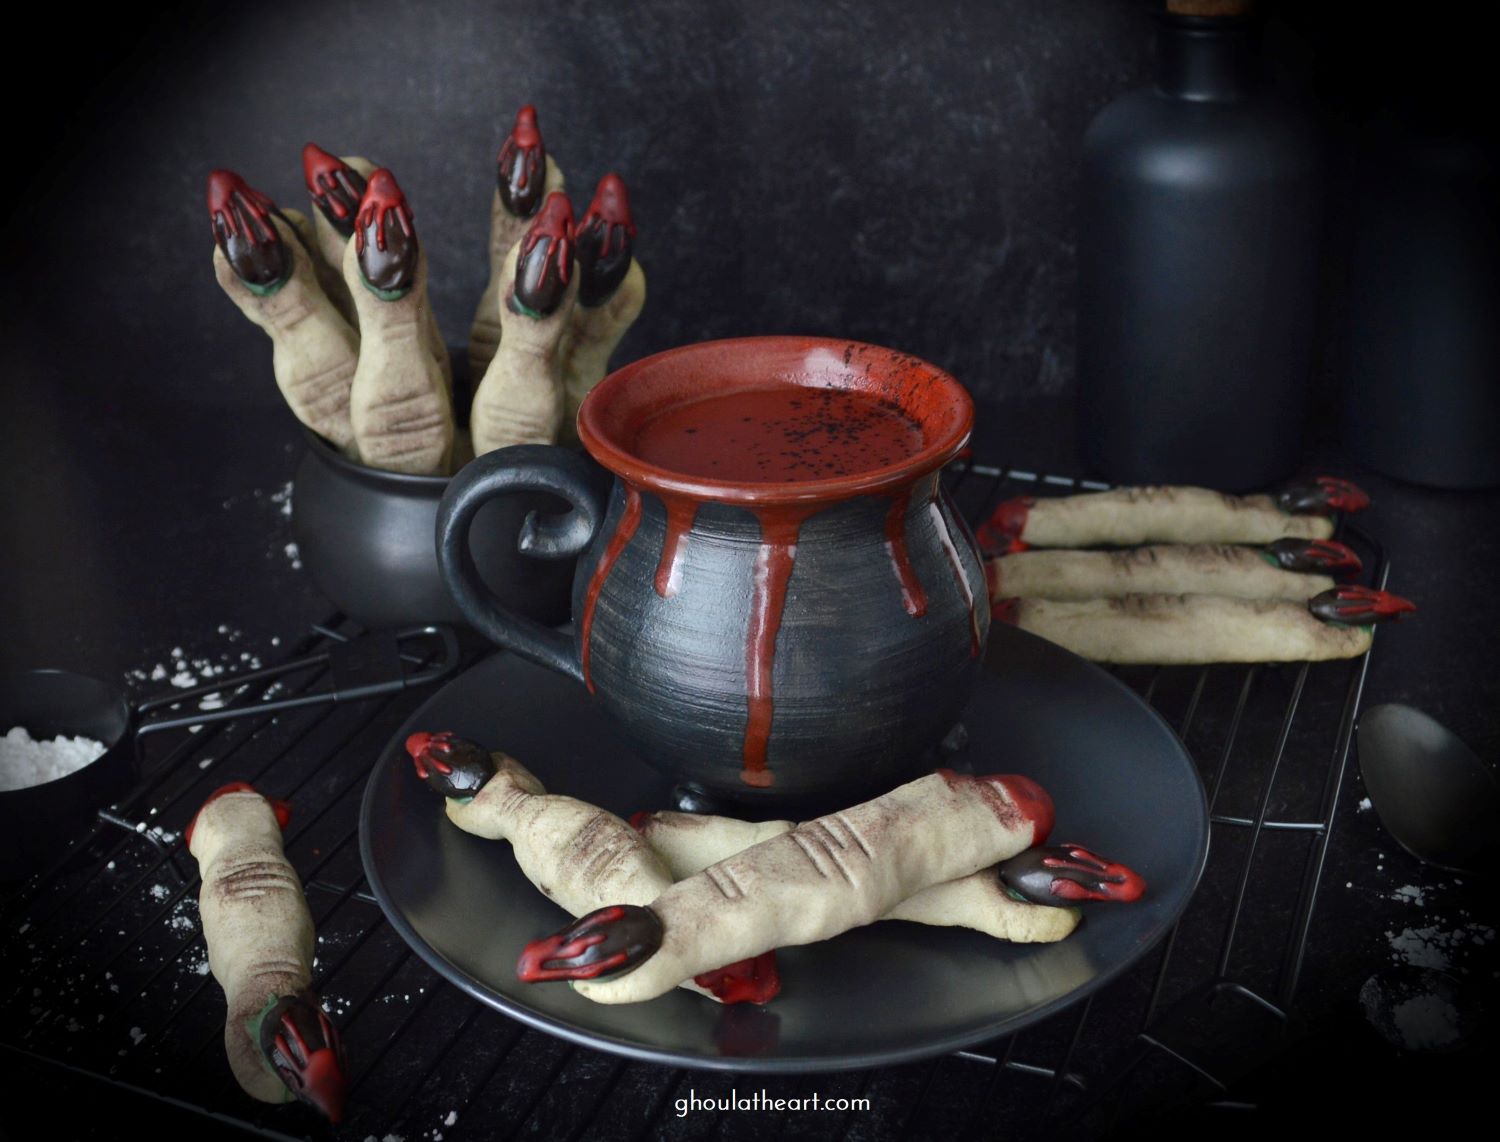
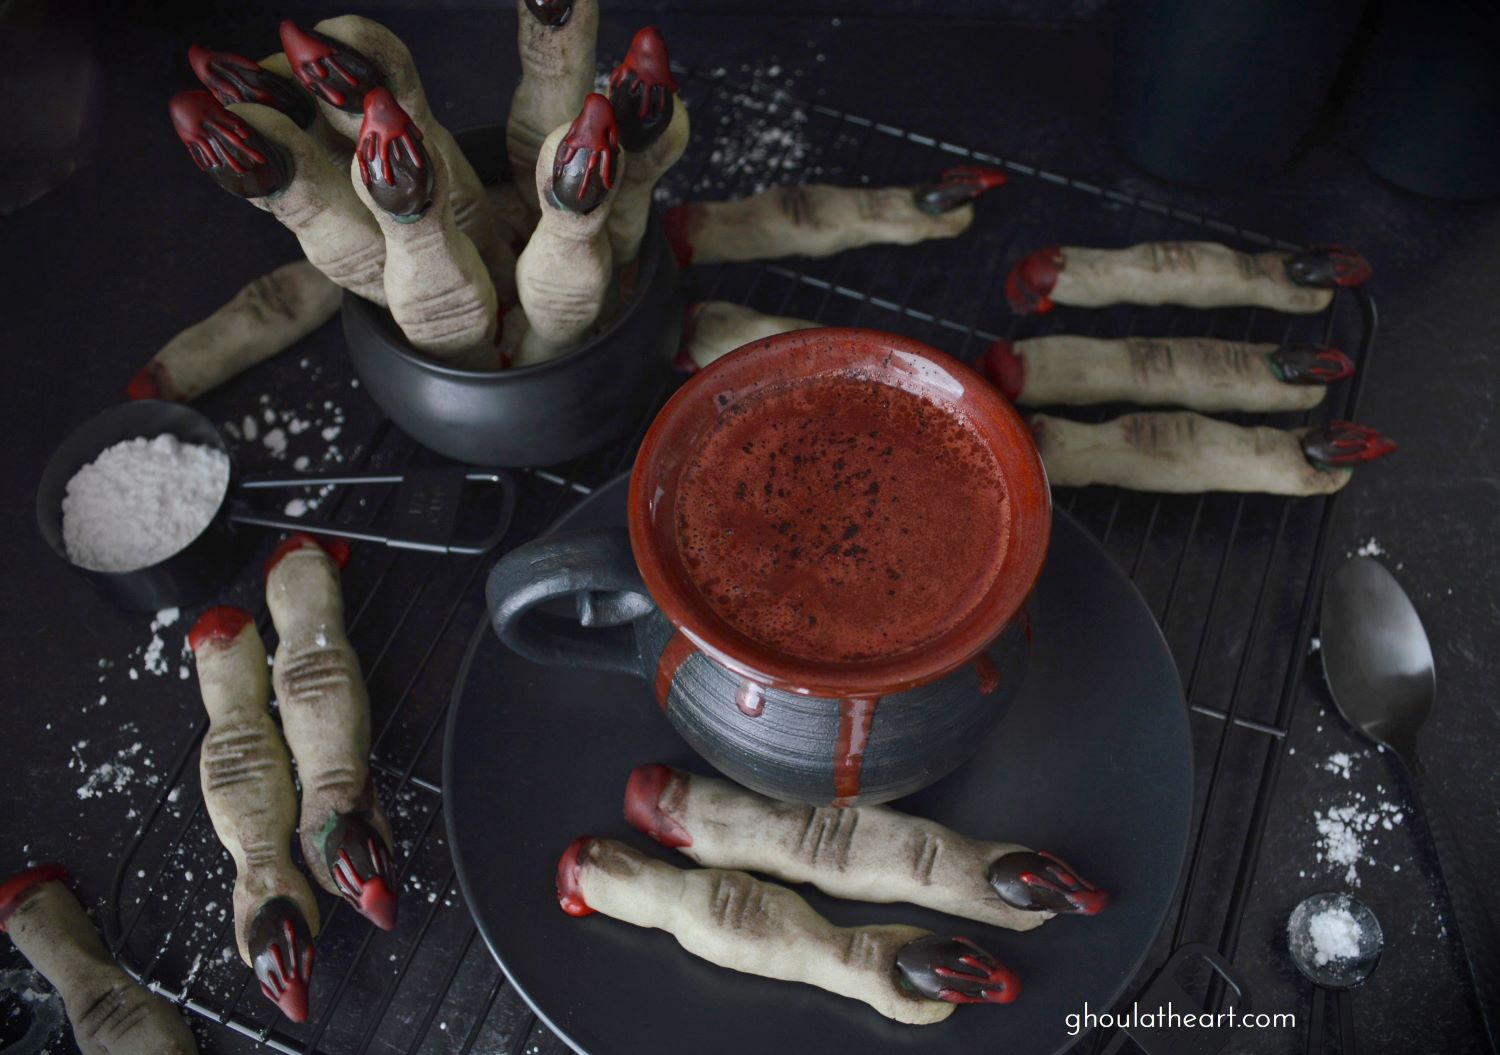
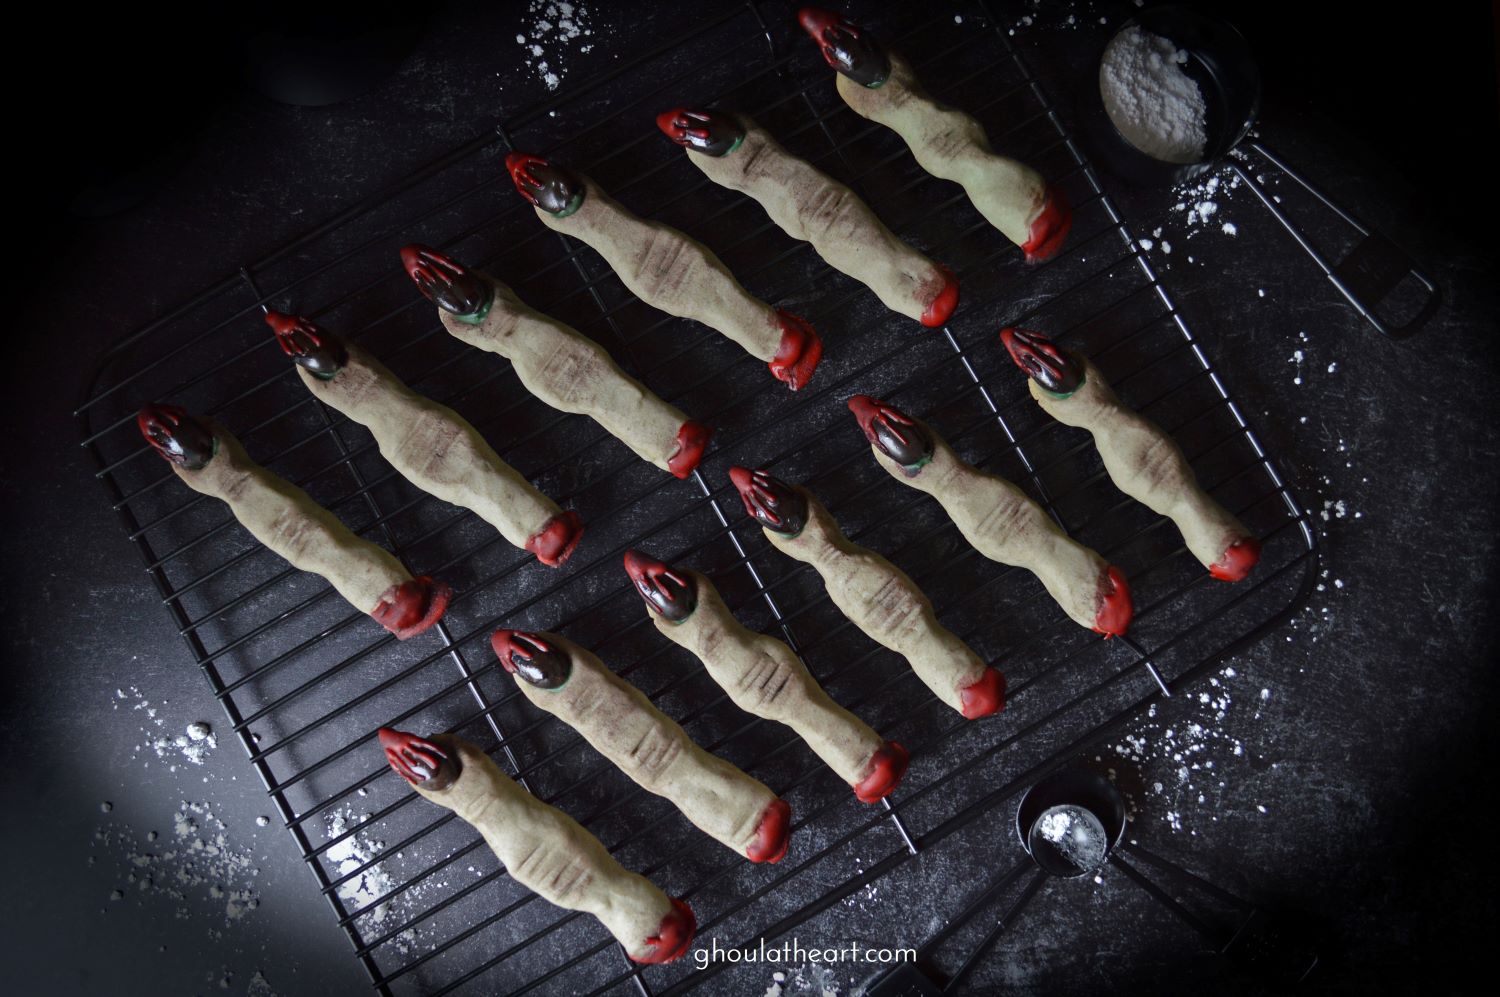
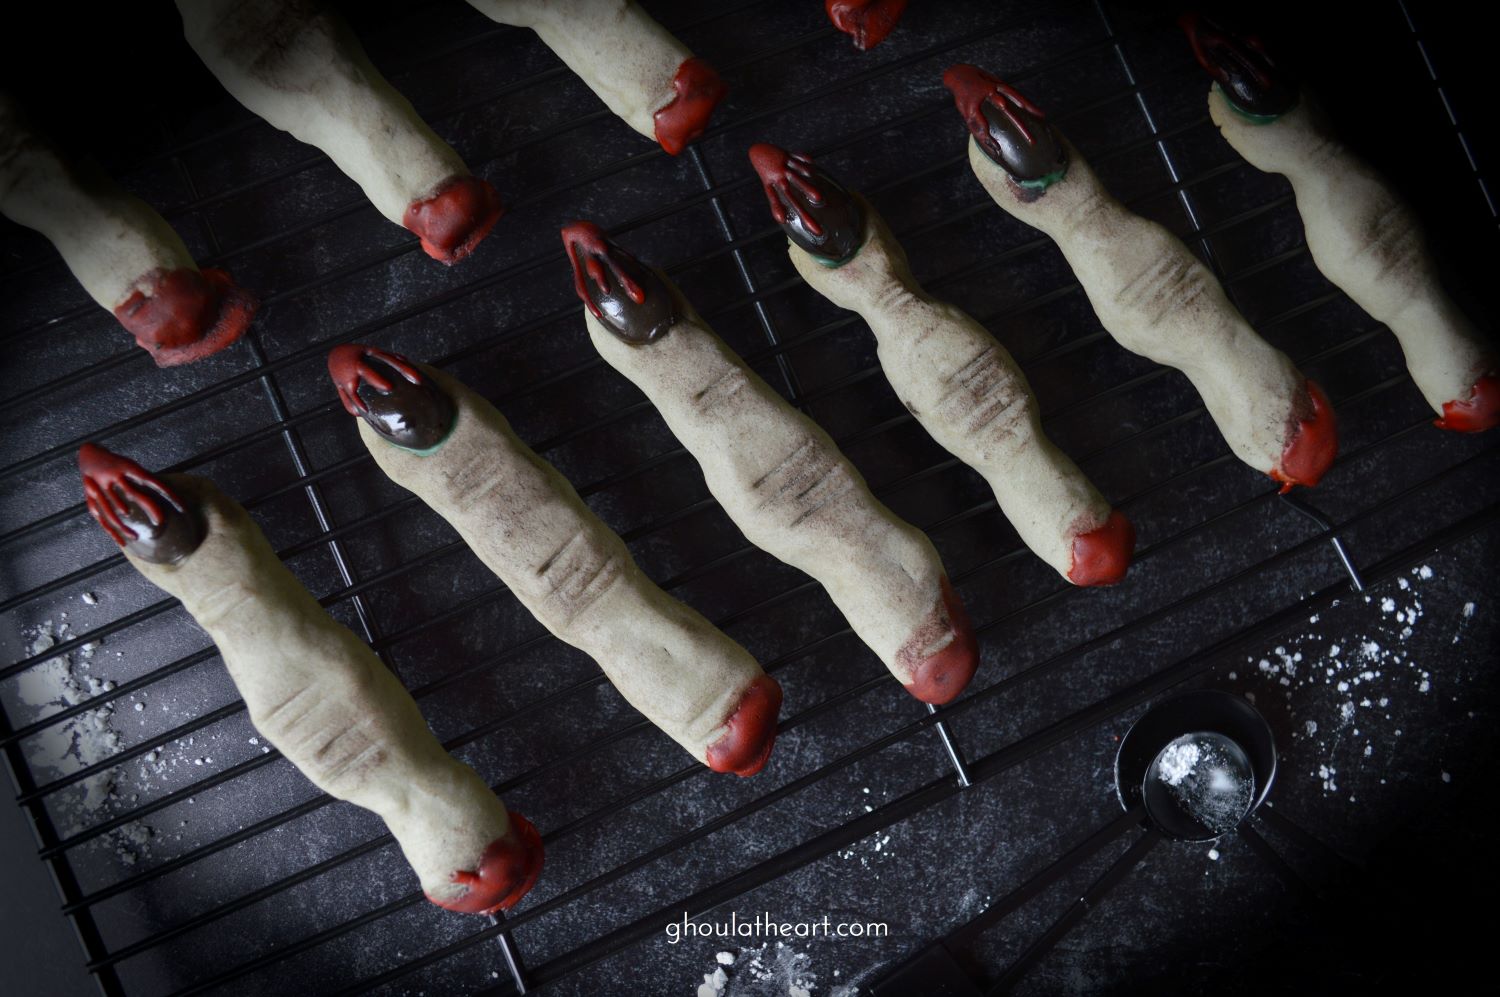
Double double, toil and trouble, fire burn, and cauldron bubble… That’s what came to mind when I saw this gorgeous mug from Whitney’s Ceramics. Whitney was so generous to allow me to create a recipe around her beautiful work of art. Her timing couldn’t have been better as I just began working on some witchy inspired recipes for my next Halloween theme. Using her cauldron mug as inspiration, I made classic Witches Fingers, but not just the basic, run-of-the-mill witches finger. Hell no! These witches are giving us the mother of all fingers…ones with bloody coffin nail manicures! 💅 That’s right! 😁 And no bad ass looking cookie can be eaten with out a little refreshment. So I filled her cauldron mug with a delicious chai tea infused hot chocolate that is so delicious, I’ll never have regular hot chocolate again. ☕ You can find this mug and others at Whitney’s Ceramics on Etsy and be sure to give @whitneygoller a follow on Instagram as well. Enjoy!
Coffin Nail Cookies and Cauldron Cocoa
Ingredients
Witches Fingers
- 1 cup butter, room temperature
- 1 cup powdered sugar
- 1 egg
- 1 tsp. vanilla extract
- 4 drops green food coloring
- 1 drop black food coloring
- 2¾ cup all purpose flour
- 3 dozen whole almonds (for baking)
- black cocoa powder (aging)
- green melting chocolate, melted (to attach coffin nails)
Bloody Coffin Nails
- 2 dozen almonds, blanched and halved
- 11 oz. caramel bits, melted
- ½ tbsp. black cocoa powder
- ⅓ cup powdered sugar
- 3 drops red food coloring
- 1 drop green food coloring
- milk (one drop at a time)
Cauldron Chai Cocoa (2 servings)
- 2½ cups milk
- ½ cup strong chai tea
- 1 cup mini chocolate morsels, semi sweet
- ¼ cup brown sugar
- 1 tsp. vanilla extract
- 1-2 tsp. red food coloring (optional)
- black cocoa powder (garnish) (optional)
Instructions
Witches Fingers
- Cream butter and powdered sugar together. Add egg, vanilla extract and food colorings. Add flour and mix until combined. (I kept these pretty pale so they looked a little more realistic, but add more green food coloring until you get the desired shade) Chill for a minimum of 1 hour. Prepare the coffin nails. (see below)
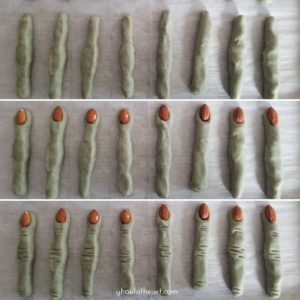
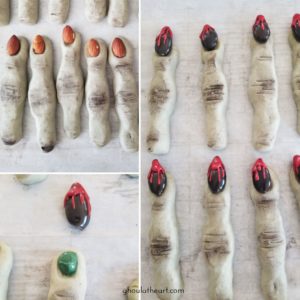
- Preheat oven to 325°F. Remove dough from the refrigerator. Use a small cookie scoop to scoop out about 1 tbsp. of cookie dough. Roll into 4 inch long ropes and place on a parchment lined cookie sheet. Pinch ends of dough together to create knuckles as desired. Press an almond into one end of the finger. Use a butter knife to score dough to make knuckle creases. Bake for 20-25 minutes or until set but not brown.

Bloody Coffin Nails
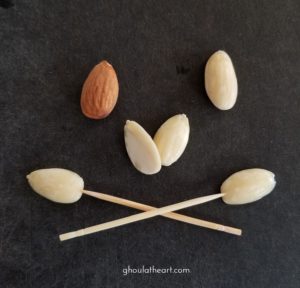
- Blanch almonds: Bring about 2 cups of water to a boil and pour water over almonds and let soak for 3 minutes. Pour off water and remove almond skins. Slice almonds in half lengthwise. Pierce end of almond with a toothpick to create a handle for dipping. The toothpick doesn't have to be in that far at all, just enough to hold the almond. If you stick it in too far, the almond will split. Set the toothpick almonds aside and prepare the black cocoa caramel.

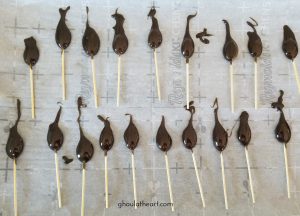
- Line a cookie sheet with parchment paper. Melt caramel bits in a small saucepan over medium heat stirring continually. Once melted add the black cocoa powder and stir until the caramel turns black. Once you add the cocoa powder the caramel will change consistency. The added cocoa causes the normally soft caramel to cool into a semi-hard shiny candy coating. Dip almonds in caramel or drip the caramel over them until coated and place your almonds on the parchment paper to allow the caramel harden.

- Shaping the nail: Wear gloves when handling the coated almonds to avoid getting fingerprints on them and also to protect your fingers from the warm caramel. I used a candle to heat and shape the ends of the nails. Use your finger to gently mold the slightly heated caramel tips into a coffin nail pointed shape. Don't worry too much if there are finger prints at the tip because well cover them up with bloody icing drips.
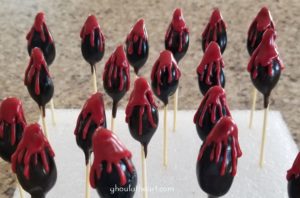
- Bloody Drips: Mix powdered sugar, red food coloring and a drop of green food coloring into a small bowl. Add about 1/2 tsp of milk and mix well. If it is too dry and thick add more milk one drop at a time, mixing well after each addition. One drop can turn the right consistency into a runny thin mess in a blink of the eye. You want the icing to be on the thicker side so that it drips slowly off the end of a toothpick, but not too thick that it globs. You'll have to practice on an uncoated almond until you get the feel of it, once you have it, use a toothpick to add the drips to nail and allow to dry upright sticking them into a piece of foam.
- Once blood icing are dry, gently twist the toothpick handle to remove it from the coffin nail. Use scissors to trim any extra caramel or heat it over a flame and gently tap it flush to the end of the nail.

- Once the cookies are cooled, attach coffin nails to the fingers with a spot of green melting chocolate. Use a brush to dust up the knuckles with black cocoa powder for detail and so that they look like old witchy fingers with an amazing manicure! 💅

Cauldron Chai Cocoa (Serves 2)
- Prepare strong tea: Heat 1 cup of water and add 2 bags of Chai tea and let steep for 10 minutes. Prepare Cocoa: In a medium saucepan, add milk, 1/2 cup chai tea, sugar, vanilla and chocolate chips and heat until chocolate is melted. Optional: If you want to create a creepy blood red color, add red food coloring and stir. Garnish with a sprinkle of black cocoa powder.

