This post contains an affiliate link where I earn a commission when a purchase is made.
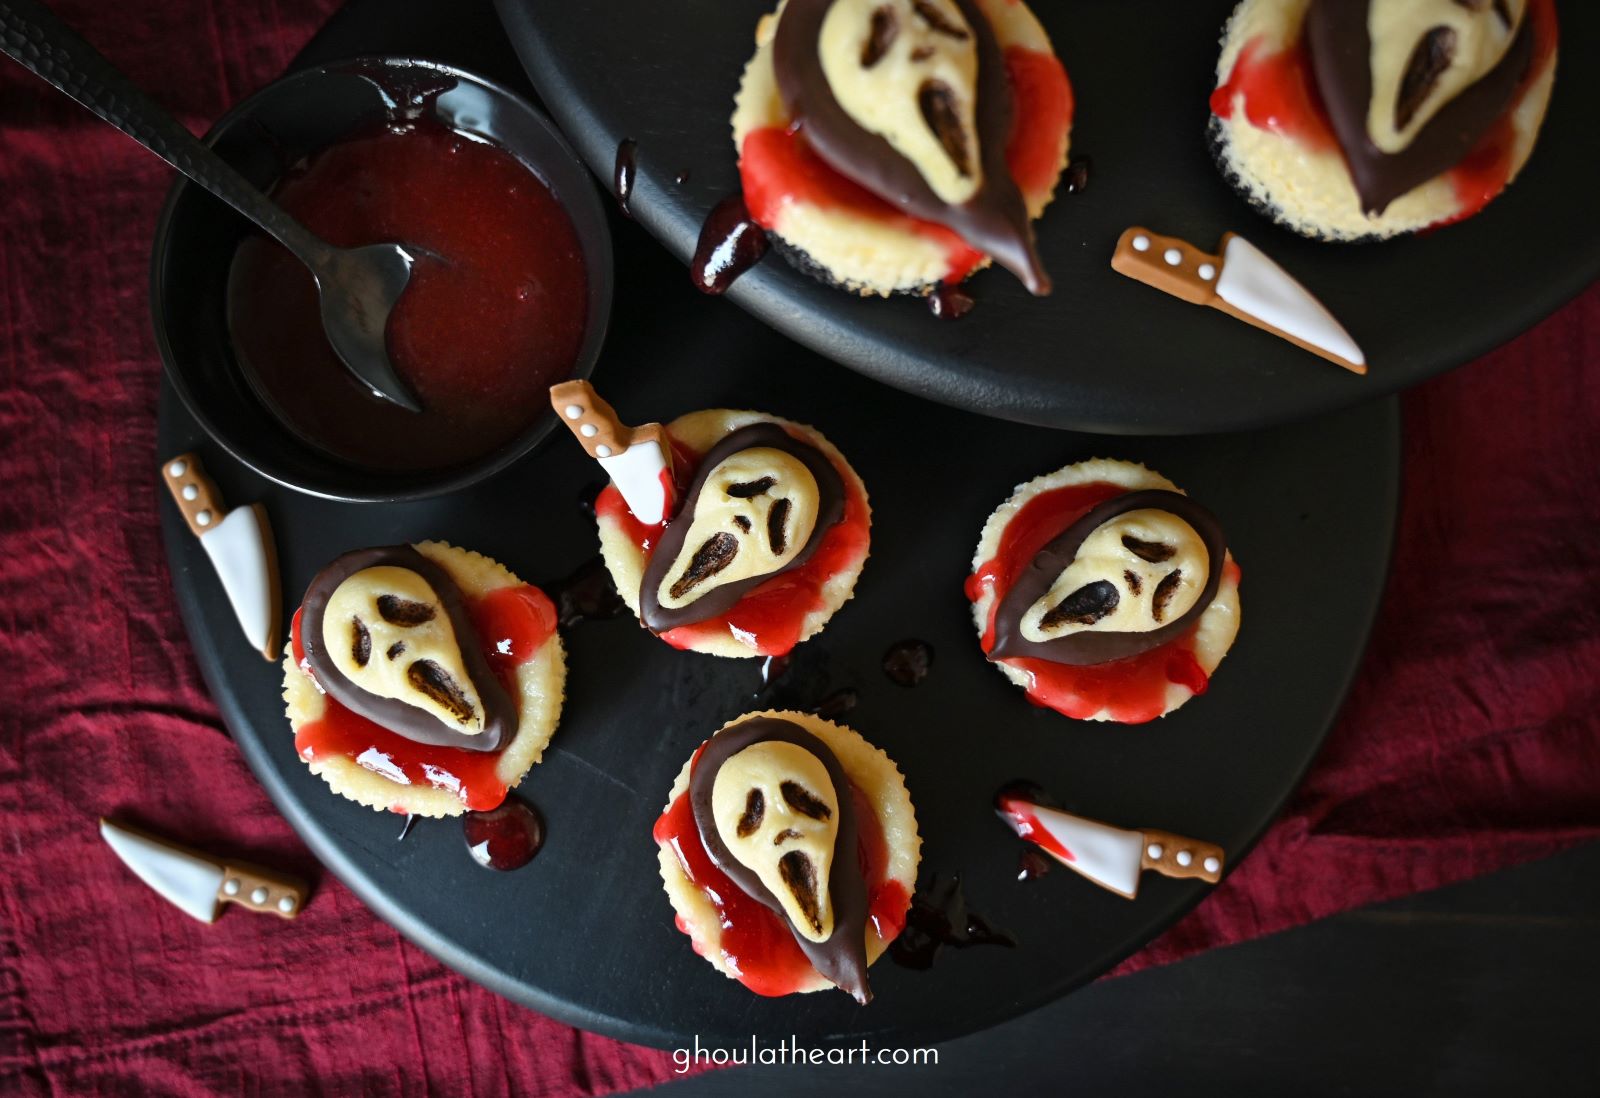
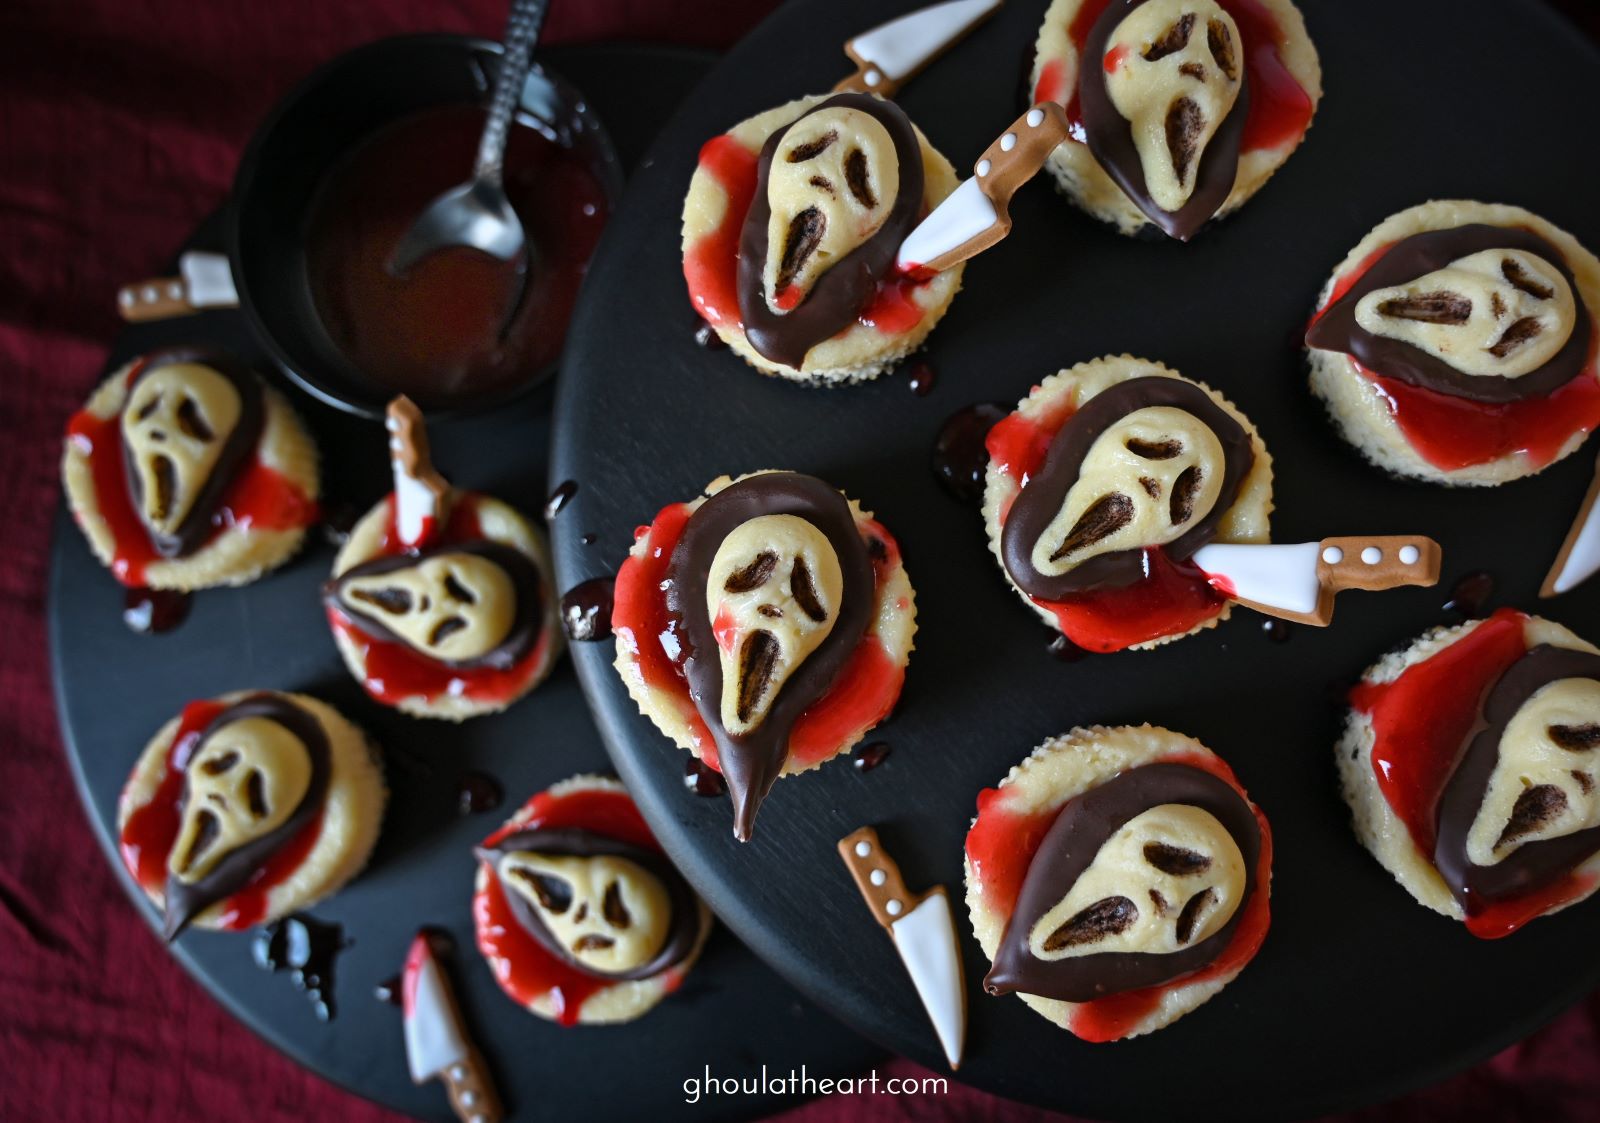
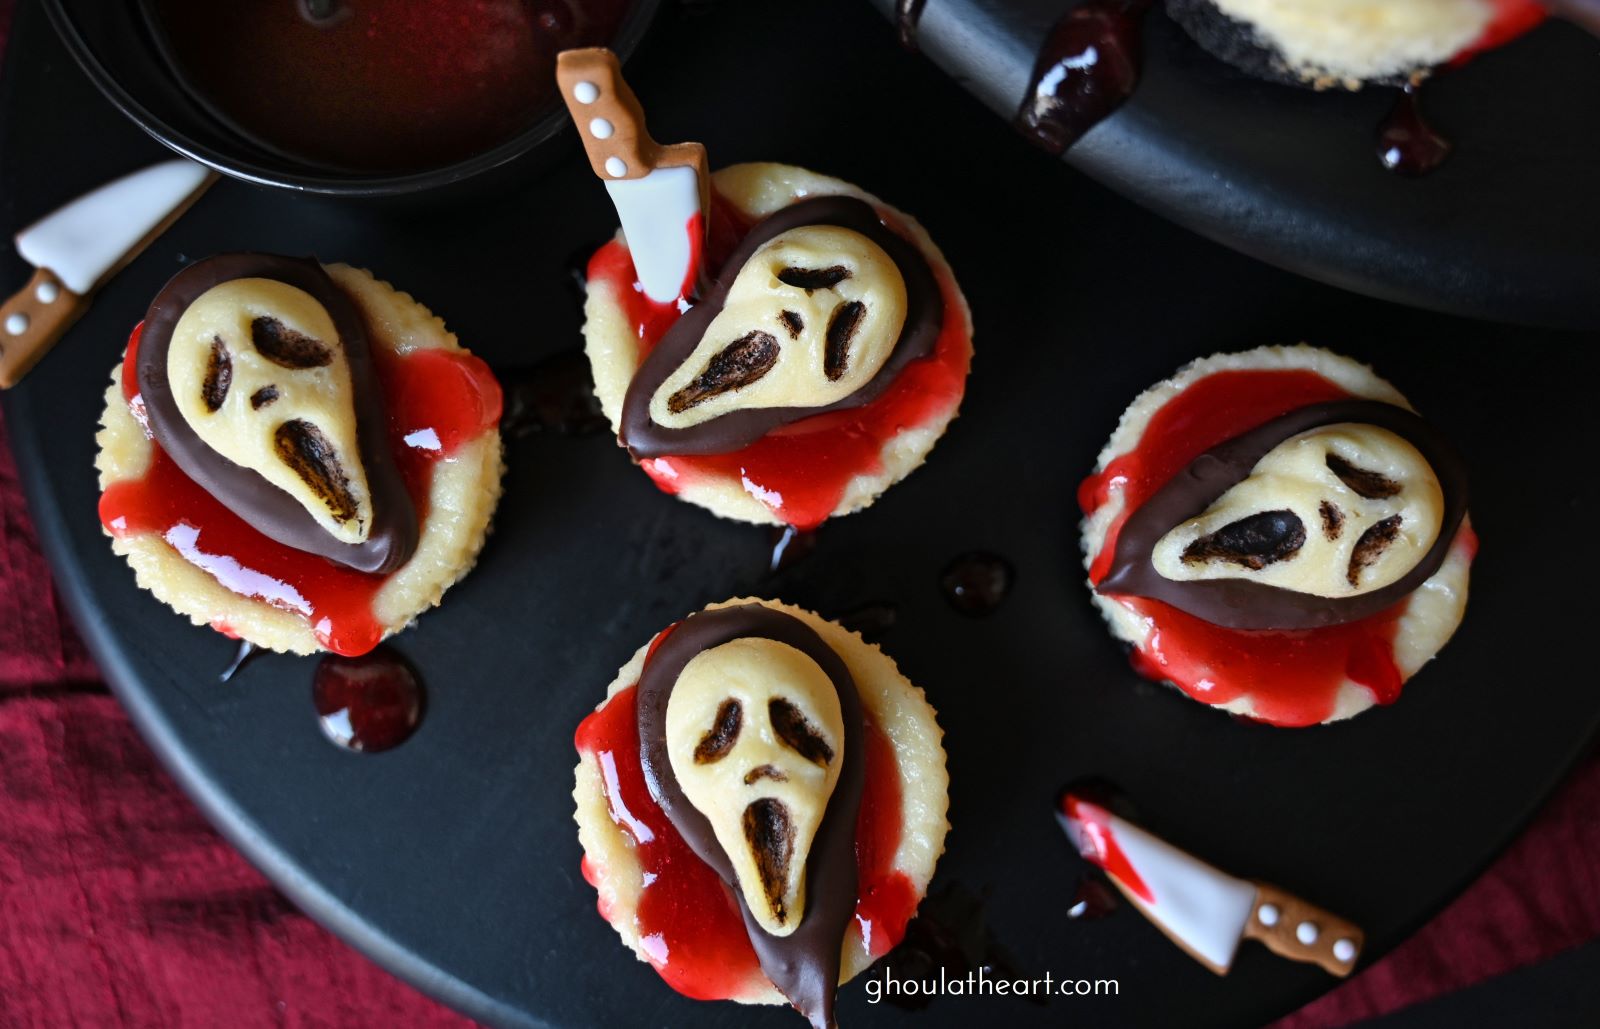
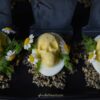
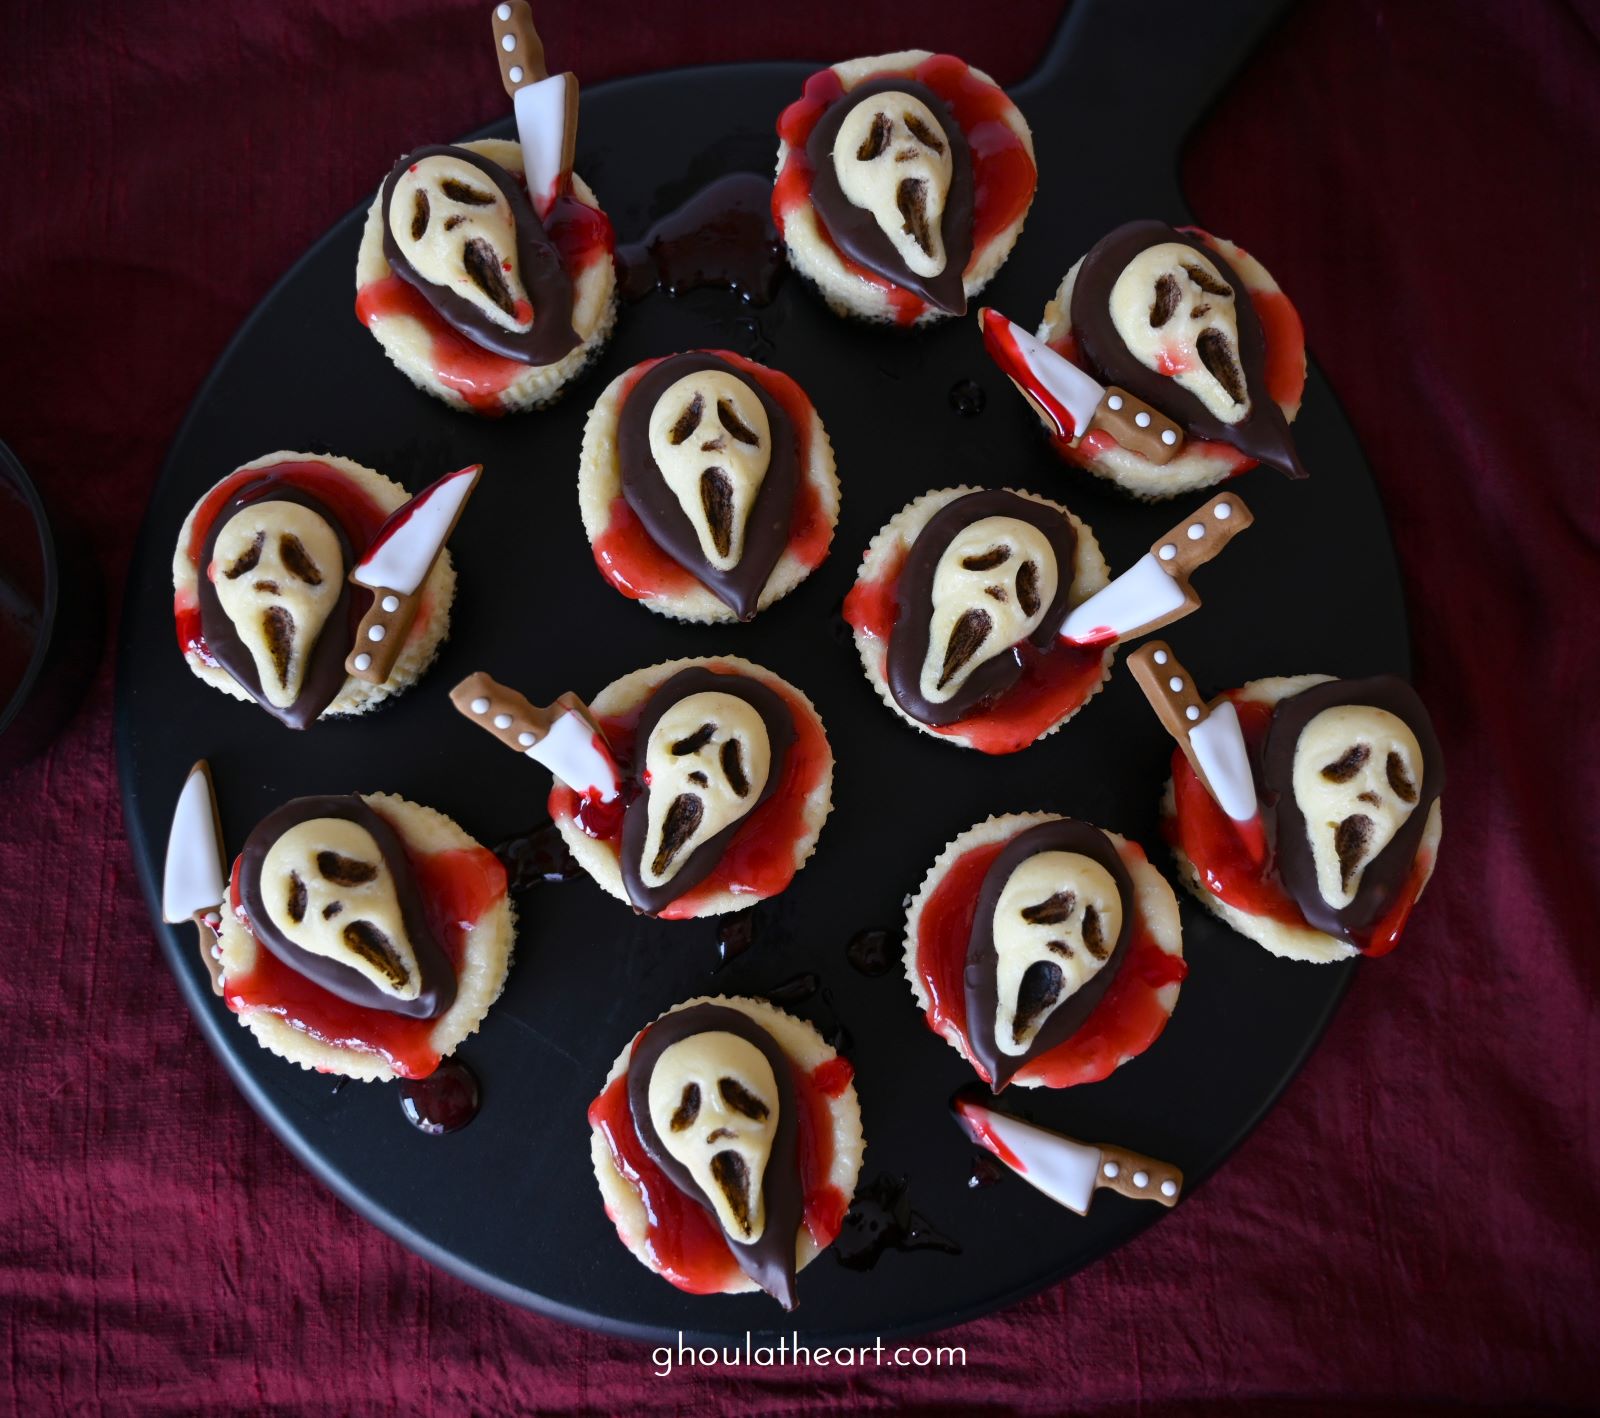
I must admit that the majority of the ideas bouncing around in my head this summer have been dessert ideas, which in the blogosphere is very welcome and popular, but for my waistline, not so much. That being said, Halloween desserts continue with these Scream’ Cheese Cakes that I created when Shaped Ice Molds (affiliate link) sent me their new molds to try out. These molds feature the classic horror movie bad guys, Ghostface, Michael Myers and Jason Voorhees which is absolutely perfect for Halloween! I instantly knew I wanted to do a dessert with Ghostface from Scream, using of course, wait for it…scream-cheese. So I came up with a quick and easy cheesecake recipe that bakes up in about 15 minutes and most importantly, the mixture bakes and releases easily from the mold to create these perfectly formed cheesecake ghost faces. Add a little chocolate and cocoa powder for detail and Enjoy!🩸👻🔪
Scream Cheese Cakes
Equipment
- 1 Horror Movie Characters Ice Molds Use coupon code ghoulatheart10 to save 10%
Ingredients
- 2 8 oz. blocks 'scream' cheese (room temperature)
- ⅜ cup granulated sugar
- 1 tsp. vanilla extract
- 3 eggs
- 1 cup sandwich cookie crumbs (~14 cookies) (I used Dark Chocolate filled Oreos)
- 2 tbsp. butter (melted)
- 1 cup seedless strawberry jam + 1/4 cup water
- ⅔ cup chocolate chips, melted
- cocoa powder (to paint details of ghost face)
- Candy knife garnish (optional)
Instructions
- Preheat oven to 350° F. Line cupcake pan with cupcake liners. Spray silicone mold with cooking spray and set it on a baking sheet.
- Prepare cookie crust: Place cookies in a food processor and pulse into fine crumbs. Transfer to a small bowl and stir in melted butter until crumbs are coated. Transfer 1-2 tablespoons of buttered cookie crumbs into each cupcake liner and press down with the back of a spoon or rubber spatula to form the cookie crust.
Scream Cheese Batter
- In a medium bowl, beat together 'scream' cheese and sugar until fluffy. Add vanilla and eggs, one at a time until incorporated. Transfer 3/4 cup of cheesecake batter into a plastic sandwich bag for the ghost faces and use the remaining batter for the cupcakes.
- Use a large cookie scoop to add cheesecake batter into each of the prepared cupcake liners. Bake at 350° F for 15-17 minutes. Remove from oven and allow to cool for 20 minutes. Then refrigerate cupcakes for at least 2 hours or overnight.
Ghost face garnishes
- Snip the corner of the sandwich bag and squeeze batter into the prepared ghost face mold. Tap mold against the counter gently to settle the batter into the mold and release any air pockets. Bake at 350 degrees for 10-12 minutes. Cool on counter for 15-20 minutes and unmold the cheesecake Ghost faces. (Repeat until you have 12 ghost faces.)
- Heat chocolate chips in a microwave safe bowl in a microwave on half power for 2 minutes. Stir and then return to the microwave heating in 1 minute increments, stirring between until the chocolate is melted. Place a teaspoon of chocolate on parchment paper and then place each cheesecake ghost face in the chocolate to create a hood. Then with a fine tip paintbrush carefully paint the details of the face with a mixture of cocoa powder and a drop or two of water. Refrigerate with cupcakes until ready to assemble.
Assembly
- Remove cupcake liners from cheesecakes and place on serving platter or plates, top with a spoonful or two of strawberry jam mixed with a little water and heated. Add chocolate Scream cheese ghosts and garnish with candy knives (optional) Enjoy!

