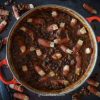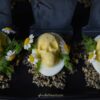

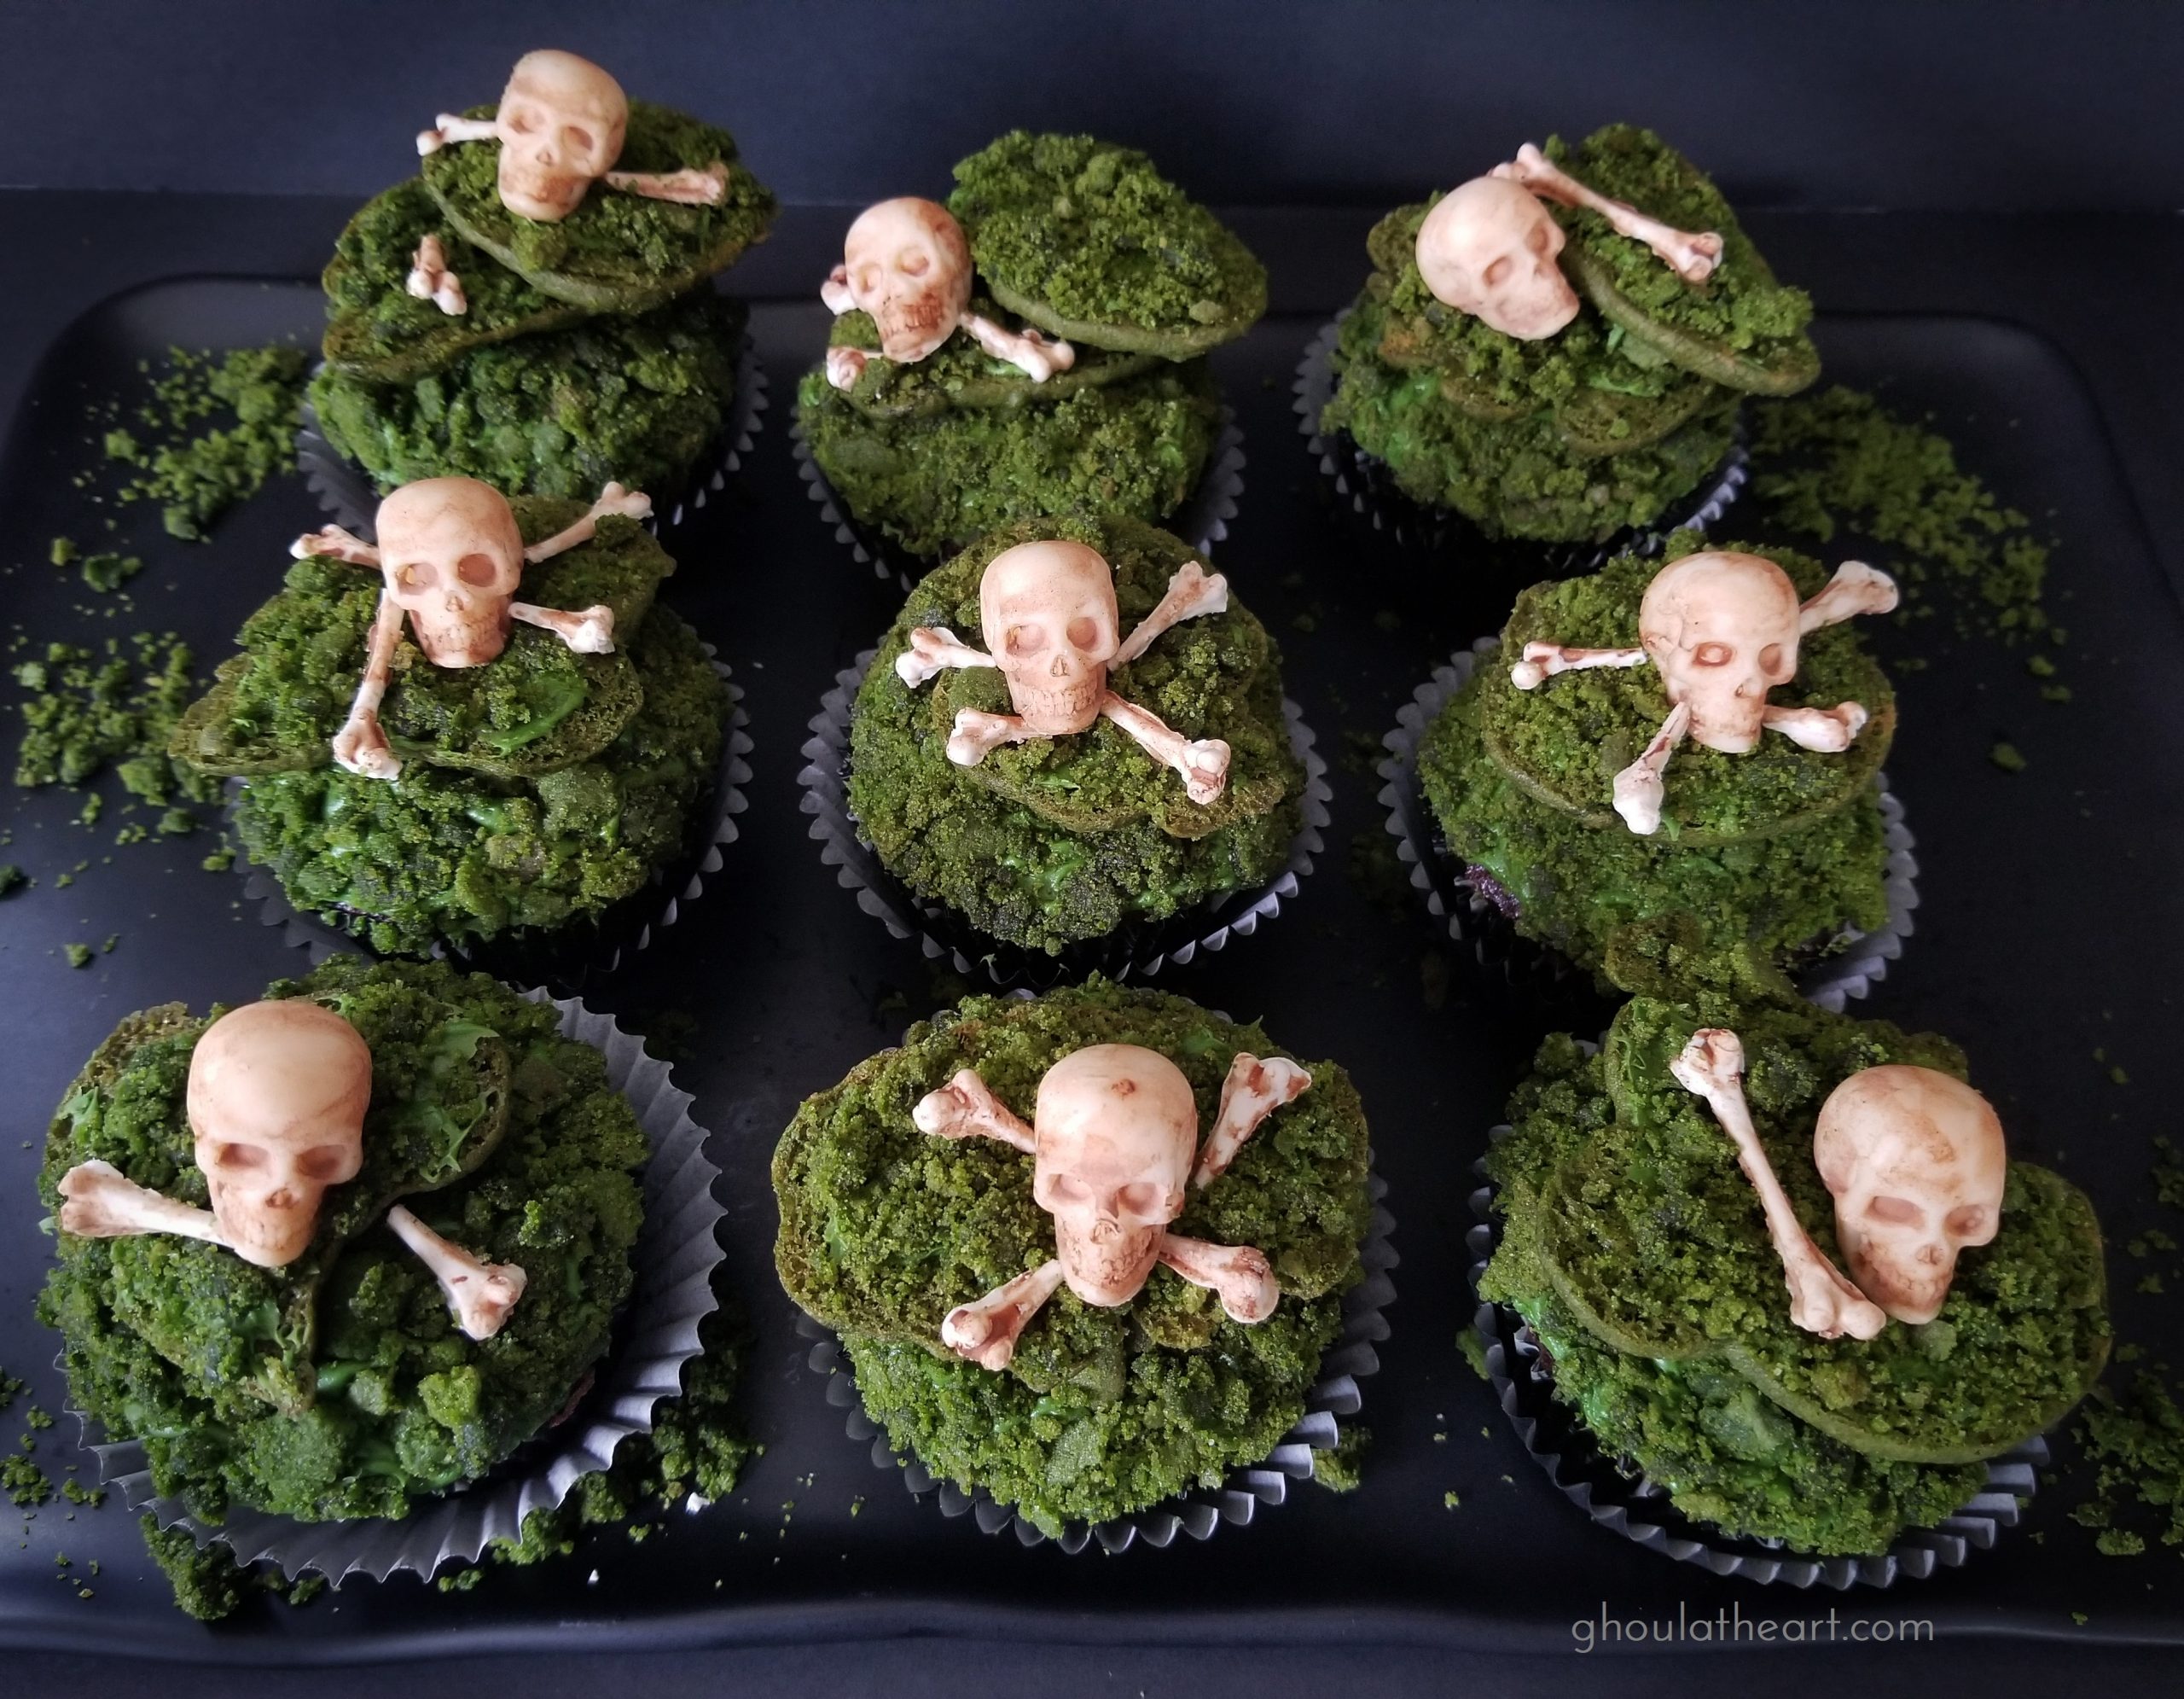
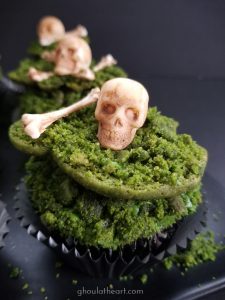
I can find Halloween inspiration in pretty much anything. A trip to a thrift shop, watching a movie, talking with friends, reading a book, and even other holidays really get the creative juices flowing for Halloween. Just as my last post for my Haunted Hamlet was inspired by mini Christmas Villages, these festive cupcakes, that I originally posted on Castellon’s Kitchen were actually inspired by Easter! It was February and March, the stores had been filled with plastic moss-filled baskets, bunnies and eggs, all that ‘spring has sprung’ and ‘renewal’ rocking everywhere. Honestly, I just wasn’t feeling it, so I took it another direction all together…instead I came up with aged skull and crossbones put to rest in shallow mossy cupcake graves. I affectionately call them, ‘Let Nature Run Its Corpse’ Cakes.
I won’t go on too much about this recipe, because it’s not even a recipe, rather its an idea how to arrange boxed cake mix, prepared frosting, and ready made sugar cookie dough. There are only two things that I think are hard about this cupcake idea. One is buying the mini skull and bone molds and waiting for them to be delivered. And two, having to use melting chocolate. I have a hate-hate relationship with anything that requires using melting chocolate. I have such a hard time with it…melting it, overheating it, having it seize up on me. I literally HATE melting chocolate. Candymelts, whatever you want to call them. They are terrible. But like all obstacles, I try to overcome them so I use them in the most remedial way, with candy molds. Squeezing chocolate into a mold is about as sophisticated as I get. So if you are well versed in melting chocolate, this idea will be a breeze and you won’t curse your way through making these mini skull and crossbones like I did. My only recommendation is to make all your skull and bones in advance before you make your cupcakes. It does take a bit of time to let the chocolate set enough to get them out of the molds. Enjoy!
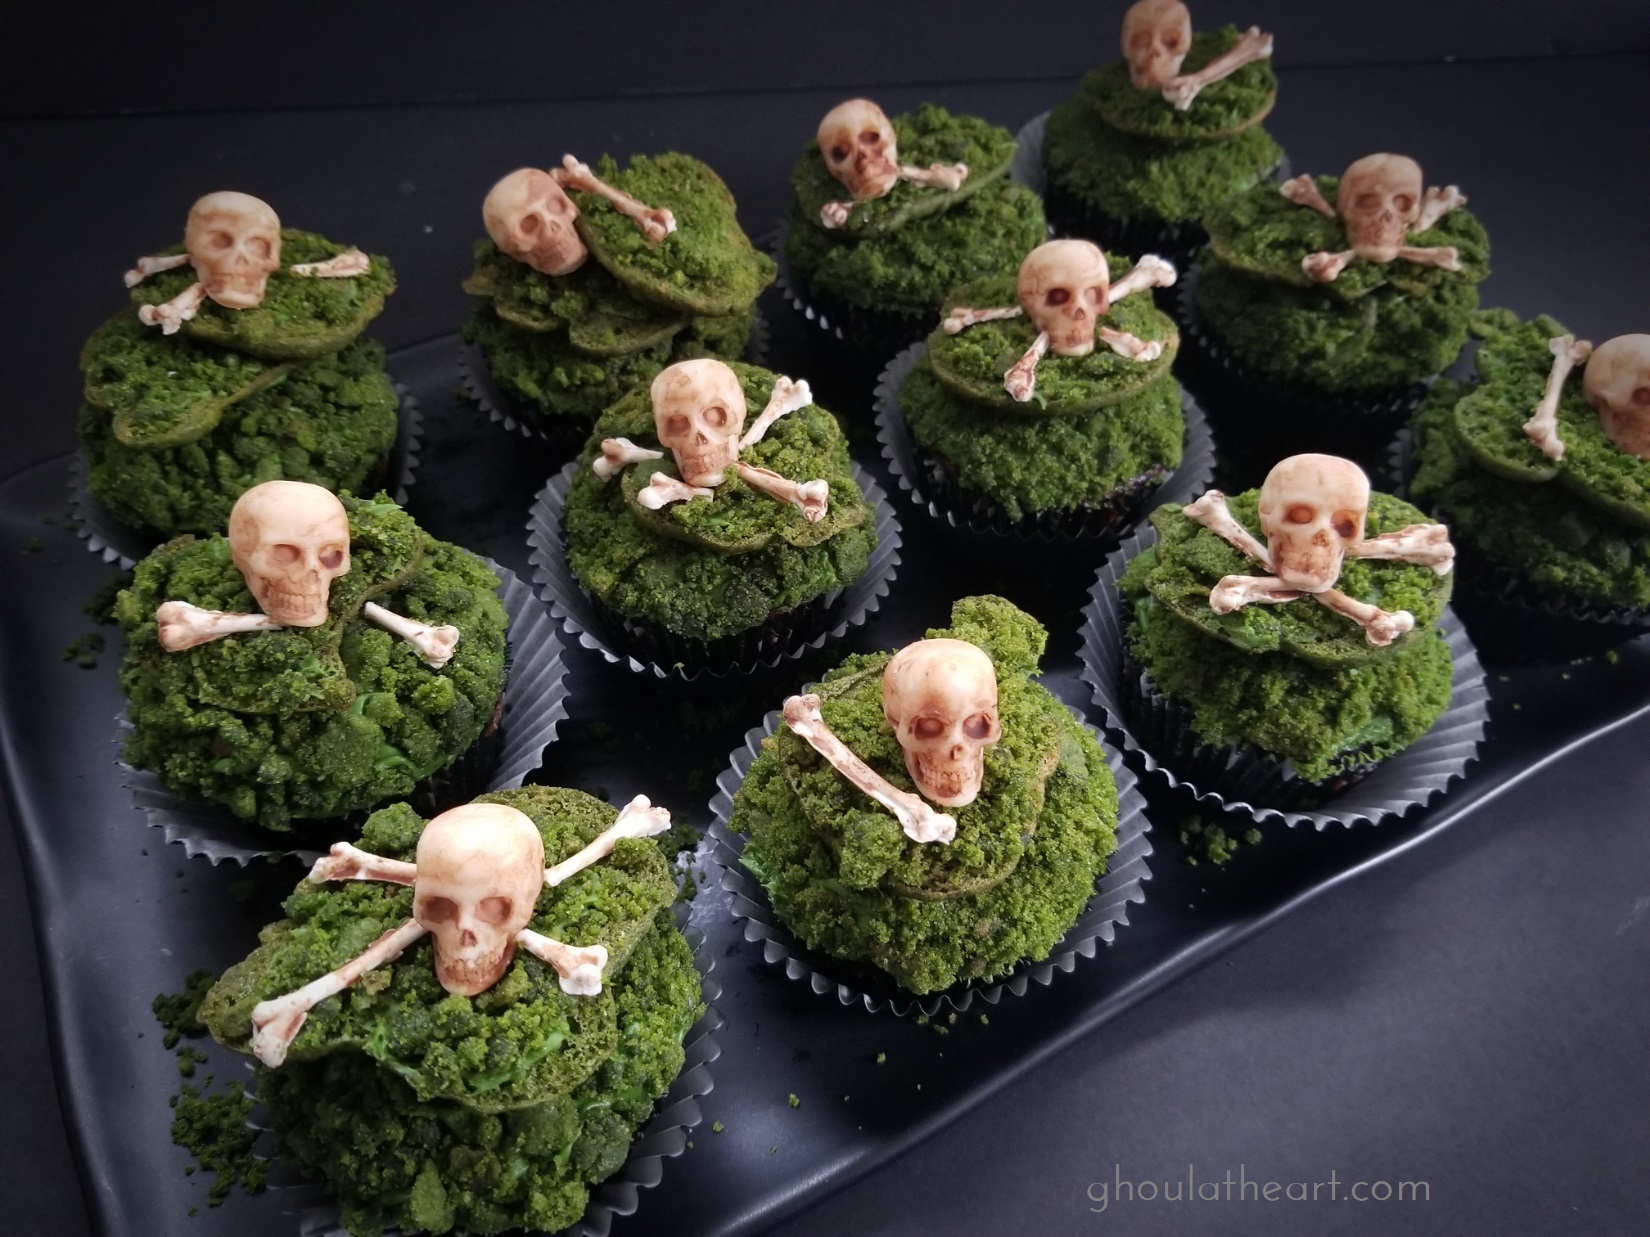
Let Nature Run Its Corpse Cakes
Ingredients
Mossy Cupcakes
- 1 box chocolate cake mix
- 1 can prepared vanilla frosting
- 1 tube prepared sugar cookie dough room temperature
- moss green gel food coloring I used Wilton
Chocolate Skulls and Bones
- 1 package white melting chocolate
- 1/2 tsp cocoa powder
- 1 Tbsp vodka
- Mini Skull and bones molds (see recipe notes on where to get them)
Instructions
Mossy Cupcakes
- Prepare white chocolate skull and crossbones first (see below for instructions)
- Prepare cupcakes according to package instructions. Cool completely.
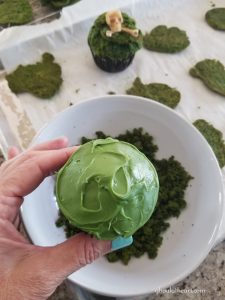
- Prep frosting: Combine 1/4 tsp of moss green gel food coloring to vanilla frosting and set aside.
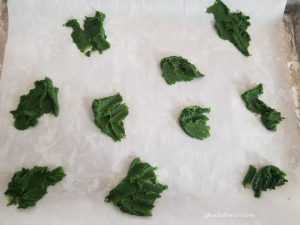
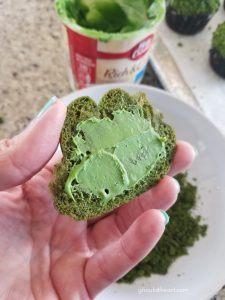
- Place prepared cookie dough in a medium bowl and add 1/2 tsp moss green gel food coloring and mix until well combined.
- Scoop about 1 tsp of cookie dough onto a parchment lined cookie sheet. Use a fork or butter knife to press dough flat into irregular shapes.

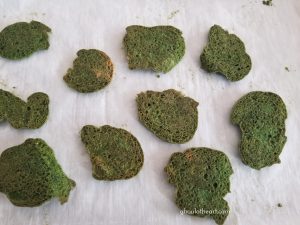
- Bake for 10 minutes at 350 degrees. Cookies will have a slightly browned bottom which is what you want to add depth of color to your mossy cookies. Cool cookies and set aside 24 small cookies to top your cupcakes with.
- Crumble the remaining cookies into a medium bowl and set aside. This will be used to top your cupcake frosting and to add mossy texture to the sugar cookie topper.
- Frost cupcakes

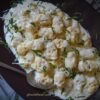
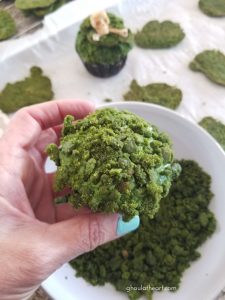
- Dip frosted cupcake into crumbled cookies to create a mossy top.
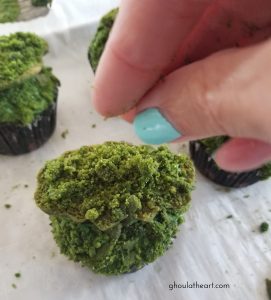
- Lightly frost the bottom of one of the small sugar cookies that you set aside and then add a small dollop of frosting to the other side of the cookie to act as a glue to hold the cookie to the top of the cupcake.
- Now sprinkle cookie crumbs over the slightly frosted cookie bottom to complete the mossy look.

- Garnish with skull and crossbones, securing with a small amount of frosting.
Skull and Cross Bones
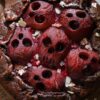
- Melt chocolate according to package directions and transfer into a piping bag or a plastic ziplock bag with the corner cut off. Pipe melted chocolate into molds and tap the bottom of the molds on counter to settle chocolate and remove air bubbles and empty space. Place filled molds in the refrigerator and let set for 15 minutes or longer as needed. Remove skull and bones from the molds and set aside. Don't worry if the small crossbones break, they can still be used with the skulls. Repeat until you have 24 skulls and 48 bones.
- Aging bones: In a small bowl, add 1/2 tsp. cocoa and 1T vodka and mix until combined. Use a paint brush to paint the chocolate skulls and bones with the cocoa vodka mixture to age the bones. The vodka will evaporate and leave the cocoa behind creating an aged look of the bones. Set aside until ready to use.