This post contains an affiliate link, where I earn a commission when you make a purchase.
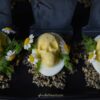
Have you ever had pickled eggs? I can tell by the wincing expressions that the answer is No, because that was me before I tried one. I had my first pickled egg 20 year ago with coworkers at Joe Jost’s here in Long Beach. Maybe it was the peer pressure of not wanting to be the only one not eating what everyone else was eating, but it got me to try them and I will tell you they were frickin delicious! I think many folks are creeped out by the thought of something other than a vegetable being pickled. Case in point…I will NEVER try pickled pigs feet, because I just…CAN’T. It’s too gross to even imagine, but pickled eggs are a nice middle of the road creepy pickled food that everyone must try at least once. It’s that creepiness and hesitation that you feel when you think about putting it in your mouth that makes it the perfect Halloween party food. Imagine if you will, all your friends in costume, drinking cocktails, and then you break out the embalmed skulls…who will dare to eat them?
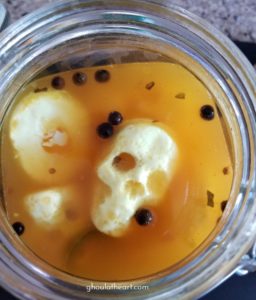
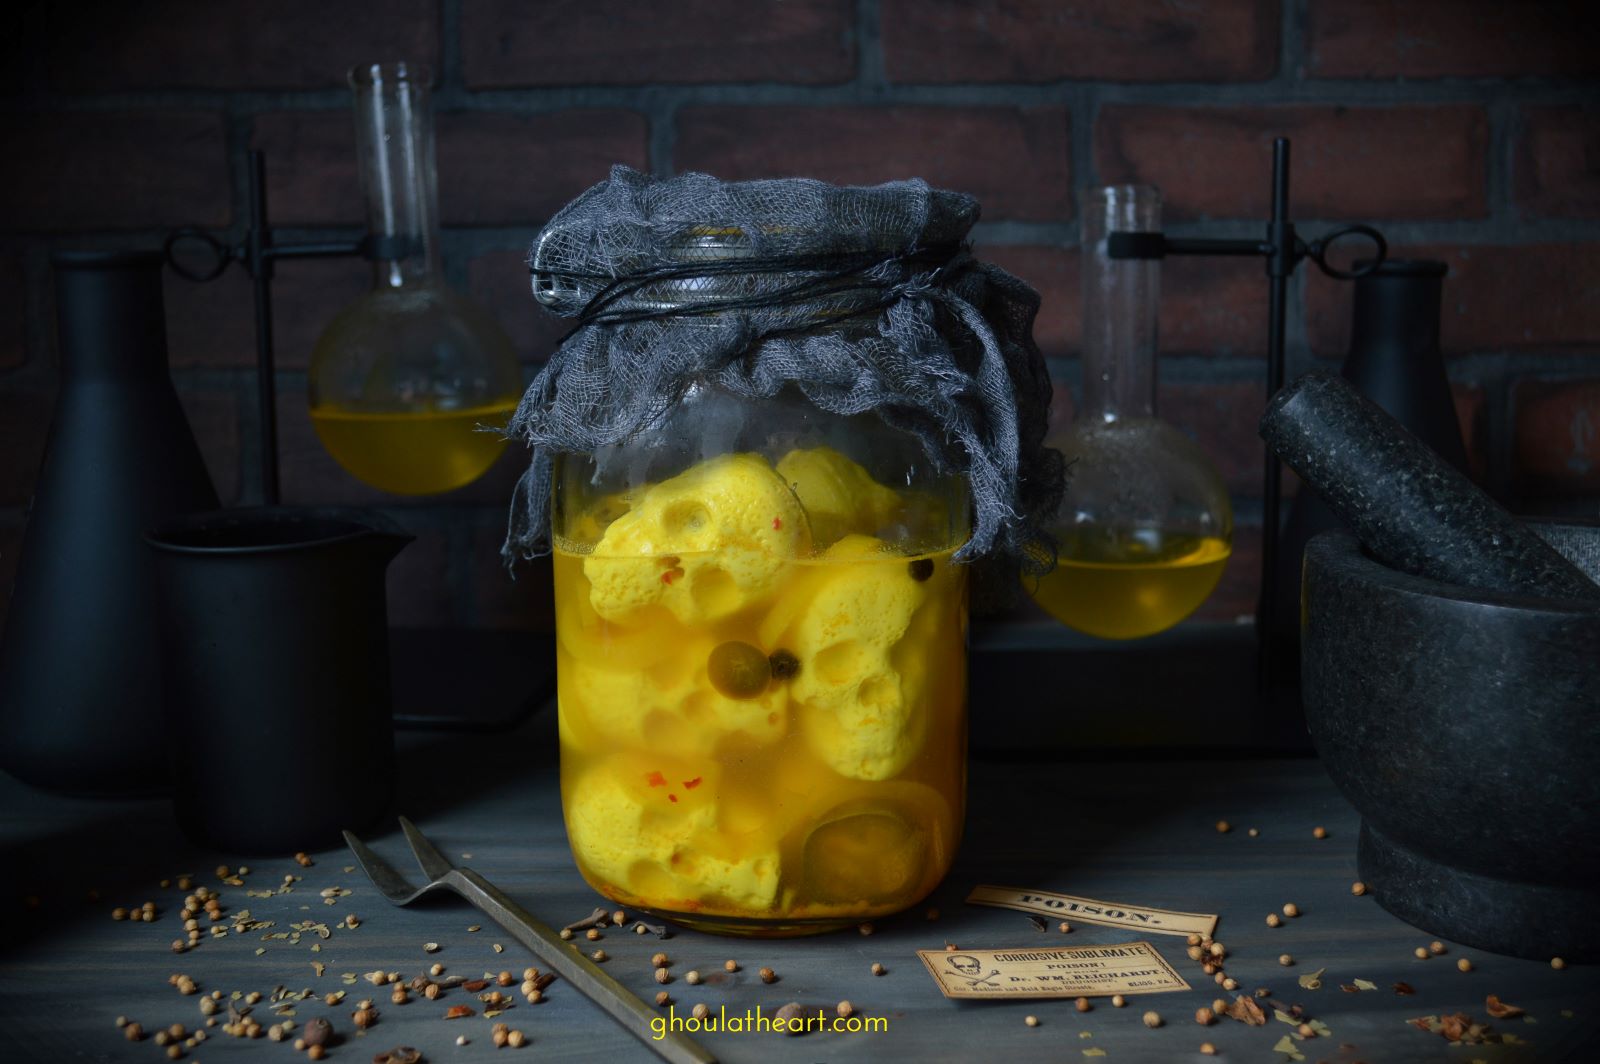
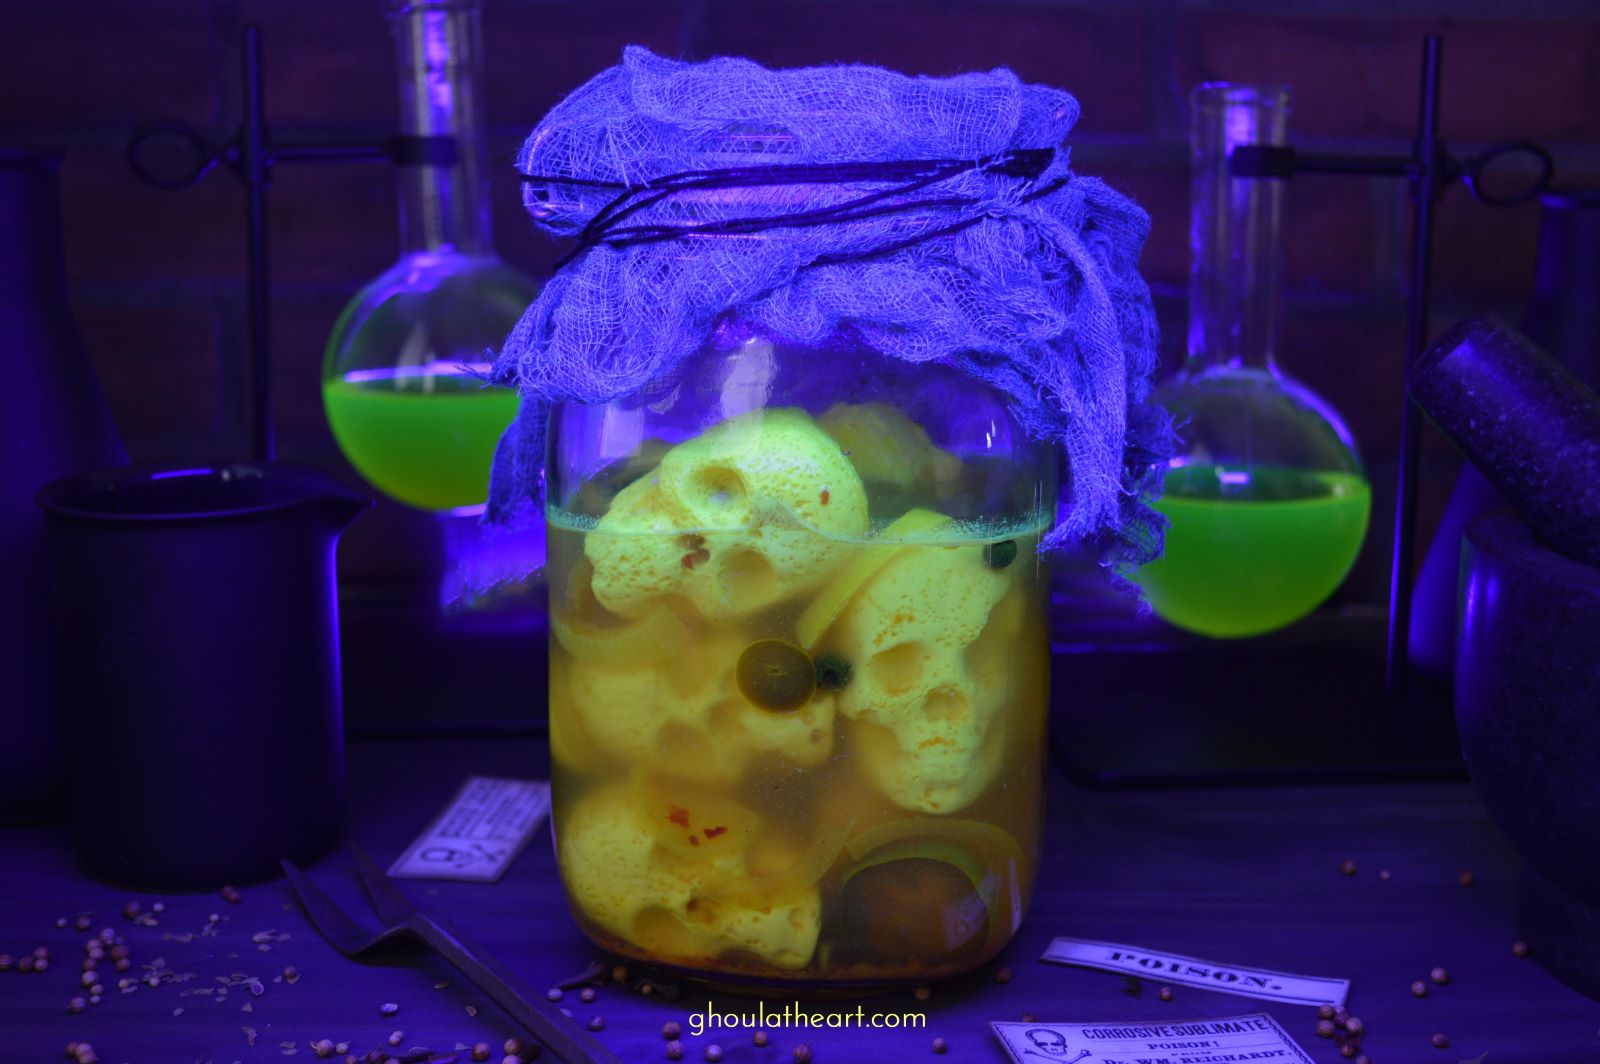
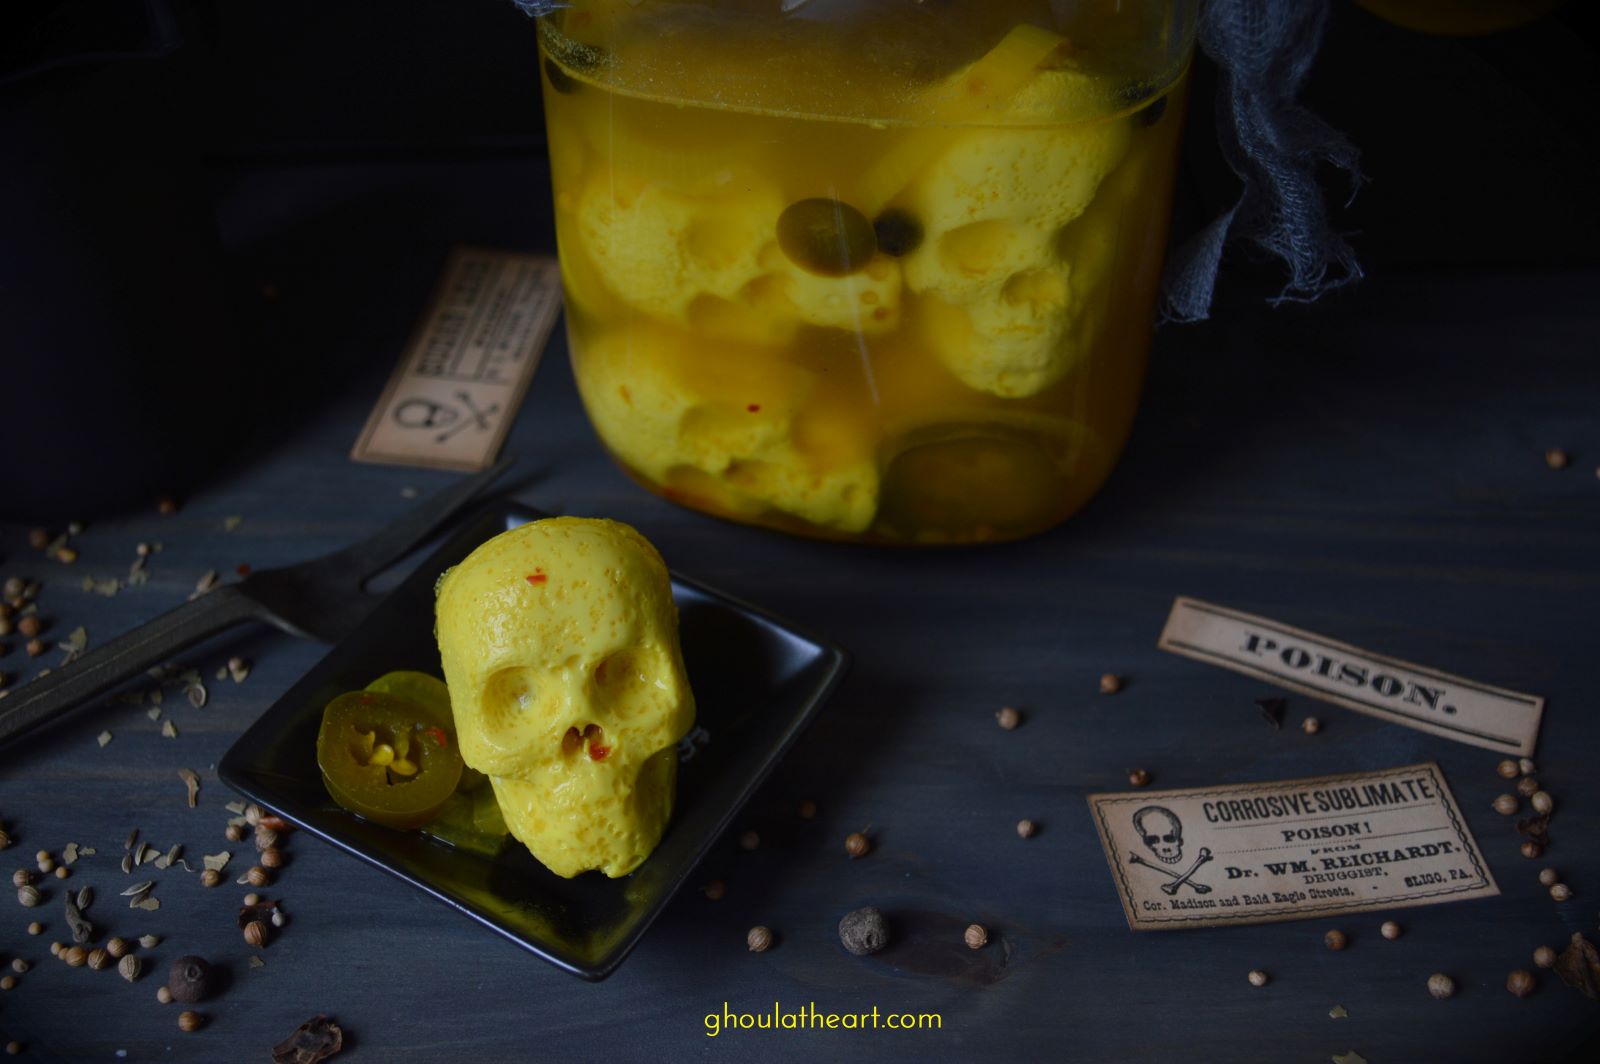
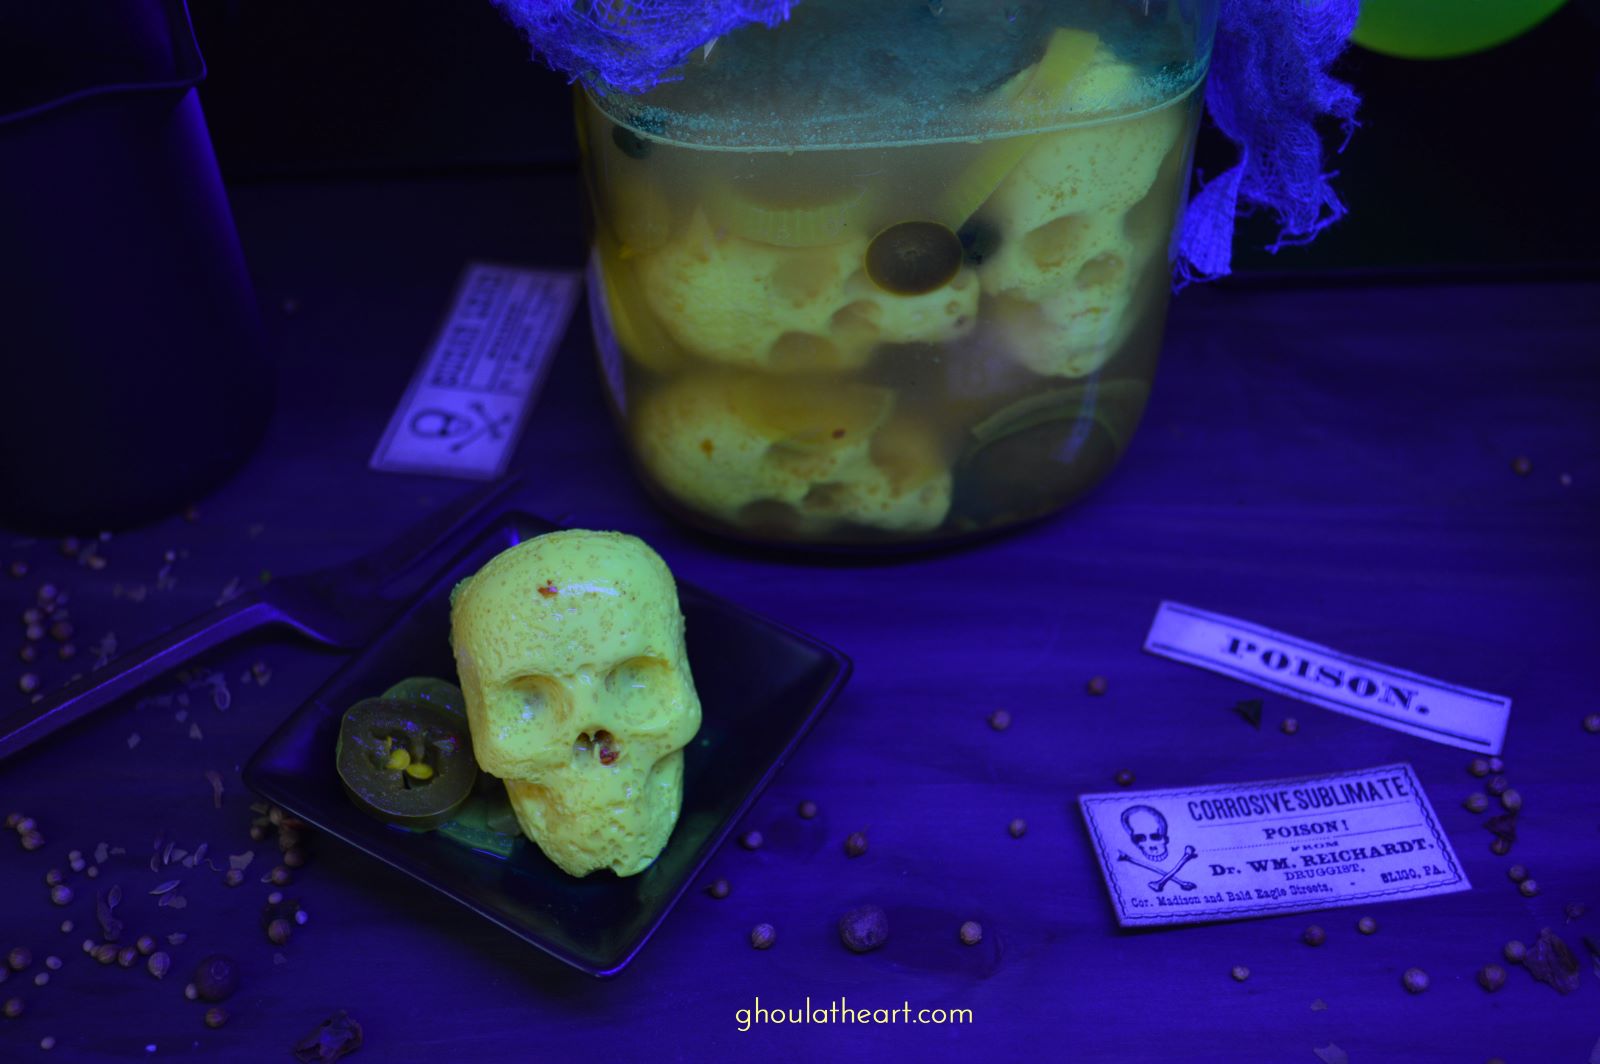
Note: Since everything is made better by adding skulls, I baked the eggs in skull-shaped molds from Shaped Ice Molds (affiliate link) and upped the theatrics and added a tablet of Vitamin B12 to the pickling brine so that the eggs would glow yellow under a black light. So whether the black lights are on or off these little craniums are sure to be a hit!
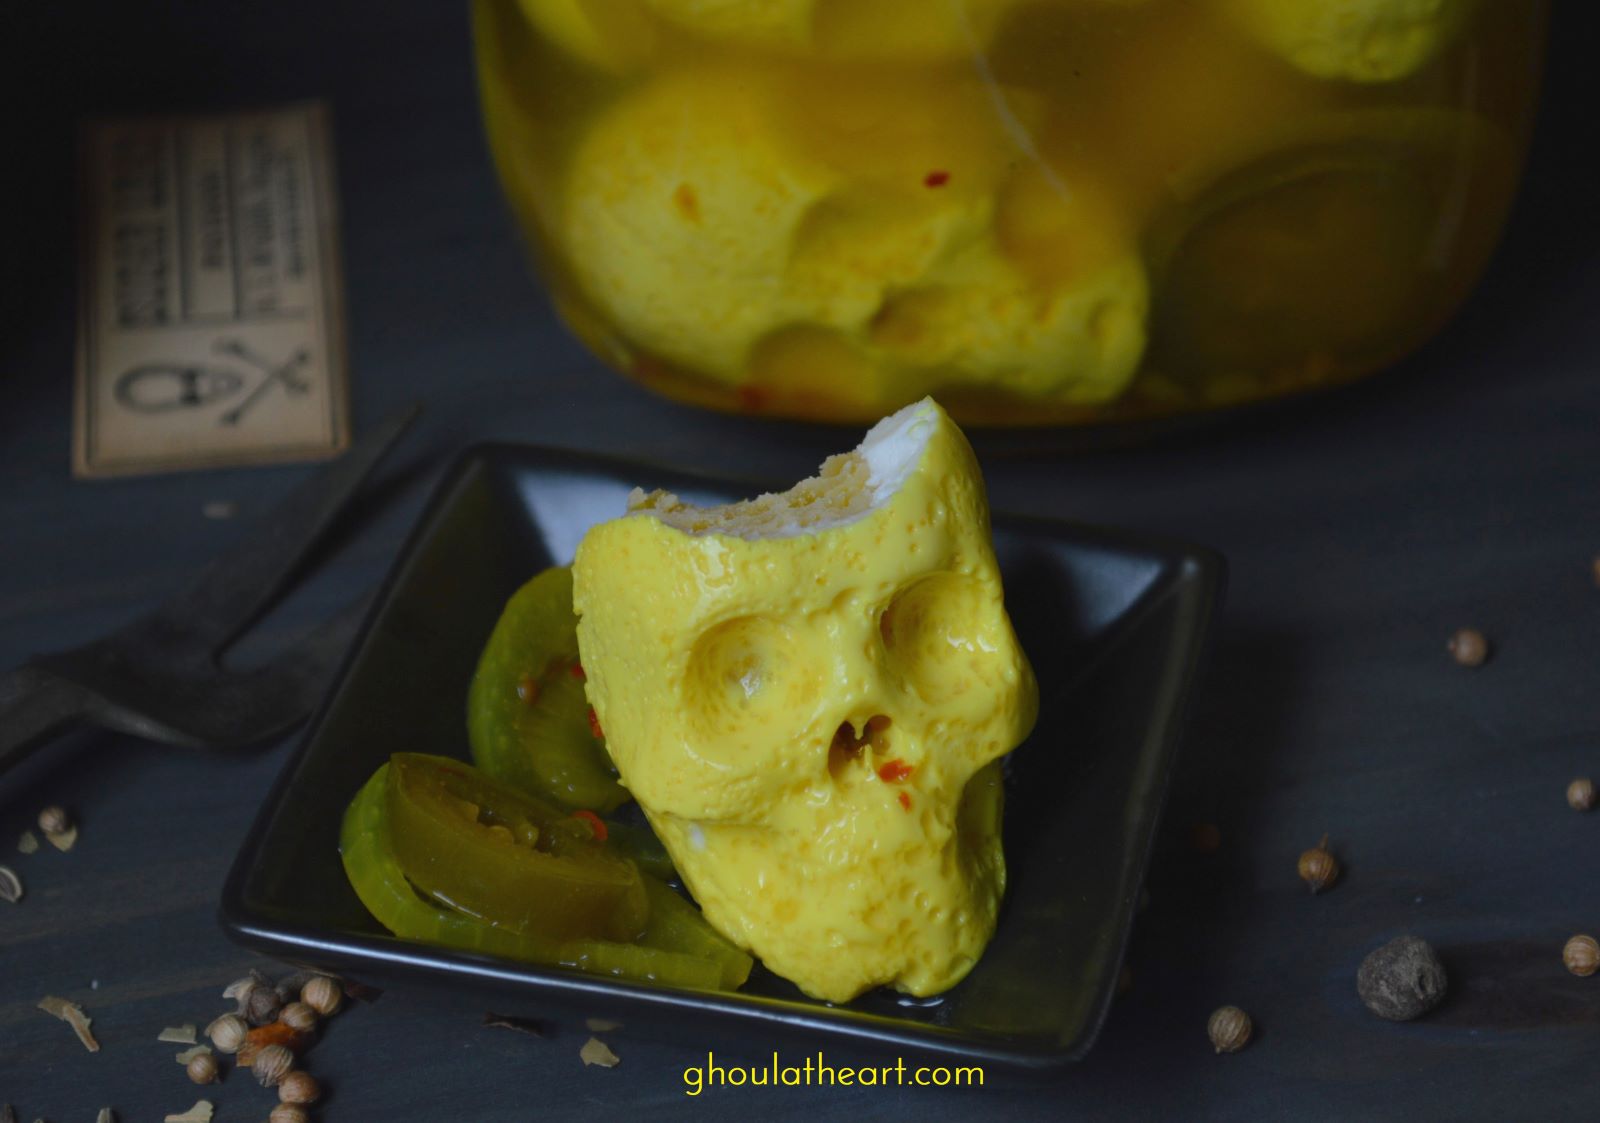
Embalmed Skulls
Equipment
- 1 Shaped brand 3D Skull Ice Molds Use coupon code ghoulatheart10 and save 10%
Ingredients
- 8 eggs (baked in silicone skull mold)
- 1½ cups vinegar
- ½ cup water
- 2 tbsp pickling salt
- 1 tbsp sugar
- 1 tsp turmeric (for color)
- 1 tablet Vitamin B12, crushed (optional) (to make them glow under a black light)
- 1 small jalapeno, sliced
- 6 cloves garlic
- ½ small onion
- 1 tsp pickling spice
- ½ tsp red chili flakes
Instructions
Skull Eggs
- Preheat oven to 350°.
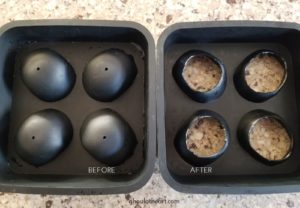
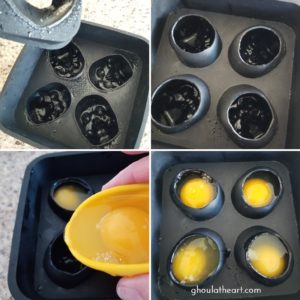
- Prepare a two piece silicone skull mold, by cutting a 1 inch oval into the top piece of the mold. This is to allow the egg to be dropped into the mold while it's assembled.

- Spray the insides of the top and bottom pieces of the skull mold with cooking spray and assemble the mold, pressing around each skull so that the two pieces create a seal around each skull. Working one at a time, crack an egg into a small silicone bowl or a paper cup and then slowly pour the whole egg into the mold. Repeat until all four molds are filled with eggs.

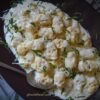
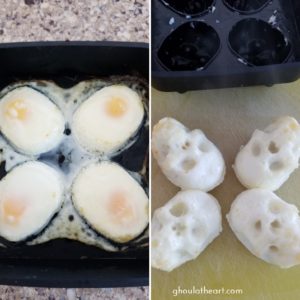
- Place in a 350° oven on middle rack and bake for 30 minutes. Remove from oven and let cool slightly. Remove top half of mold. Turn over mold onto a cutting board and gently pinch the back of the mold until the skull eggs slide out. Repeat until you make 8 skulls. Refrigerate until ready to pickle.
Pickling Brine
- Add vinegar, water, salt, sugar, turmeric, and vitamin B12(optional) to a small saucepan and heat until dissolved.
- Add garlic, onions, jalapeno and spices into a clean 1 quart glass jar. Add skulls, arranging so that they all fit but are not too crowded. Pour the hot pickling brine over the eggs until they are fully submerged in brine, leave ¼ inch of headspace to the top of the jar. Refrigerate at least 24 hours, but for best flavor allow to pickle in the refrigerator for 1-2 weeks.

- These eggs are not canned and must be stored in the refrigerator. If stored properly in the fridge, they can last up to 3 months.