This post contains affiliate links. As an Amazon affiliate, I earn from qualifying purchases.
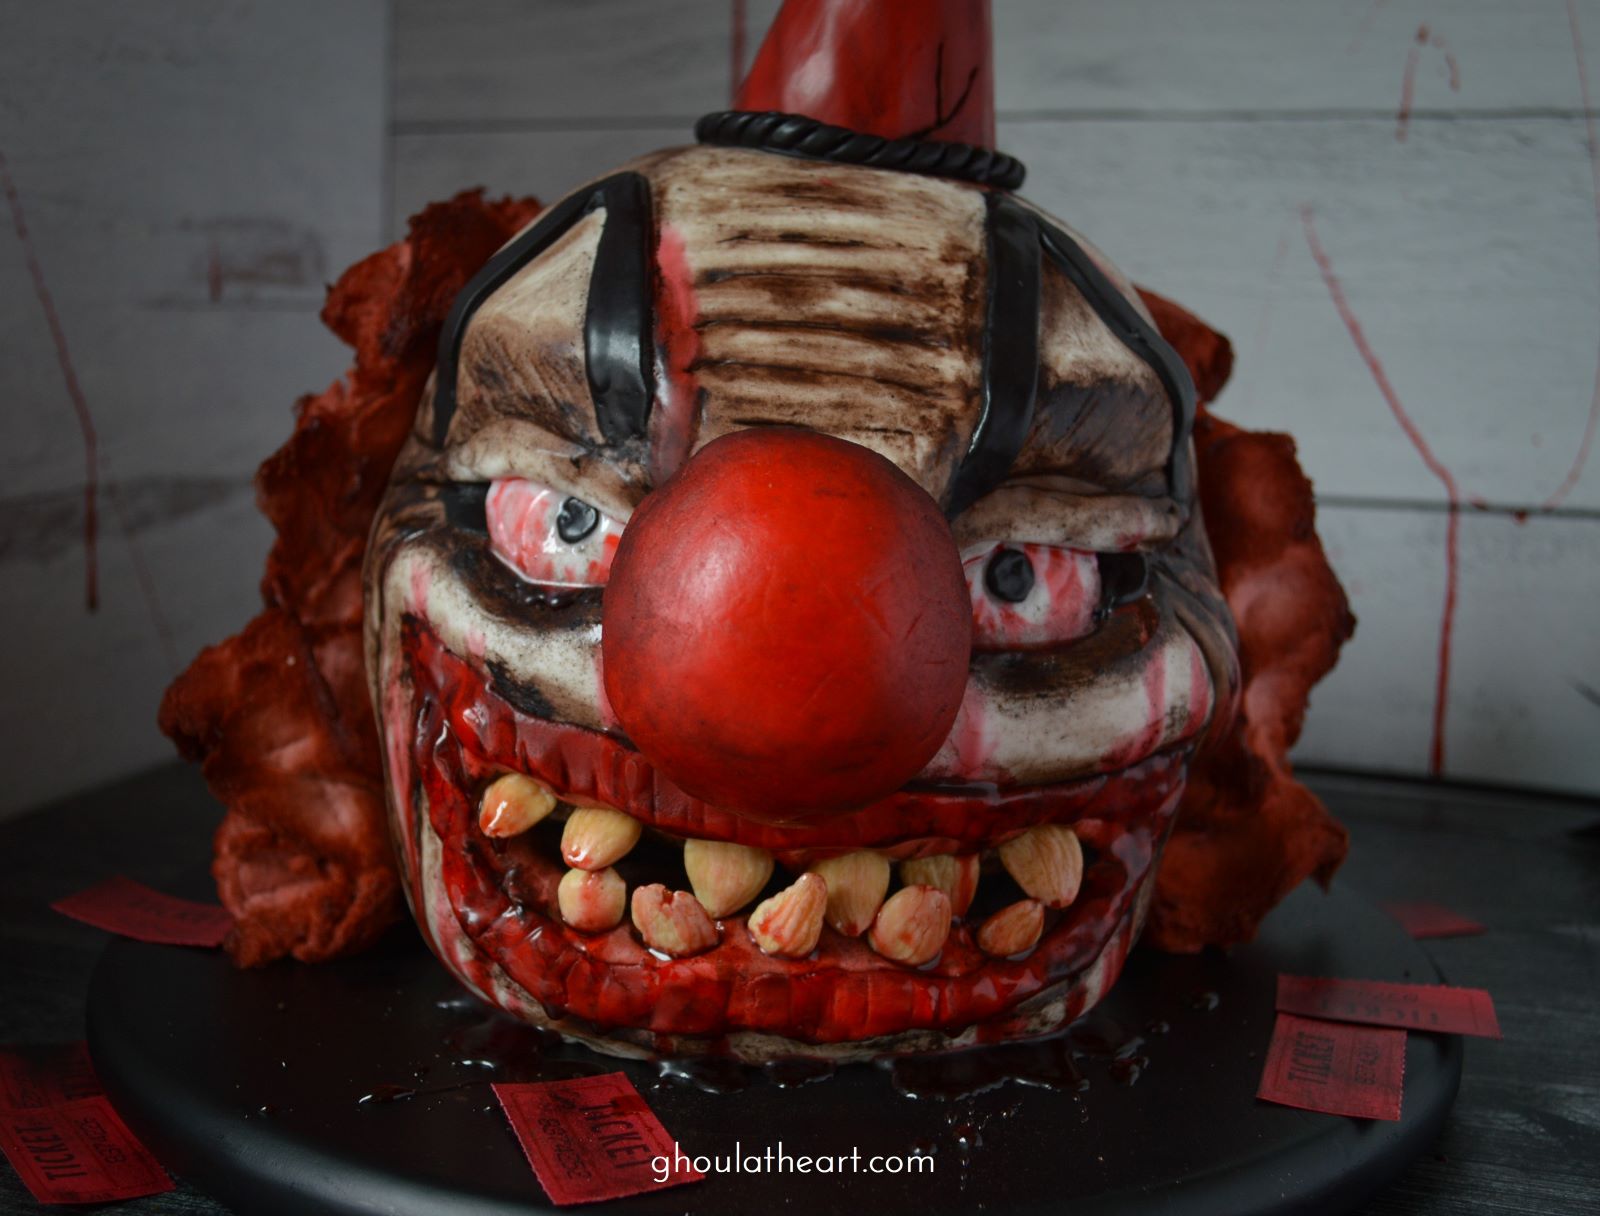
Taking a detour from all things Candy Corn and heading into Carny Town with this Evil Clown Cake. This is a remake of an audition cake that I made for a baking competition earlier this year. Unfortunately I was not selected to compete, but I had a ton of fun during the audition process, which is strange because auditioning was not something I ever thought I would do. For the audition, I had a set time to get it all done, but I thought taking a little more time with the details would give me a cool looking blog-worthy Halloween dessert. I used a clown marque sign I made a few years ago for my kid’s elementary school carnival as my inspiration for this cake. You can read all about the clown maze I created on Castellon’s Kitchen. For this cake, I used Christmas peppermints for the eyes, cotton candy for the hair, almonds for the yellow teeth, an ice cream cone for the clown hat, and a cake pop clown nose. Hope you enjoy it! 🤡
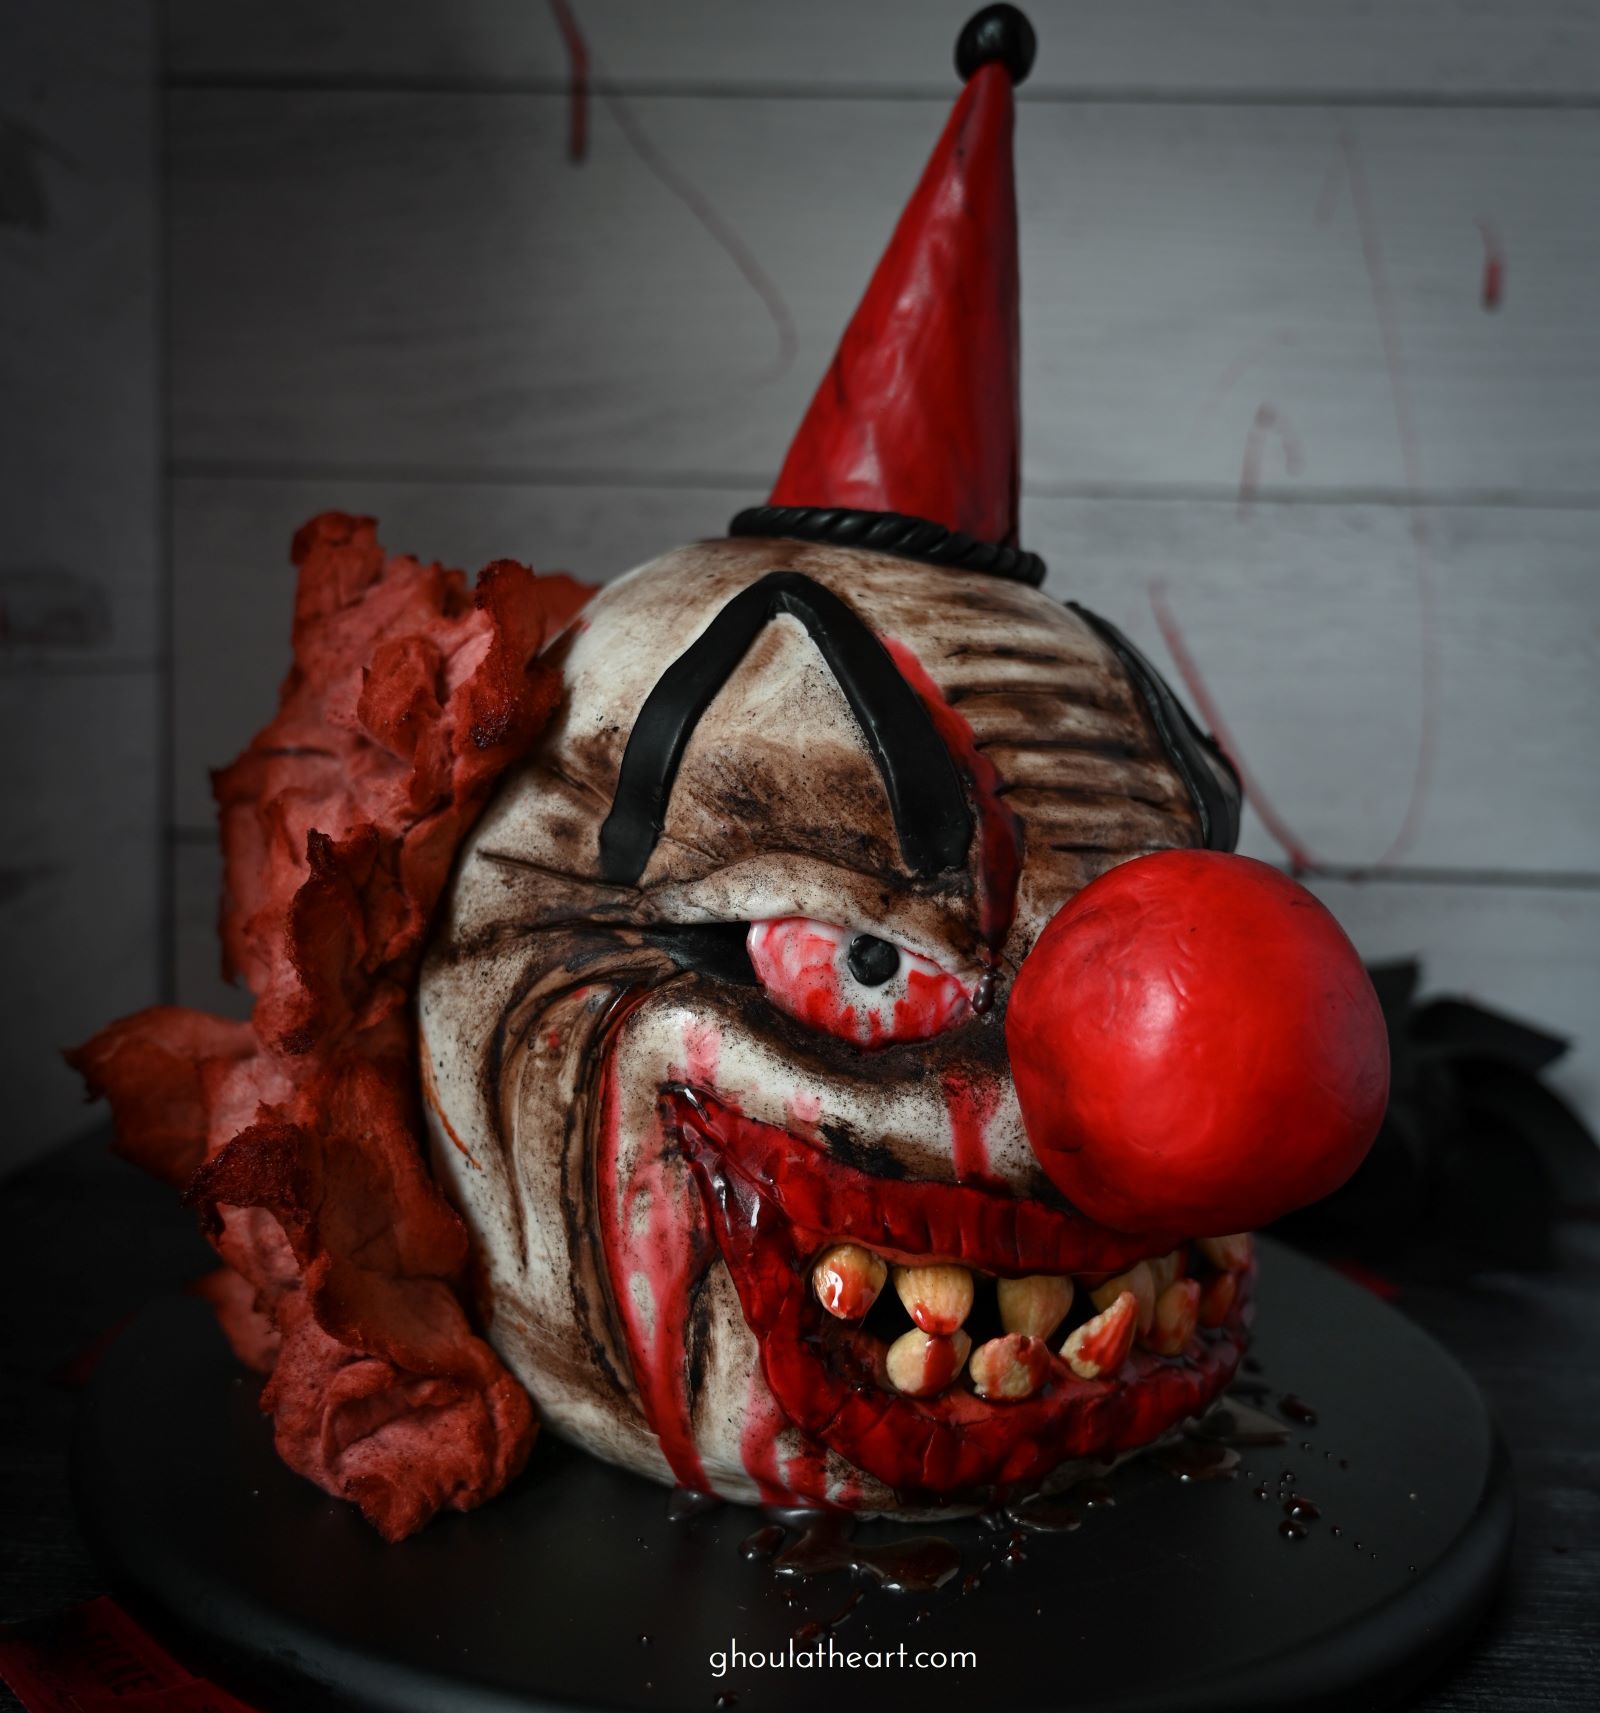
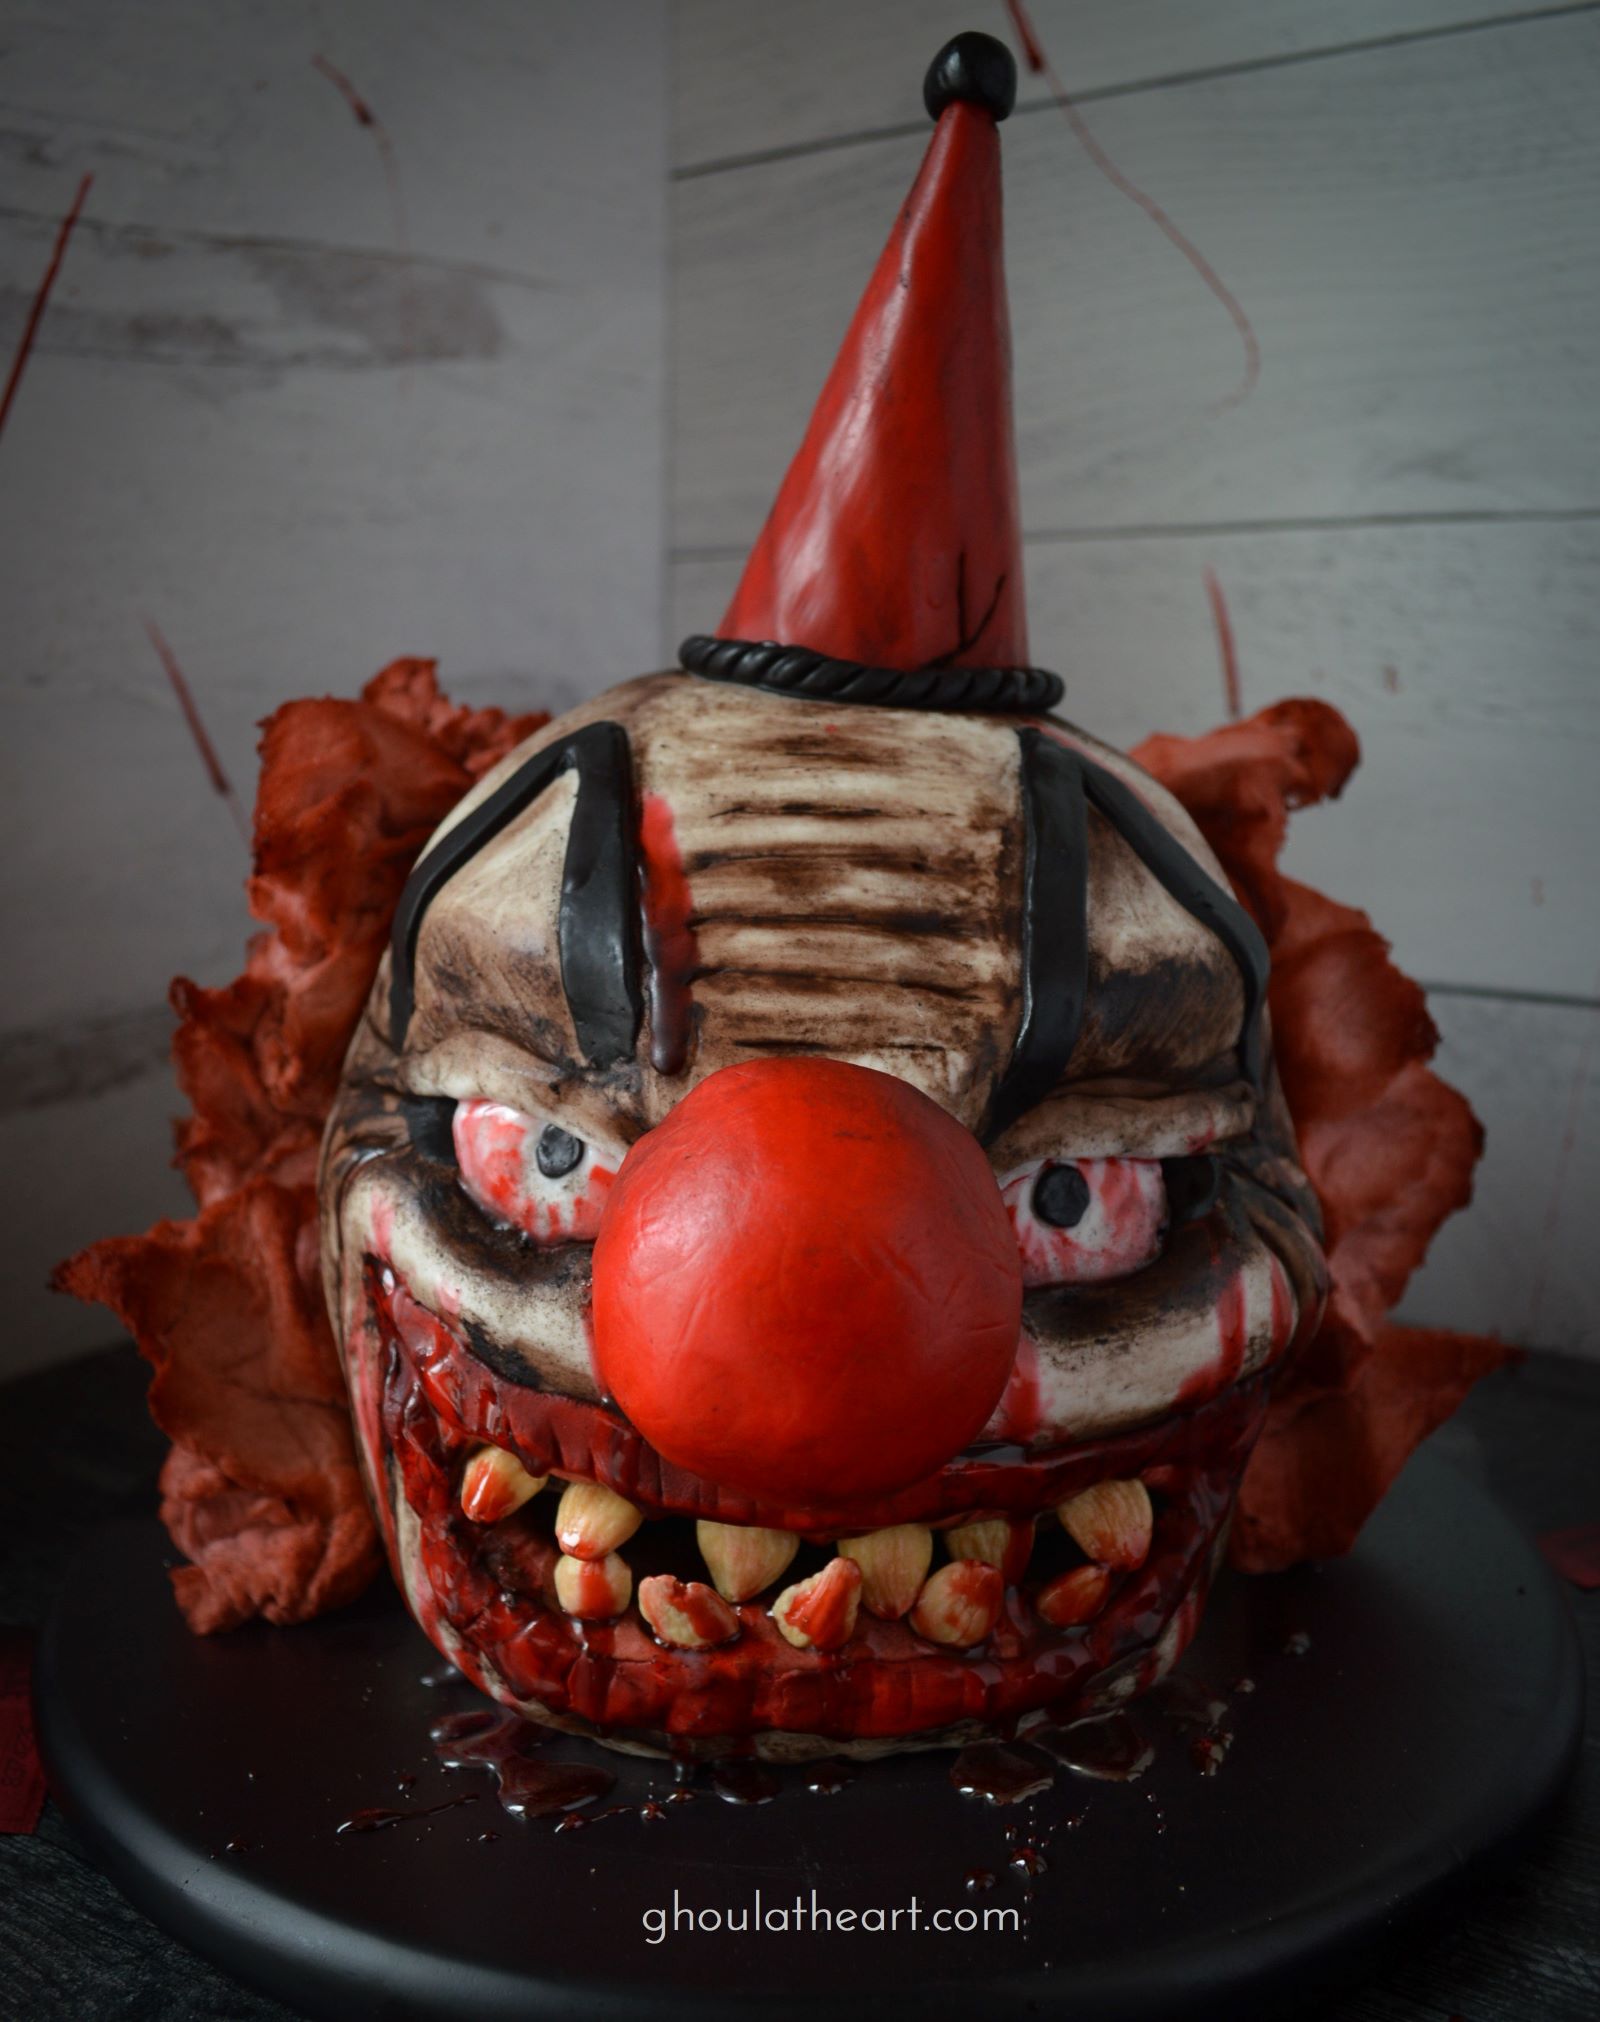
Carn'Evil' Clown Cake
Equipment
- 3 7" cake pans
- 1 6" cake pans
- 1 6" dome pan or 6" stainless steel bowl
Ingredients
Red Velvet Cake
- 3⅜ cups all purpose flour
- 2¼ cups sugar
- ½ cup cocoa powder
- 1½ tsp. baking soda
- 2 tsp. salt
- 2¼ cups buttermilk, room temperature
- 1½ cups canola oil
- 3 large eggs
- 1½ tsp. white vinegar
- 1½ tbsp. vanilla extract
- 1 tbsp. red food coloring
Buttercream Cheese Frosting
- 12 oz. butter, room temperature
- 8 oz. cream cheese, room temperature
- 2 tbsp. vanilla extract
- 8 cups powdered sugar, sifted
Decorating Items
- 1 bag Dr. Pepper Cotton Candy (hair)
- 2 peppermints (eyes)
- 1 ice cream cone (clown hat)
- 16 almonds (teeth)
- white, red, and black fondant
- black cocoa powder (for aging)
- edible fake blood (¼ cup corn syrup, ⅛ tsp. corn starch, 6-7 drops red food coloring and 1 drop of green food coloring)
Instructions
Red Velvet Cake
- Preheat oven to 350° Spray and line with parchment paper, three 7-inch round pans, 6-inch round pan, and 6-inch dome pan or stainless steel bowl.
- In a medium bowl, sift all dry ingredients together and set aside. In a large bowl, whisk vegetable oil, eggs, buttermilk, food coloring, vanilla and vinegar. Add dry ingredients and mix until just combined.
- Divide batter evenly into prepared pans. Bake cakes at 350° for 25-35 minutes. (Make frosting while the cakes bake) Add an additional 5-8 minutes for the dome pan or until a toothpick comes out clean. Allow to cool for 10 minutes and then turn out onto a wire rack to cool completely. (Make Clown eyes and hat while the cakes cool.)
Buttercream Cheese Frosting
- Add butter, cream cheese, and vanilla to a stand mixer with paddle attachment and blend until smooth. Add powdered sugar on low until incorporated. Beat on high until light and fluffy.
Candy Eyes
- In a 350° oven place two peppermint candies on a parchment lined cookie sheet and heat for 4-5 minutes. Immediately remove from oven when candy has melted and use a pair of tweezers to twist the hot candy clockwise to create a swirled effect. Repeat with the other candy. Let cool completely. Add a small dot of black fondant to create the pupil. Set aside.
Clown Hat
- Roll out a small round of red fondant to about ⅛- thickness. Place a ice cream cone onto the fondant and roll the fondant around the cone. Pinch and trim the fondant and fold under any excess to the inside of the cone. Roll out a thin rope of black fondant and a small ball to create the trim of the hat. Use black cocoa powder to age the hat so it looks old and vintage. If there are any cracks in your fondant, don't worry, they add more of a vintage feel so just add more cocoa powder into the cracks to emphasize them.
Assemble/Carve Cake
- Place one 7-inch cake onto a cake round and frost. Add the next two layers frosting in between. Add 6-inch round and frost it, and then top it with the 6-inch dome. Cover outside of cake with a crumb coat and a place straw into the middle to help stabilize the cake layers. Refrigerate for 30 minutes to firm up the frosting.
- Remove from the refrigerator and cut out two round areas for the eyes. Use a knife to cut out an area for the mouth. Slice a little off the sides of the cake on each side of the mouth to create a less round head. Save the carved off pieces of cake and place them in a small bowl and mix well. Add more frosting if necessary so that the cake mixture holds together like a cake pop. Make a small round ball for the nose and set aside. Roll out a thin circle of red fondant and cover the cake pop nose. Trim the fondant as needed and add 3 toothpicks into one side of the nose. Age fondant with black cocoa powder and refrigerate to firm up frosting. Use the remaining cake-pop mixture to create a brow line above the eyes and other areas of the face if desired.
- Use the remaining frosting to frost the outside of the cake, but reserve 2 -3 tablespoons of frosting to use as glue for the clown hat and nose.
Fondant Work
- Roll out a large piece of white fondant to about ⅛-inch thickness. Cover the front, top, and sides of the clown cake, smoothing the fondant over the cake and pressing it into the eyes and mouth of the clown. Trim as needed. Note: Don't cover the back of the clown head with fondant because we want the buttercream frosting to be exposed so we can adhere the cotton candy hair to it. (The cotton candy hair will be done last, right before serving.)
- Fill the eyes and mouth with small rounds of black fondant for depth.Mix red and white fondant to make a small rope of pink for the gums of the mouth. Then add a small rope of red fondant for the lips. Use fondant tools to create lines and details on the clown face and lips. Add black cocoa powder with a food safe paint brush to the lines for definition and aging.
- Add Peppermint candy eyes and then add two fondant crescents to create eyelids. Roll out black fondant to create two "V's" and place above the eyes to mimic clown makeup. Continue to age details and cracks with cocoa powder.
Final assembly
- Hat: When ready to serve, apply a small dot of frosting to the top of the clown's head and place the clown hat. Teeth: Press almonds into the pink fondant to create teeth. Nose: Place a small dot of frosting onto the nose area and then press the nose with toothpicks into the cake. The toothpicks and the frosting will hold the nose in place. Blood: Mix up edible blood and add splatters and drips of blood to teeth and mouth and face. Hair: Lastly, tear off tufts of cotton candy and stick them into the buttercream frosting on the back and sides of the head. NOTE: Cotton candy will darken and shrink up as it sits in air, so make sure to only apply the cotton candy clown hair right before you are ready to serve. Enjoy!