
This post may contain affiliate links where I earn commission when a purchase is made. Read my disclosure policy here.
I scream. U scream. We all scream for ice cream!
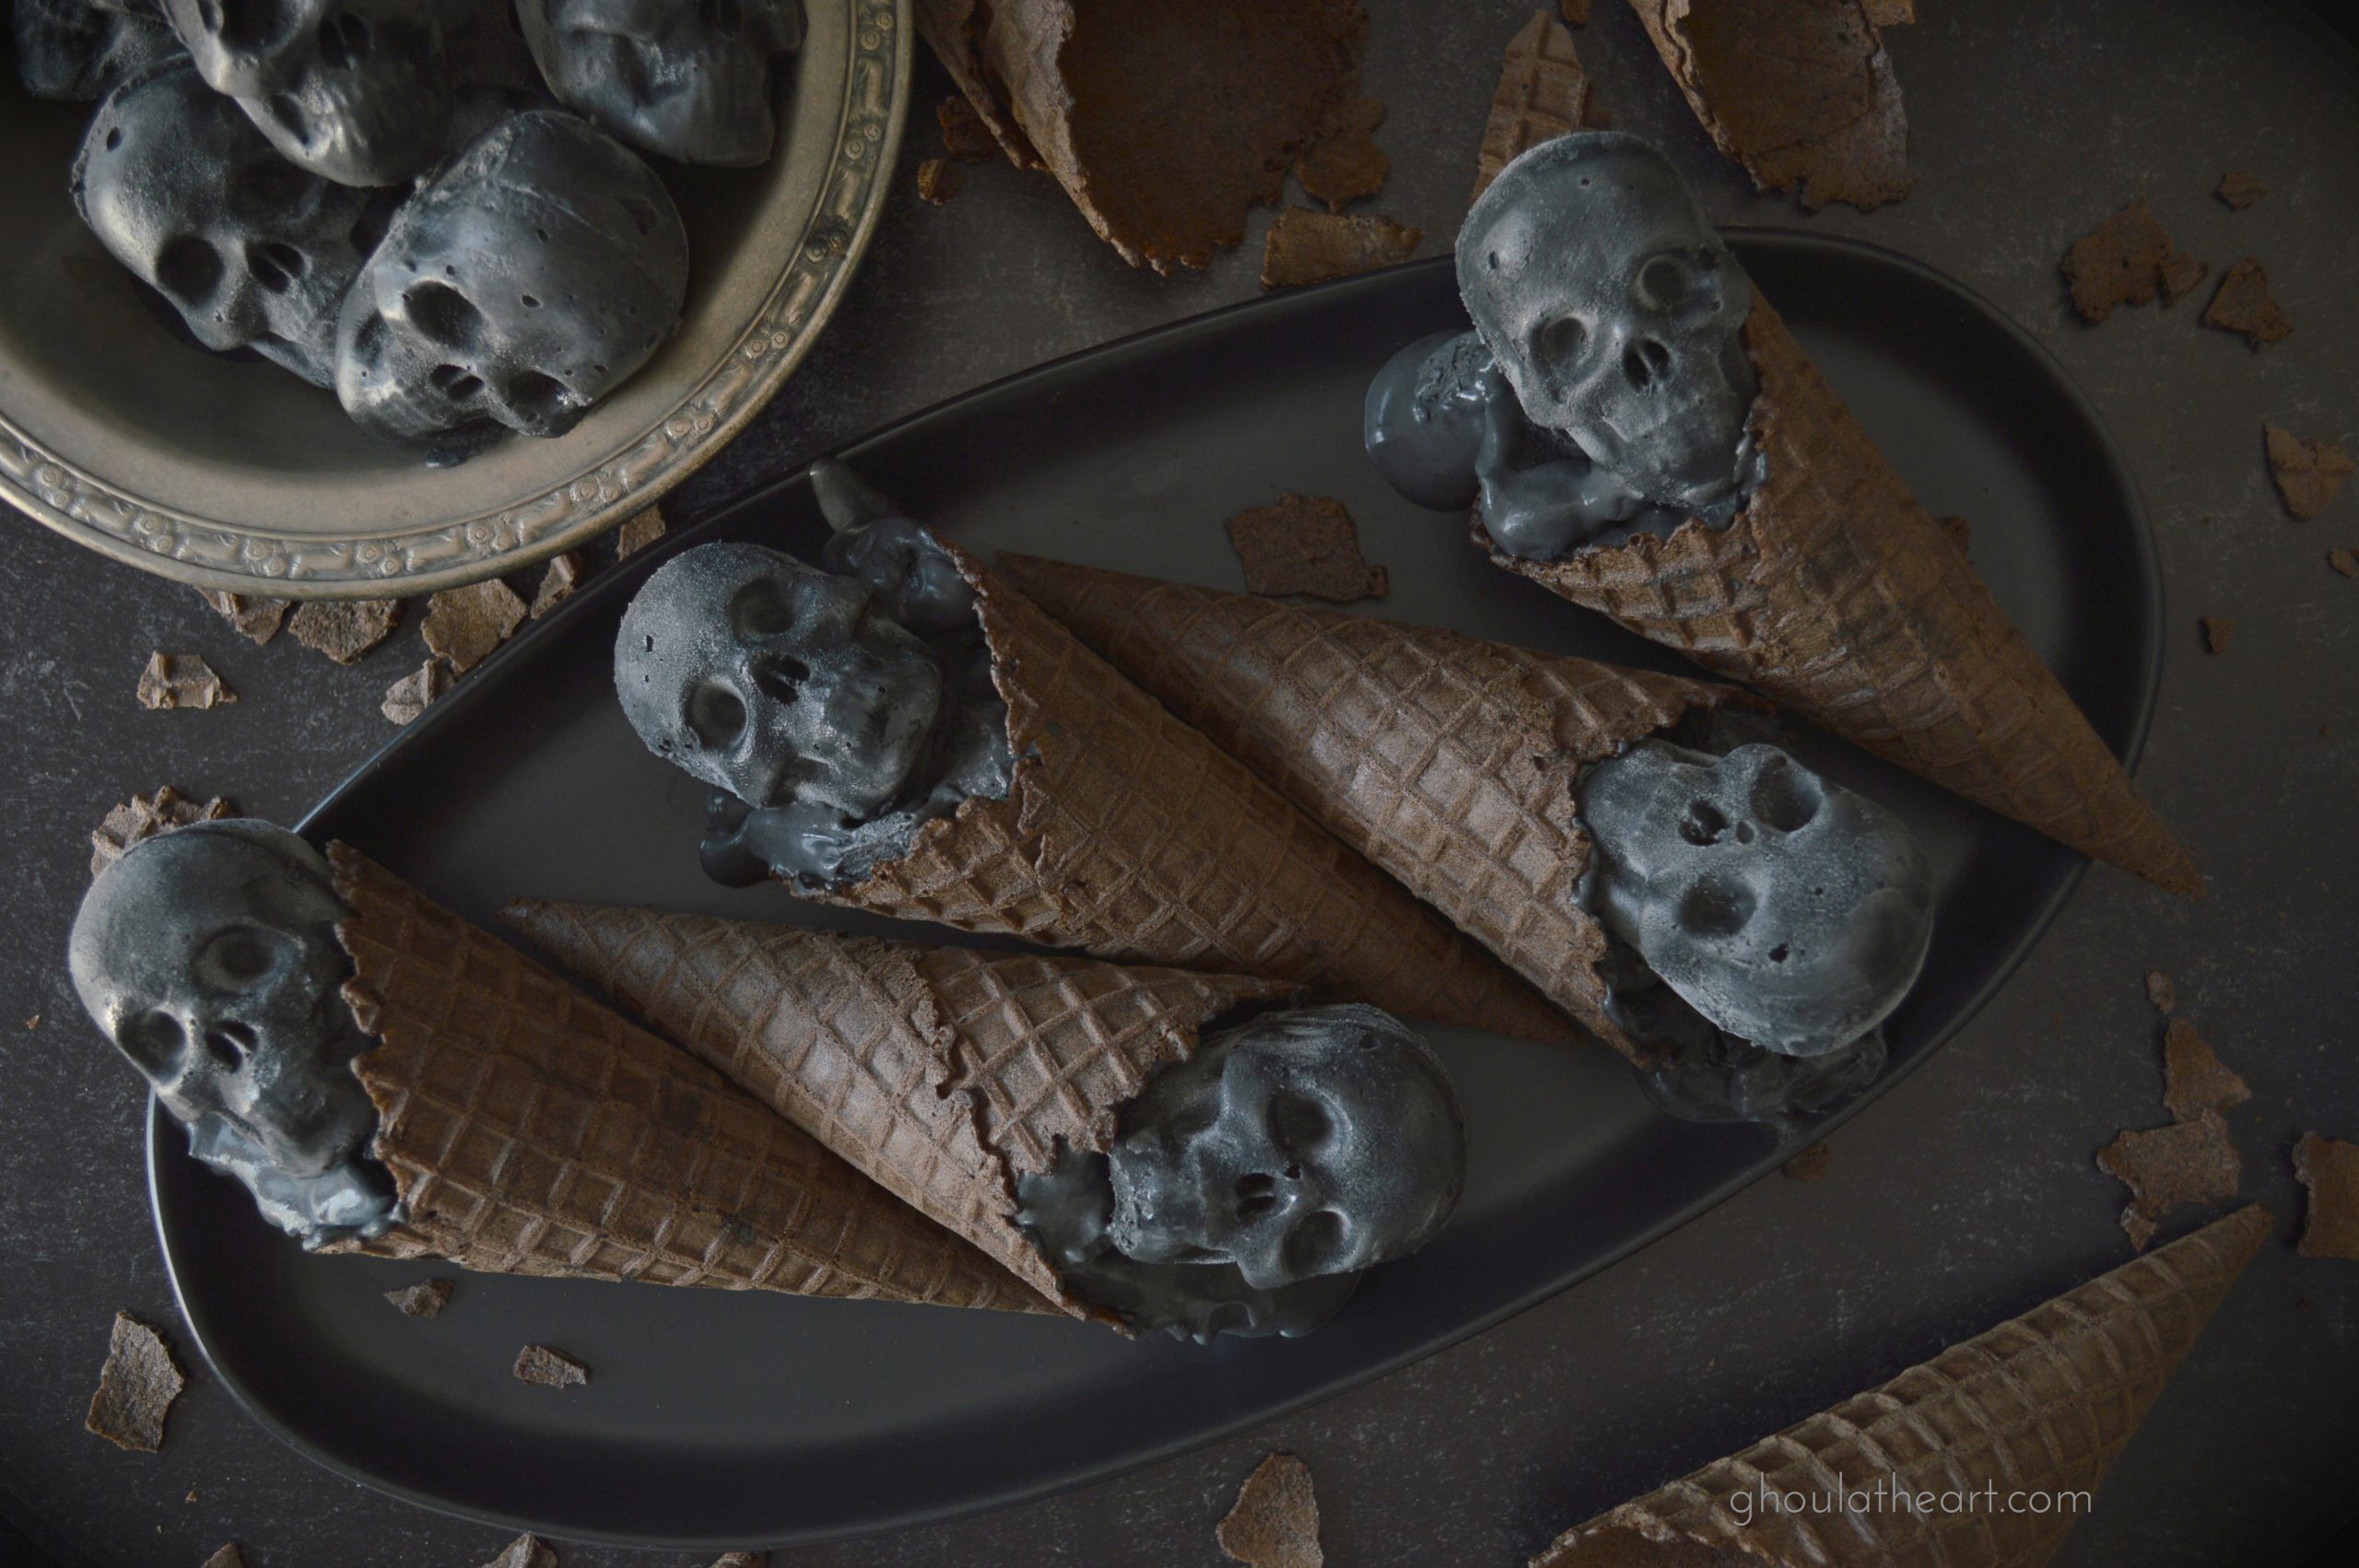
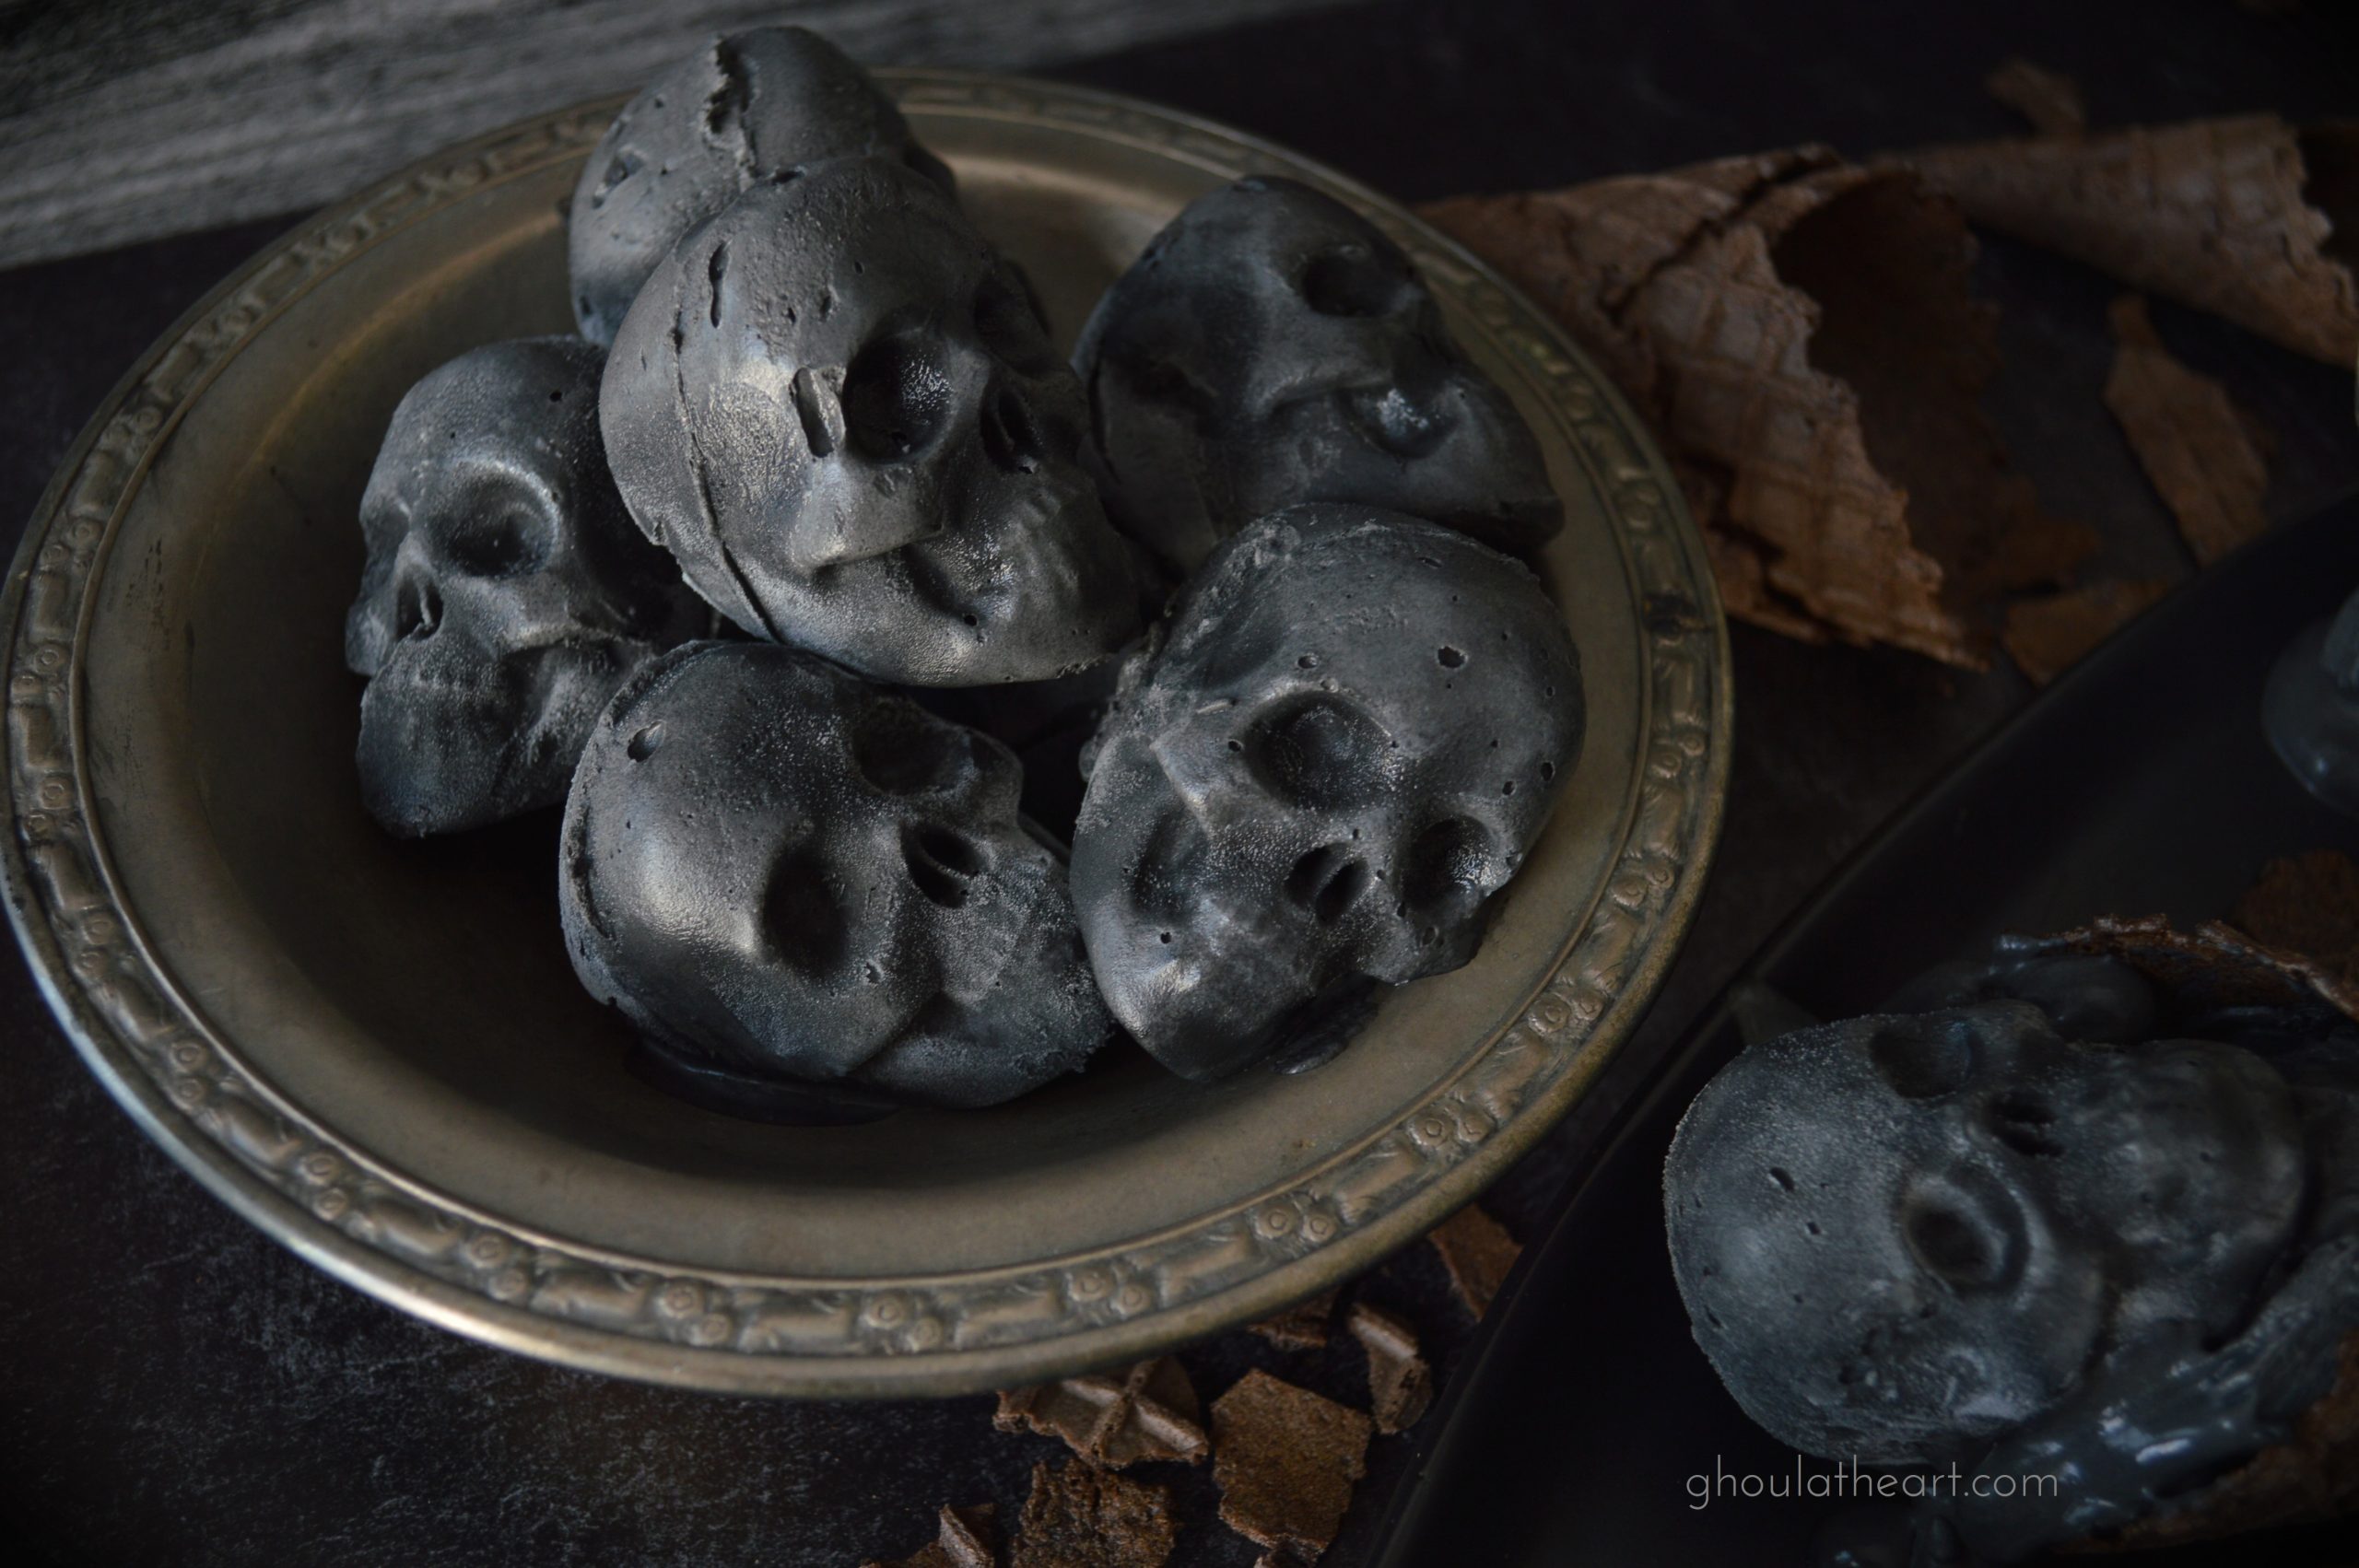
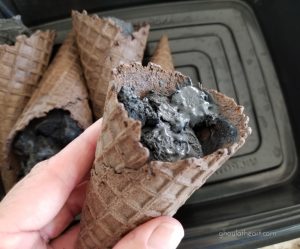
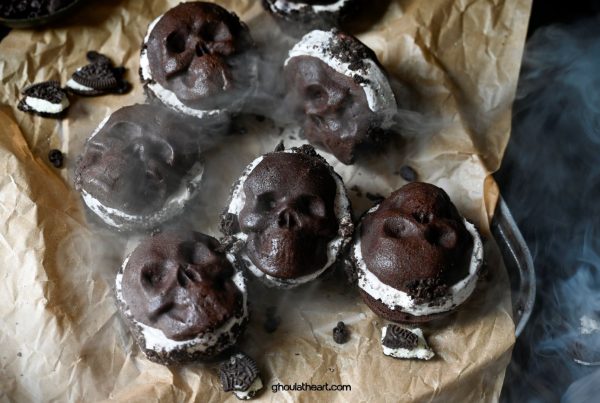
I made these gorgeous chocolate cinnamon ice cream cones from a simple recipe of heavy cream, sweetened condensed milk, cocoa powder, sugar and a touch of cinnamon. The addition of charcoal powder gives it the dark and mysterious color. Although, if you’re like me, you might be wondering if adding charcoal powder will add a smoky taste to the ice cream? Or any taste for that matter. Surprisingly, the answer is no. It adds no flavor at all, however it does add a fine graininess to your ice cream. So if this doesn’t sound appetizing to you, skip the addition of charcoal and substitute with 2 T of black food coloring, or omit the food coloring all together and select a black cocoa powder that will give you a deep dark chocolate ice cream.
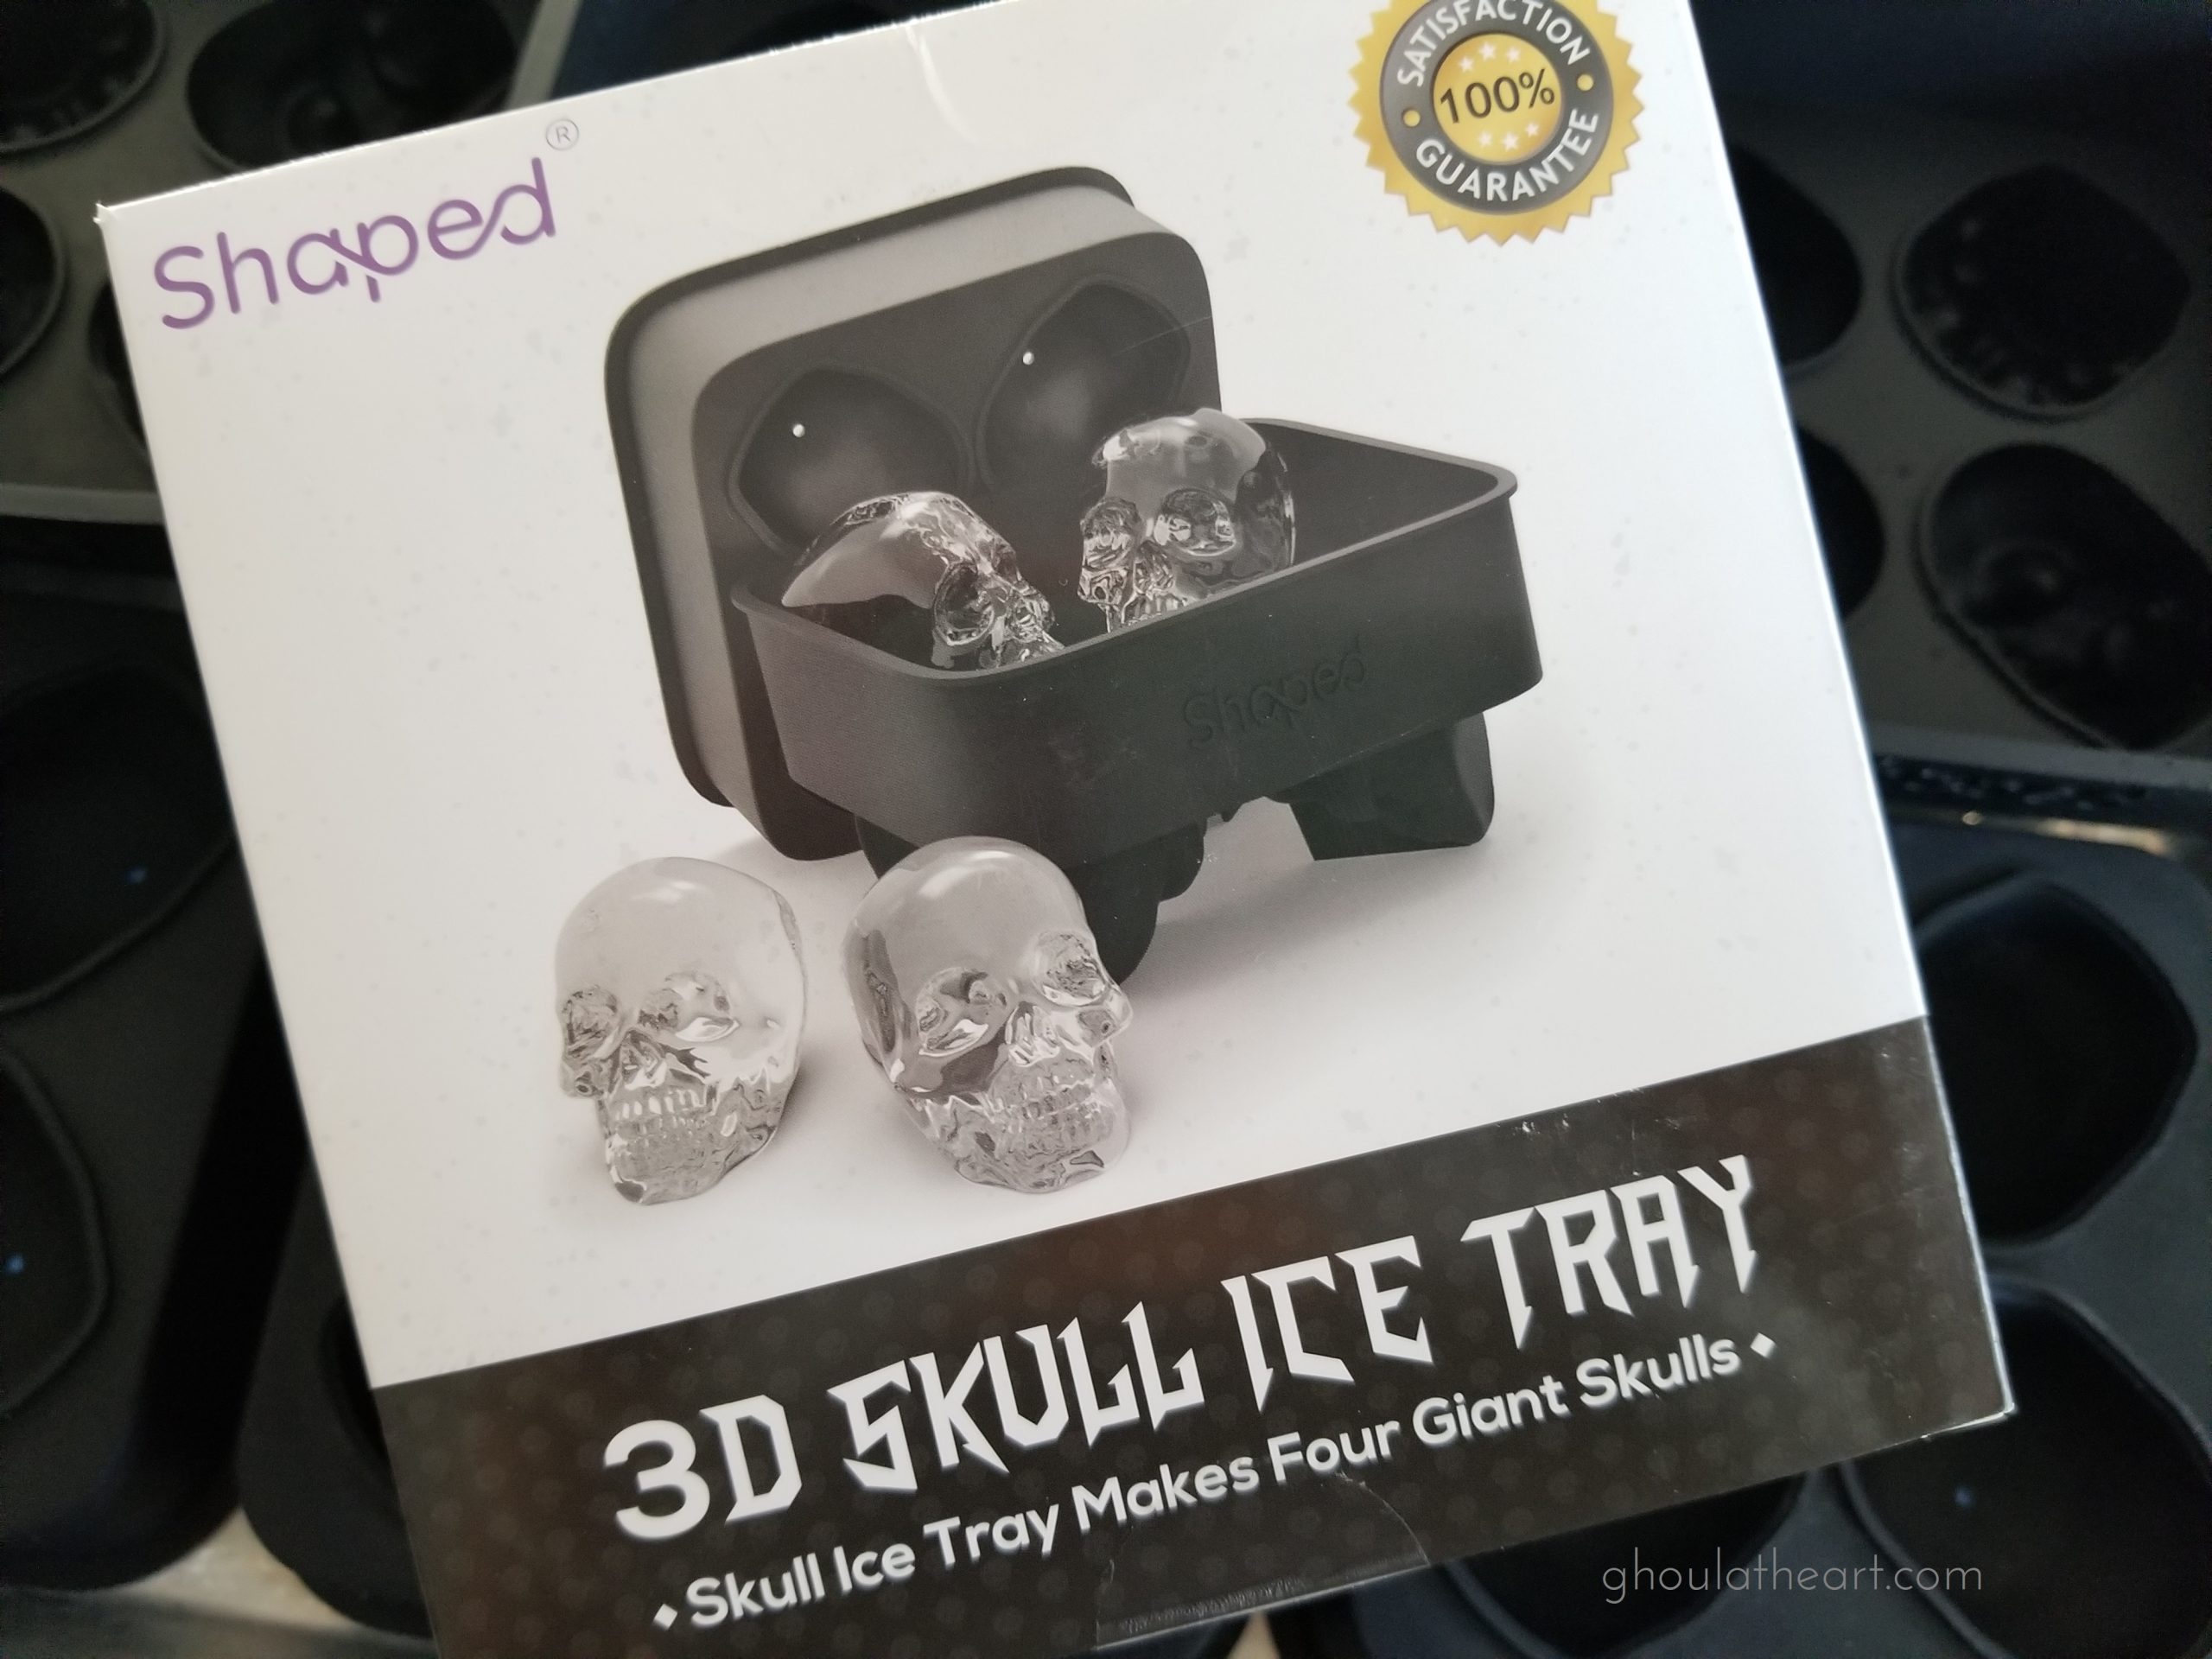
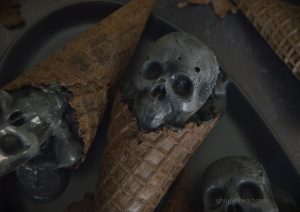
This recipe is so easy because it doesn’t have eggs and it doesn’t require an ice cream maker. The only equipment you’ll need is a hand mixer and skull shaped molds like these I purchased from Shaped Ice Molds (Affiliate Link) They are great for ice and as it turns out they are great for making way cool skull scoops of ice cream.

Equipment
- Shaped brand 3D Skull Ice Molds Use coupon code ghoulatheart10 to save 10%
Ingredients
- 2 ½ cups heavy whipping cream
- ¾ cup sweetened condensed milk
- ¾ cup sugar
- ¼ cup black cocoa powder *or use 1 tbsp. charcoal powder
- ¼ tsp ground cinnamon
- 12 chocolate waffle cones
Instructions
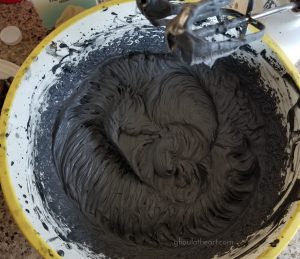
- In a large bowl add sweetened condensed milk, sugar, cocoa powder, cinnamon and and whisk until combined.

- Add the heavy whipping cream to the bowl and beat until stiff peaks form.

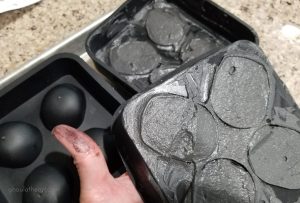
- Pour half the ice cream mixture into each half of the skull molds. When adding ice cream to the head side of the molds, tap the molds on the counter to settle the cream into all the nooks and crannies and then use a rubber spatula to scrape off the excess ice cream.

- For the top of the head portion of the mold, there is a small hole in the bottom of the mold, this is the hole to allow for extra water to come out when making ice and for expansion as the water freezes. The ice cream is thick enough that it doesn’t leak out of the hole, just don't tap this side of the mold on the counter, 😉 Then scrape excess with a rubber spatula. 🙂
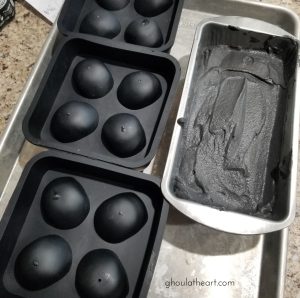
- Sandwich the two sides of the mold together, pressing around the head portion to ensure a good seal and place the mold on a cookie sheet. Repeat with two other molds. Pour the remaining ice cream batter into a loaf pan and freeze along with the molds overnight.

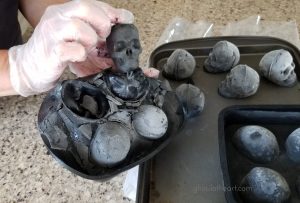
- When ready to un-mold your skulls, wear gloves to not leave fingerprints on your skulls. Pop skulls out of mold and place in freezer until ready to serve. Before serving remove loaf pan from freezer and allow to sit out for about 5-10 minute for easier scooping.
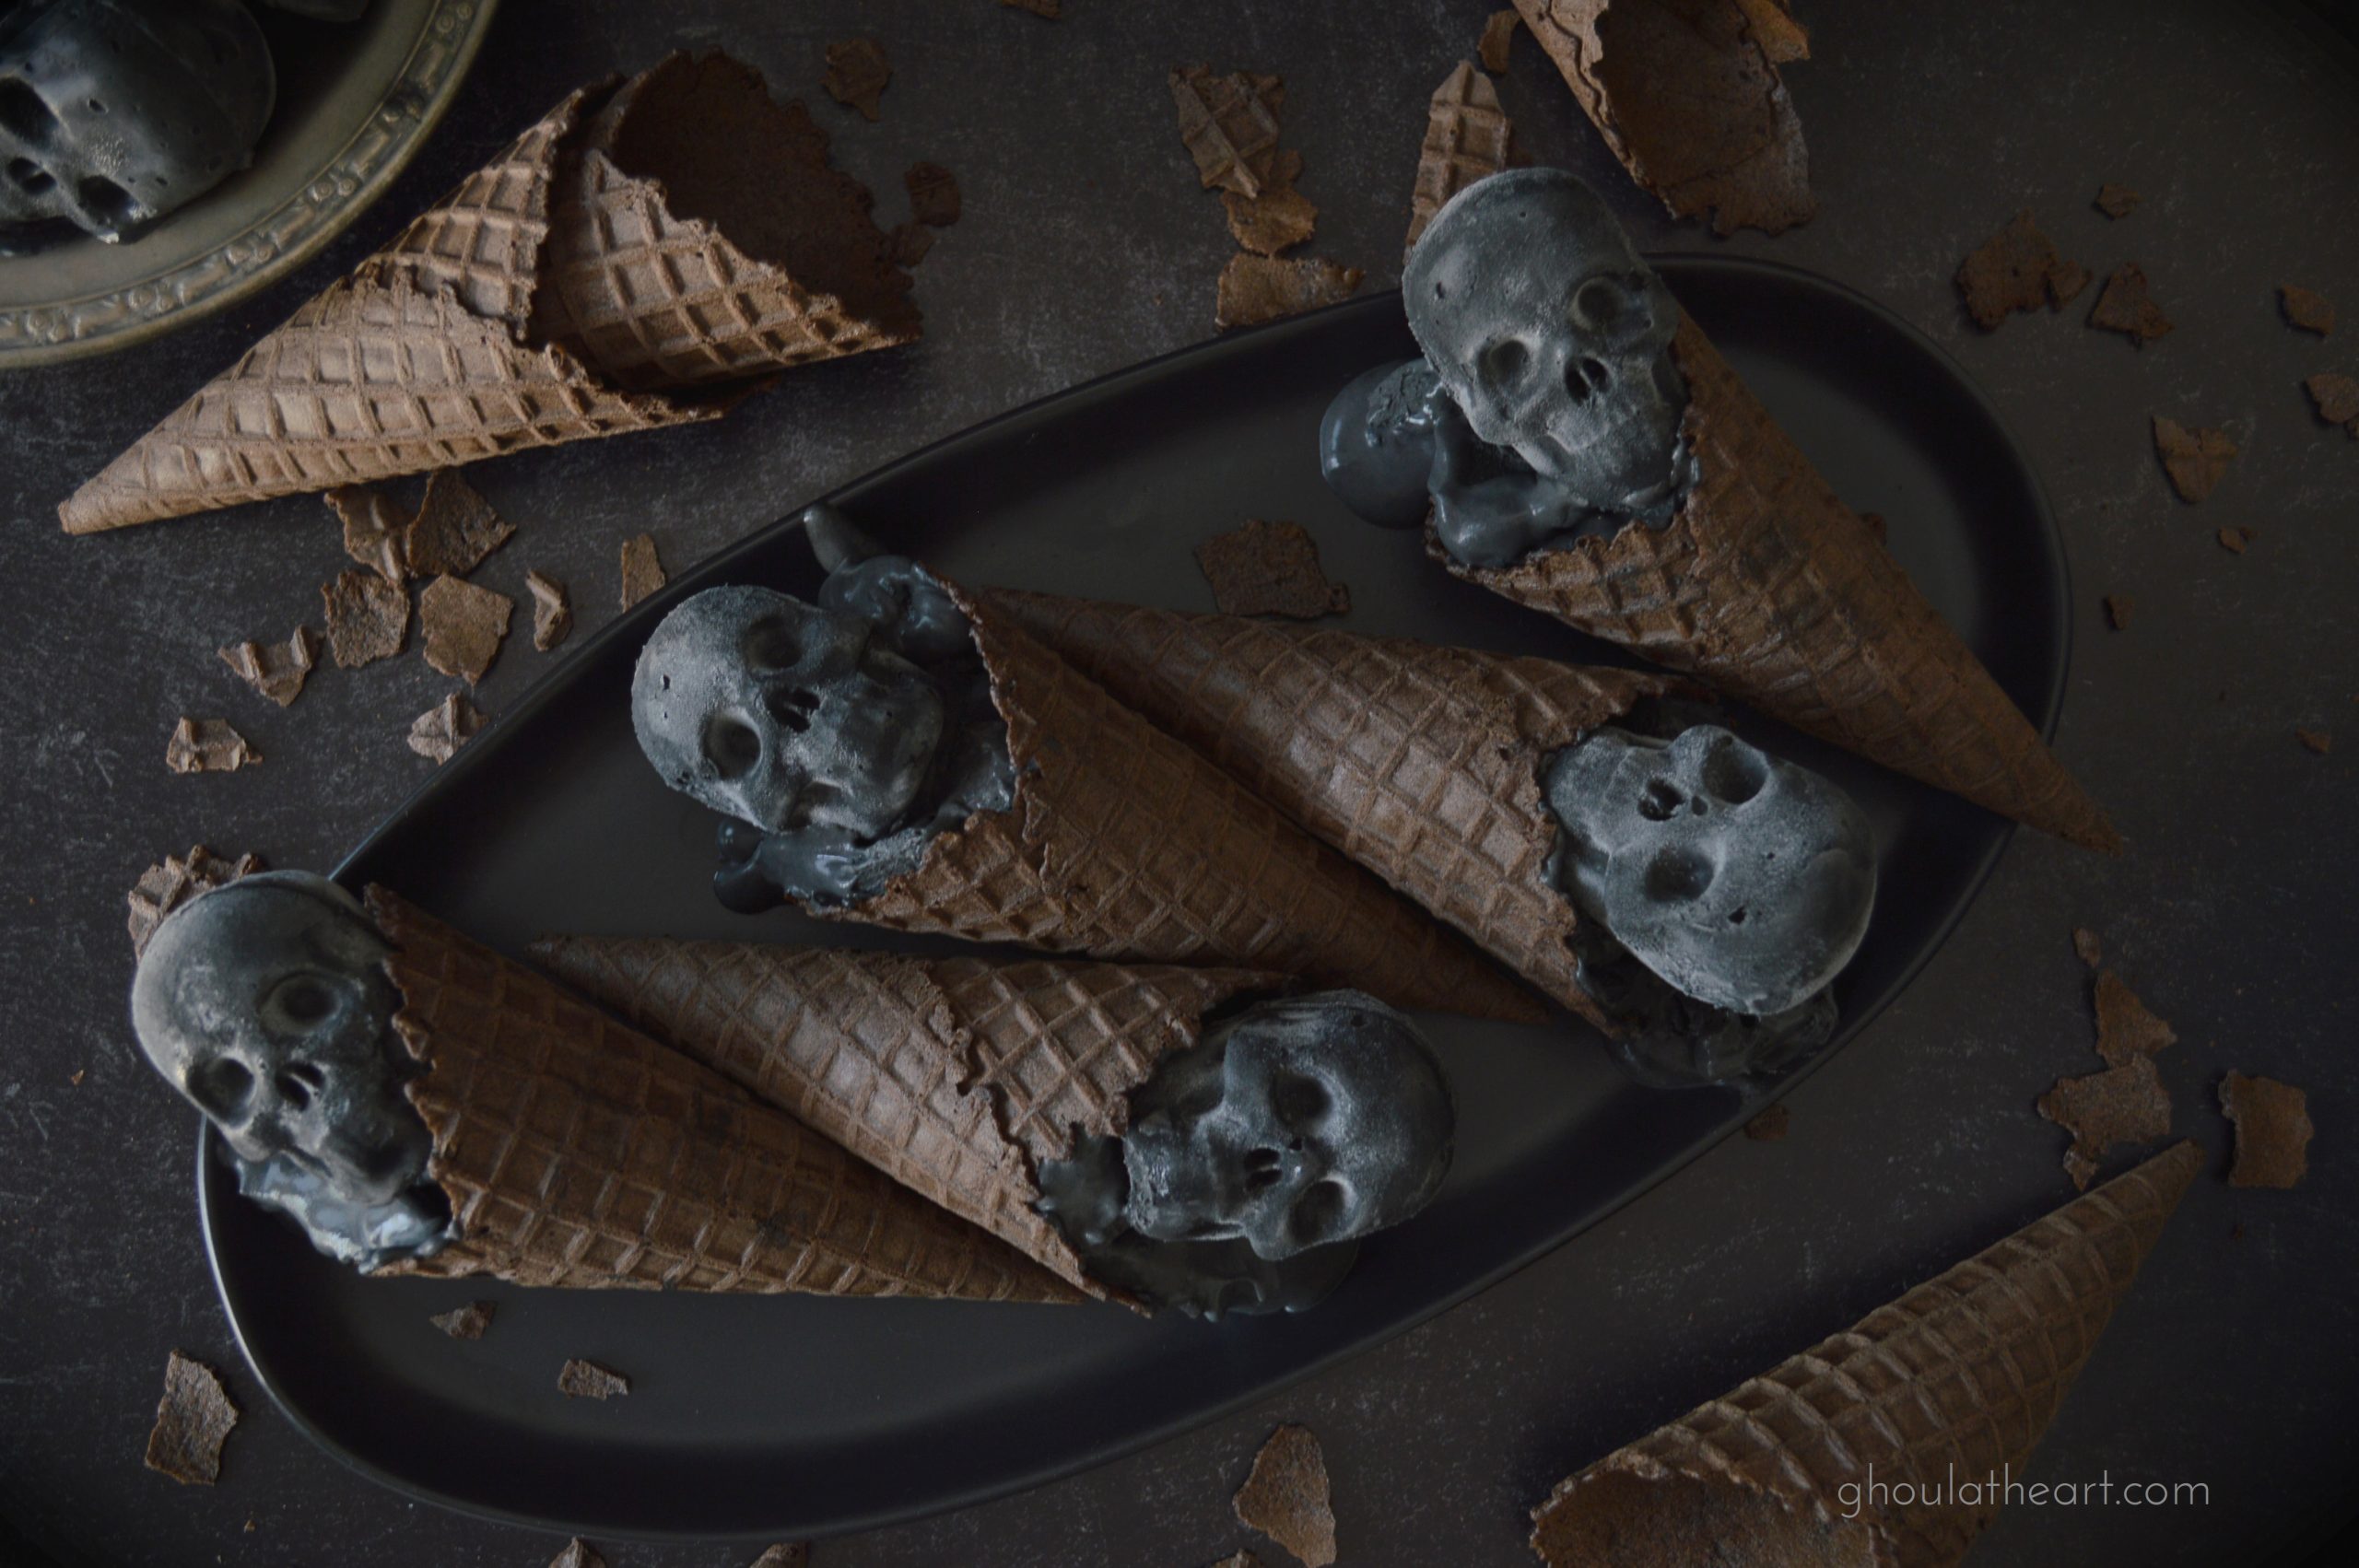
- Use an ice cream scoop to scoop ice cream from the loaf pan and put into chocolate waffle cones.

- Top each of the cones with an ice cream skull and enjoy!


What a great idea!
Thank you so much. 💀
Hi there, I’d like to make the ice cream alcoholic… any suggestions?
Hi Yvette,
I’m not entirely sure since adding alcohol will prevent them from freezing firmly. I would try it with a little bit of alcohol and see how well it freezes. Or maybe add something like Kahlua that is pretty low in alcohol and has added sugar. It might work better than something like vodka. If you get it to work please let me know. I’d love to hear how it went.
🖤Lori
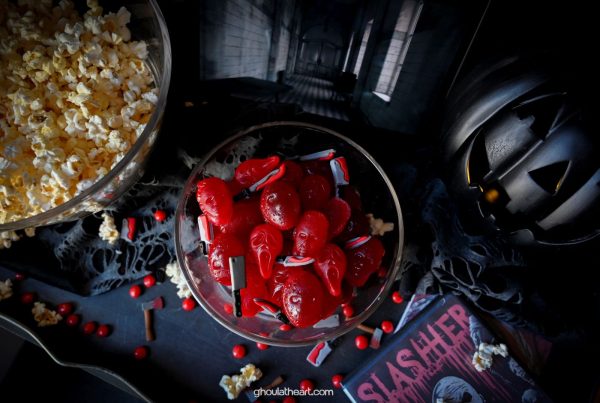
These are so clever! I love all of the Halloween ideas you have here!
Thank you so much Susan! I’m glad you enjoy them.
Lori